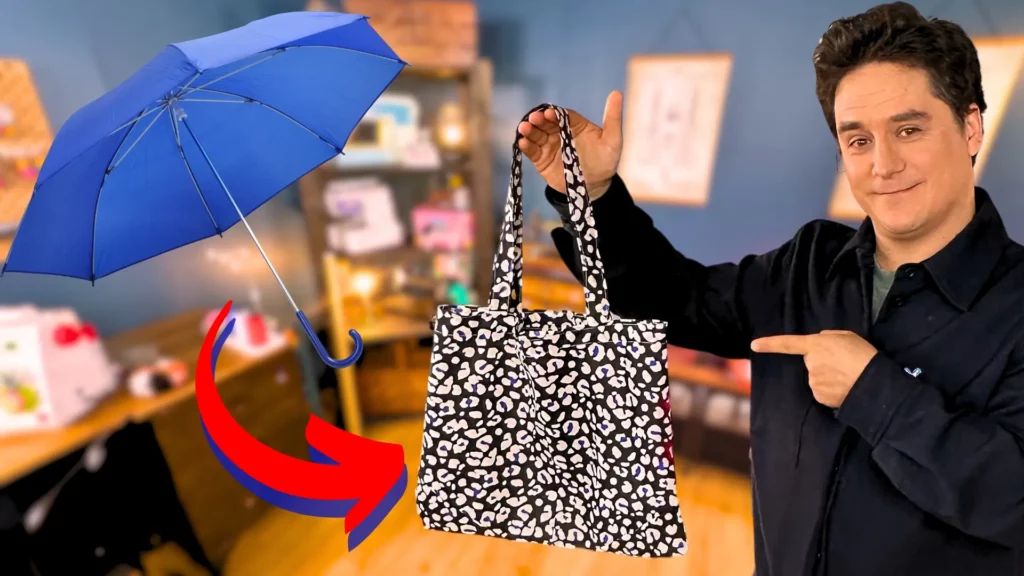
Umbrella Tote Bag
A broken umbrella doesn’t have to end up in the garbage can! In this article, I’ll show you how to recover the canvas of your old umbrella and turn it into a practical, foldable tote bag.
Ideal for your errands, this lightweight bag folds easily and can be slipped into your handbag or backpack.
An eco-friendly and stylish way to shop while taking care of the planet!
And as usual, if you prefer the video tutorial, it’s at the very bottom of this article!
Sewing equipment
To sew this tote bag, you will need to cut :
- 1 large rectangle measuring approximately (H) 80 cm by (L) 40 cm. These dimensions may vary according to your umbrella canopy: a small folding umbrella will provide a smaller canopy than a golf umbrella. In short, the height may vary according to your possibilities.
- 2 rectangles measuring approximately (H) 60 cm by (L) 10 cm. Again, don’t focus on the height of these rectangles.
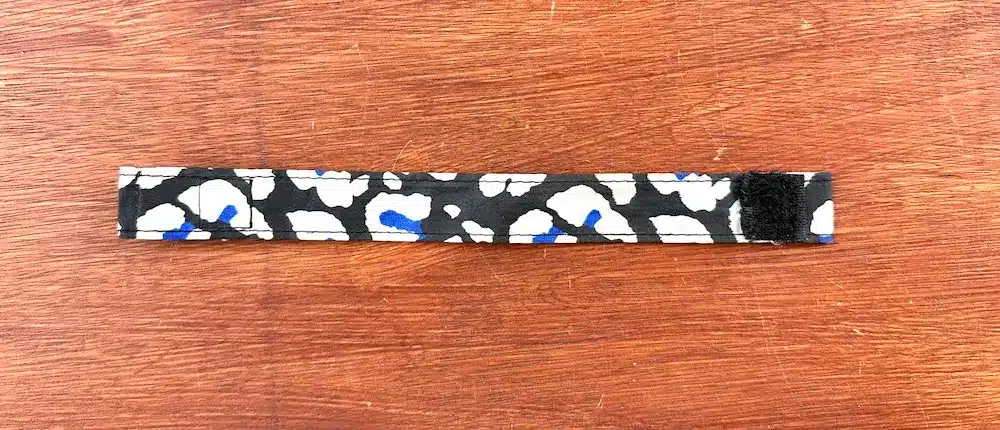
- You’ll also need to retrieve the little strip that holds the umbrella closed. On my umbrella, this strip is 21 cm X 1.5 cm and the Velcro fasteners are 1.5 cm squares.
And, of course, you’ll need your usual sewing equipment.
Sewing the handles
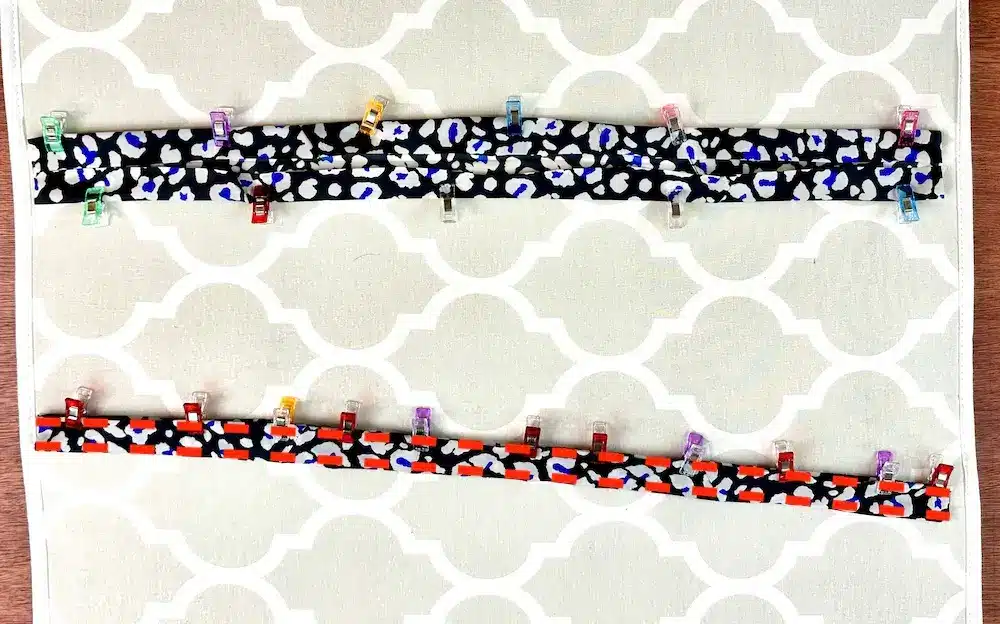
The handles are made from the 2 60 cm x 10 cm rectangles. First fold the rectangles onto themselves, right sides together lengthwise, and mark the fold with an iron.
We open each strip, then fold the long sides inside, making the raw edge coincide with the fold we made just before. Mark the 2 new folds, and fold the rectangles back on themselves one last time.
On the sewing machine, we’re going to stitch twice as close to the edge as possible.
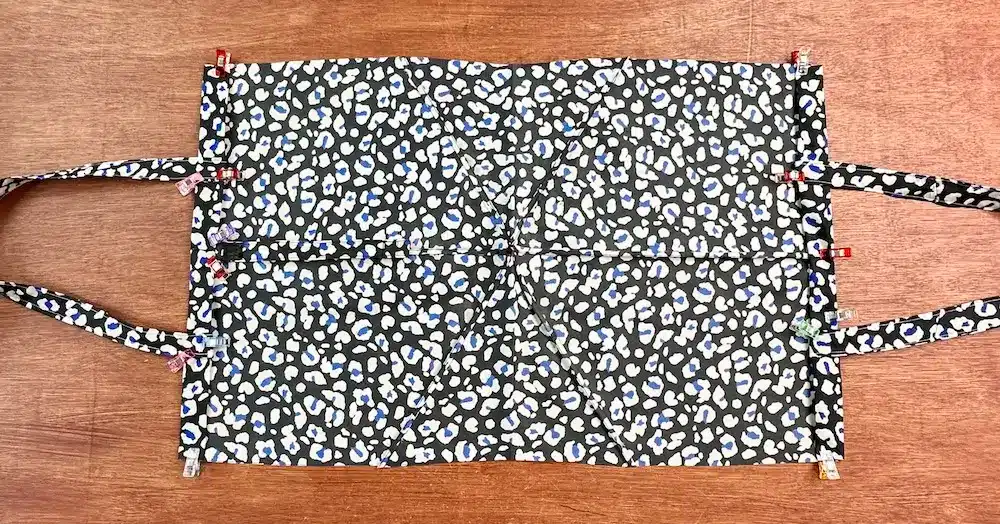
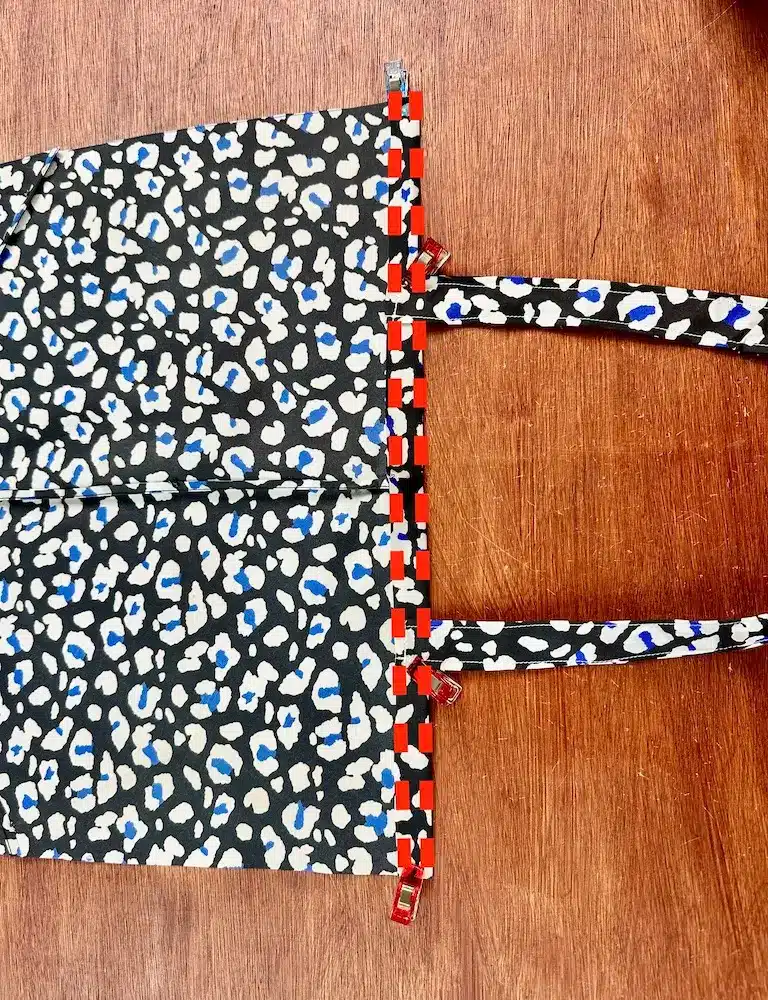
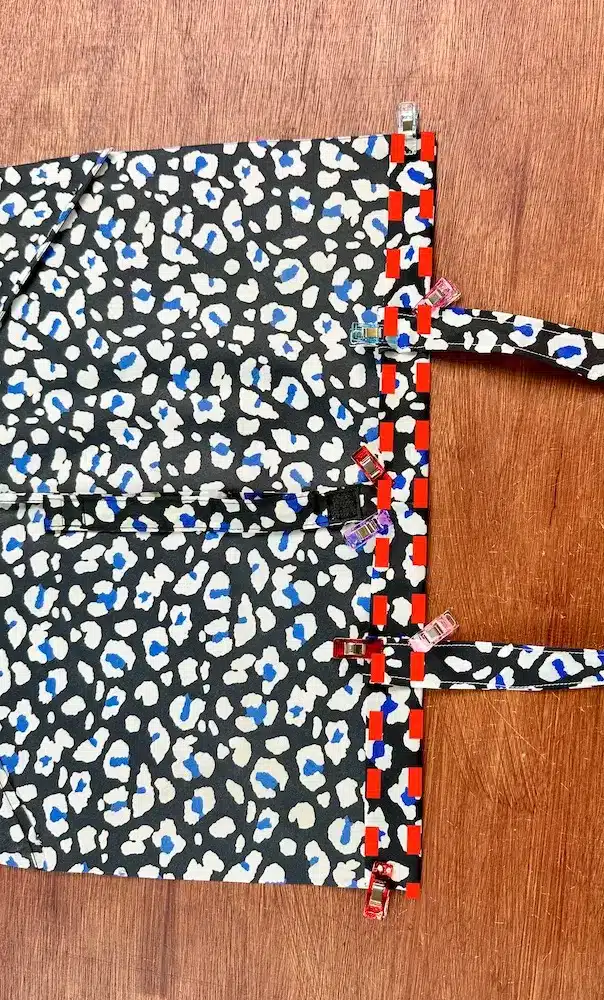
We now place the large main rectangle, 80 cm x 40 cm, face up, and position the handles at each end, 10 centimetres from each side.
We’ll sew them temporarily in straight stitch, stitching 0.5 cm from the edge.
Tote Bag Sewing
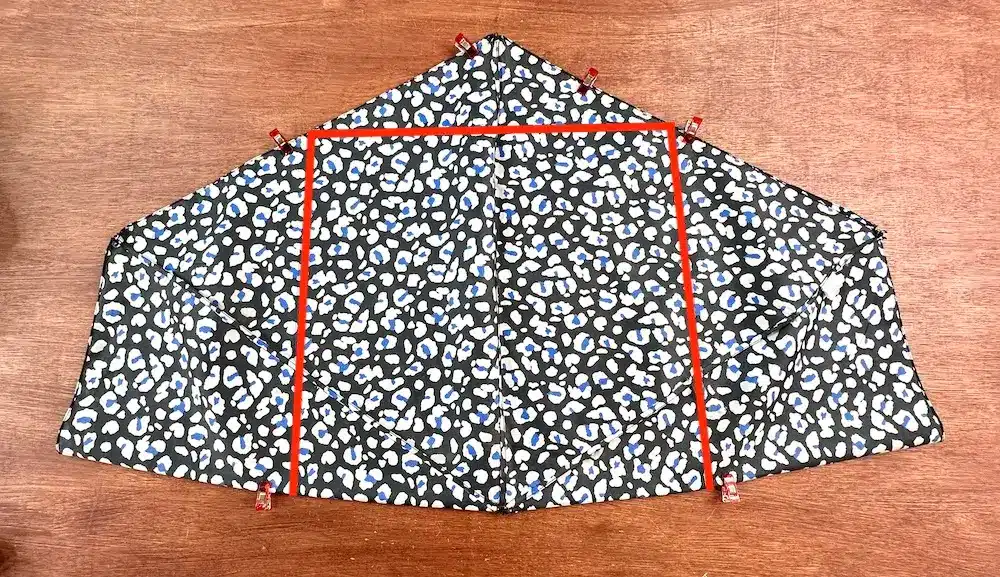
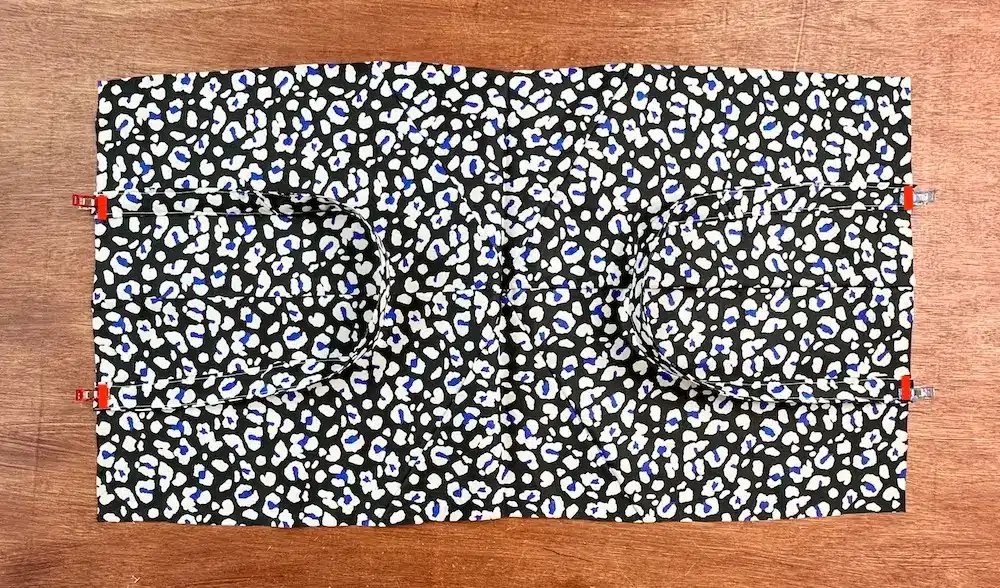
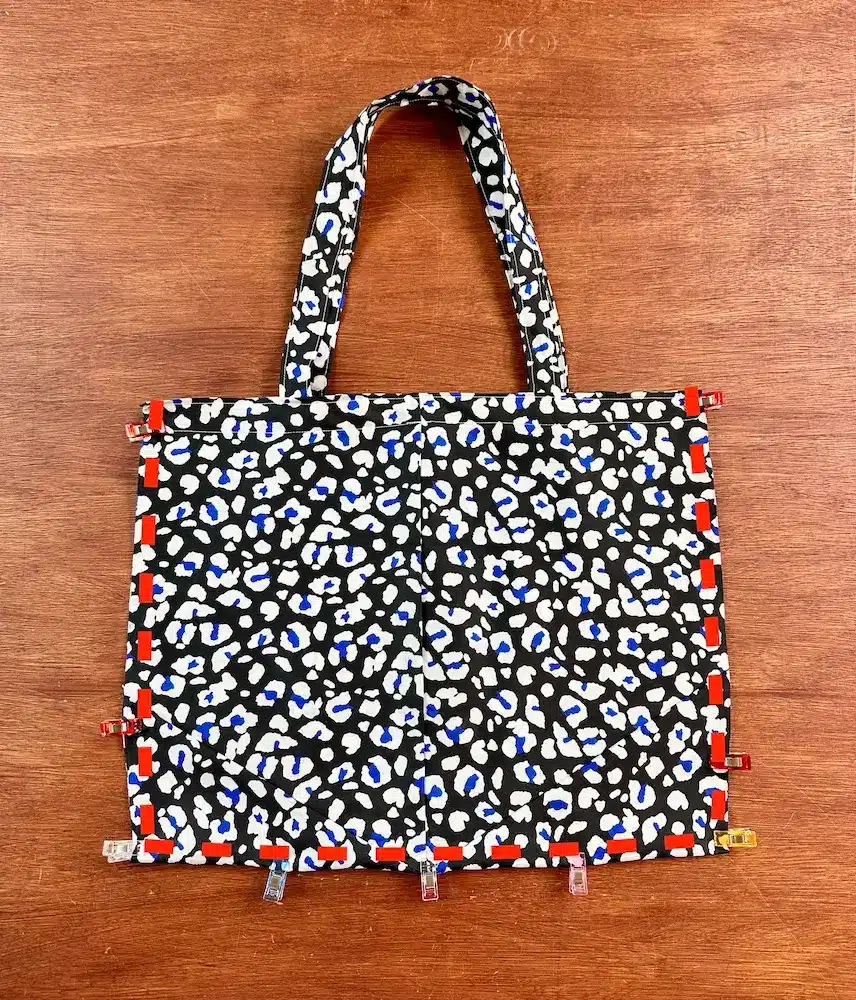
We’re now going to shape the top of the bag, with the reverse side facing us. We first fold the short sides over 2 centimetres and mark this fold with an iron.
Fold again, this time over 3 centimetres, and fold the handles towards the top of the bag.
For one side, place the small tab we’ve kept in the middle, towards the inside.
We sew 2 seams to hold the handles and tongue in place.
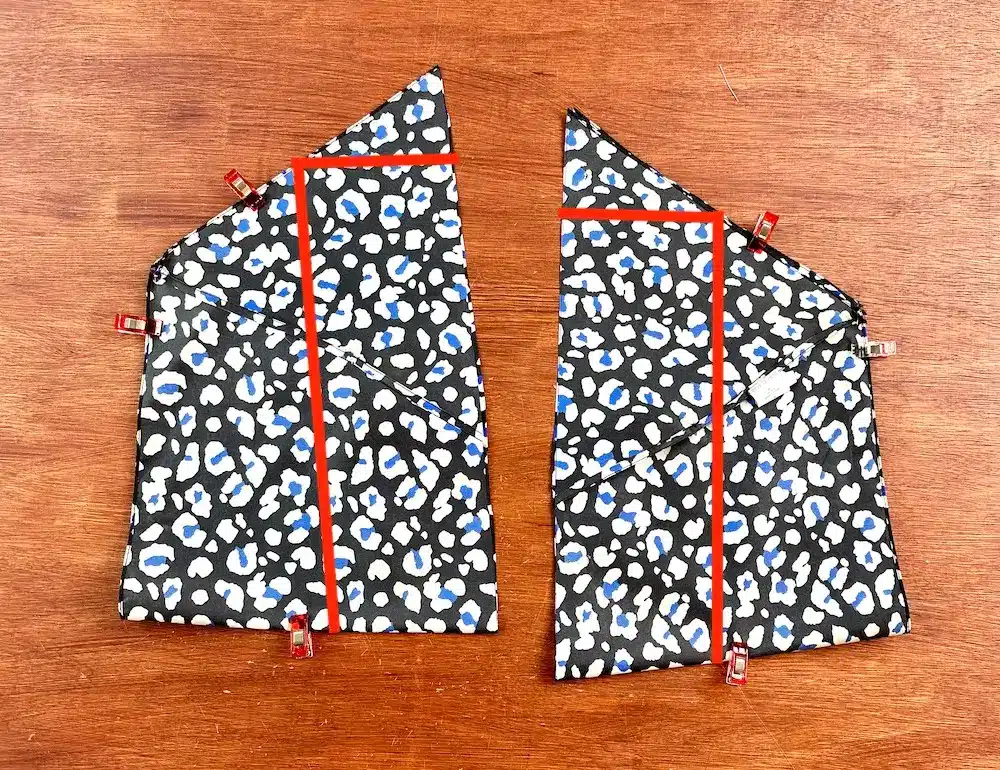
English sewing
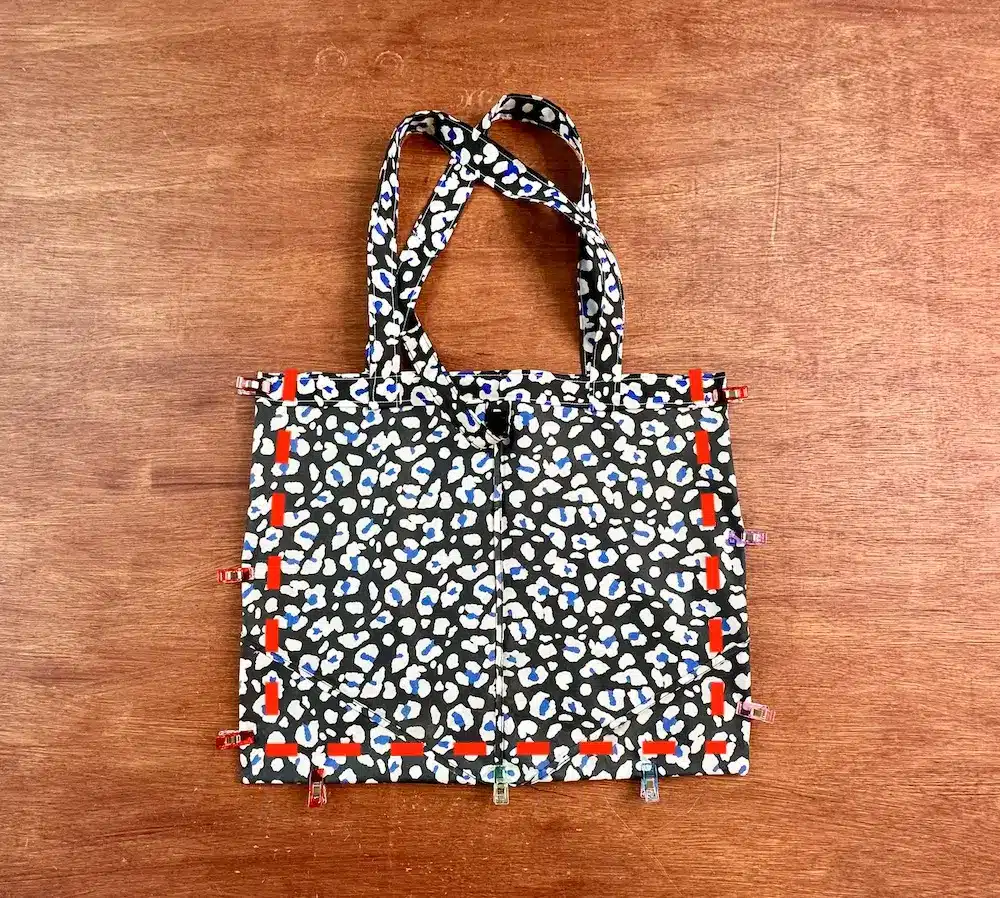
To close the bag and avoid visible seams, we’re going to do an English seam. Start by folding your tote bag inside out, and using the sewing machine, we’ll stitch the 2 sides and the base of the bag at 0.5 cm intervals.
Then we turn the bag inside out, highlighting the corners and seams, and stitch again in the same places, this time 1 cm from the edge.
Iron your bag on the spot and you’re done! Well done!