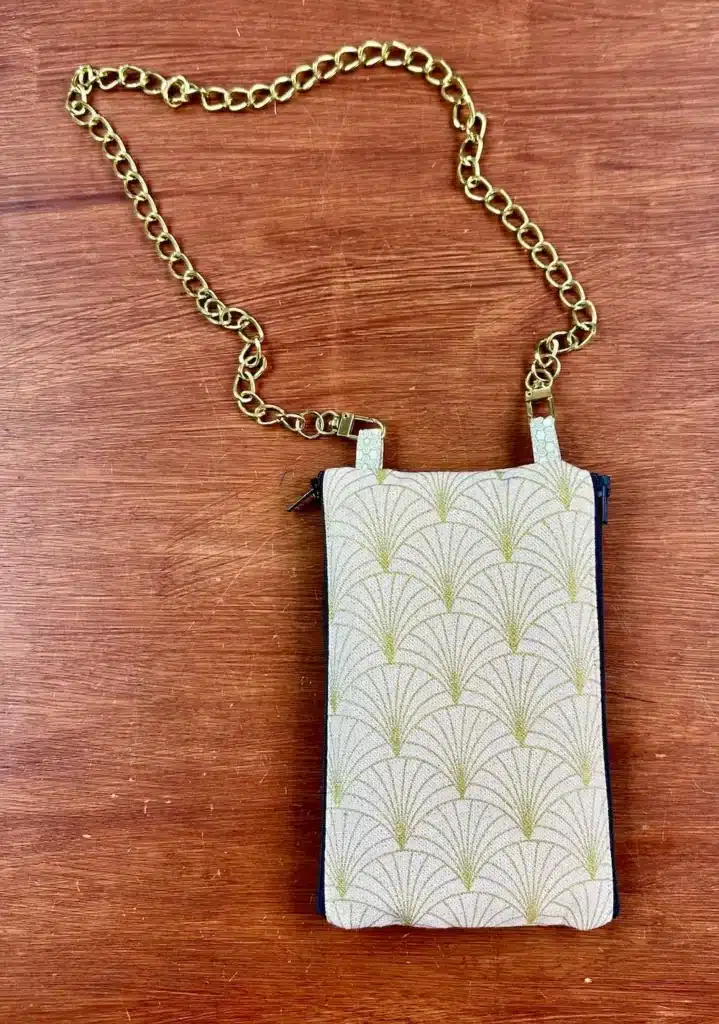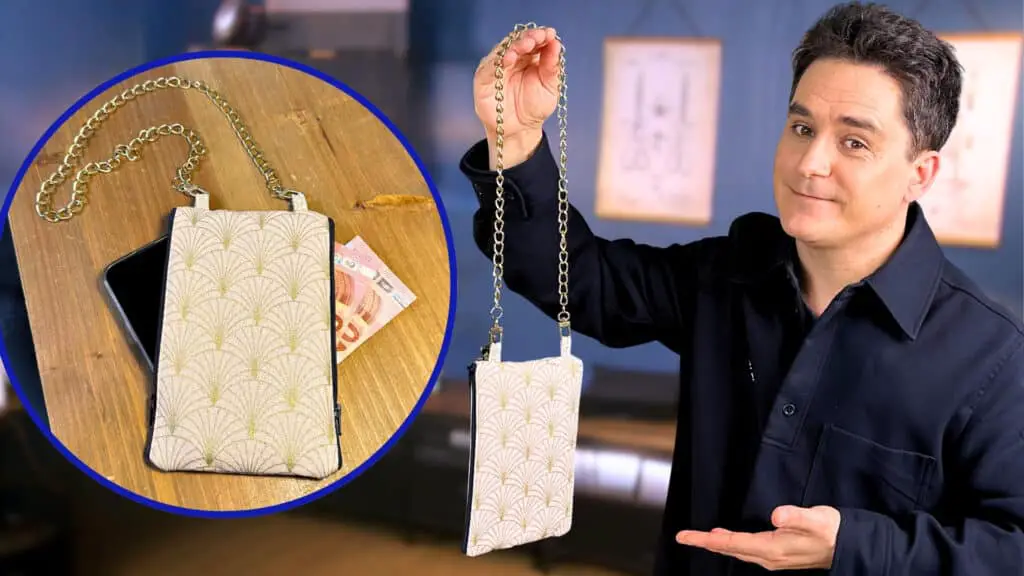
The Magic Phone Pouch
Learn how to sew a phone pouch with zipped pockets for storing essentials.
A quick and easy tutorial, with no PDF templates to download!
The video tutorial is at the very bottom of this article.
Sewing equipment
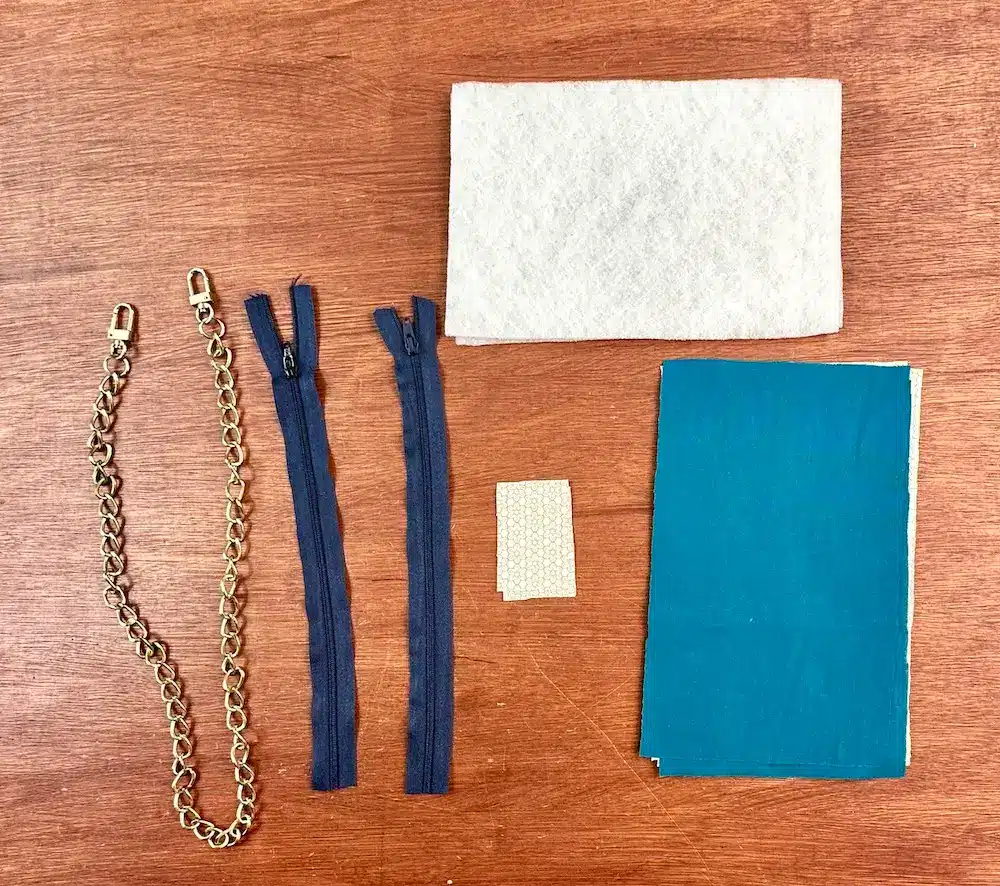
To sew this Magic Pouch, you will need :
- 2 rectangles (H) 22 cm X 14 cm for the outer fabric.
- 4 rectangles of the same dimensions for the pockets (in the video, I use 1 pattern per pocket, but nothing prevents you from making the 2 pockets with the same fabric).
- 2 rectangles, always (H) 22 cm X 14 cm in fleece interfacing
- For fasteners, 2 rectangles (H) 6 cm X 4 cm
- 2 x 26 cm zippers. To avoid the hassle and, above all, to pay less, I use zippers by the meter.
- 1 chain
And your usual sewing equipment, of course!
Interlining
We need to iron on the 2 rectangles of outer fabric. To do this, place the 2 pieces face down, and place a rectangle of fleece over each one. Then, using your iron and a damp cloth, press each square centimetre of fleece for around 12 to 15 seconds.
Front and back of phone pocket
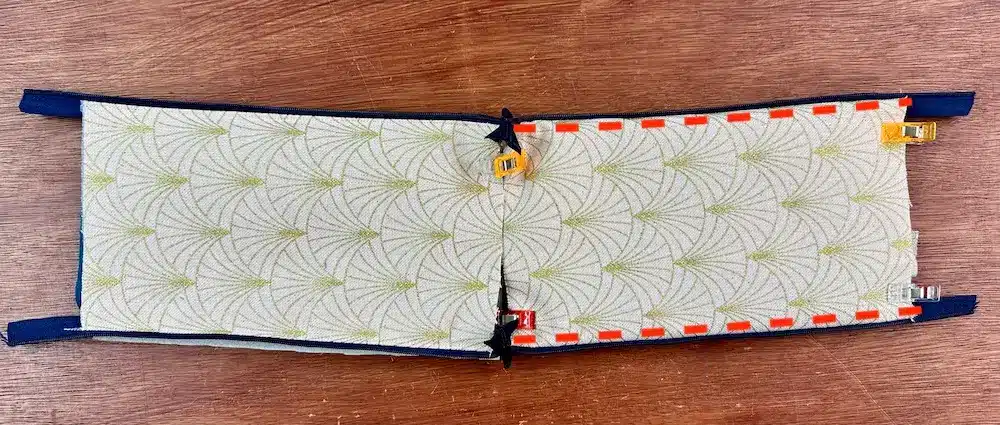
The first step is to place one of the outer fabric rectangles right-side-up. Then, right sides together, place the 2 zippers on top. The zippers are longer than the rectangle, and that’s normal. For now, we’ll just extend the zippers on either side, and position the sliders on the outside. This will make sewing easier later on!
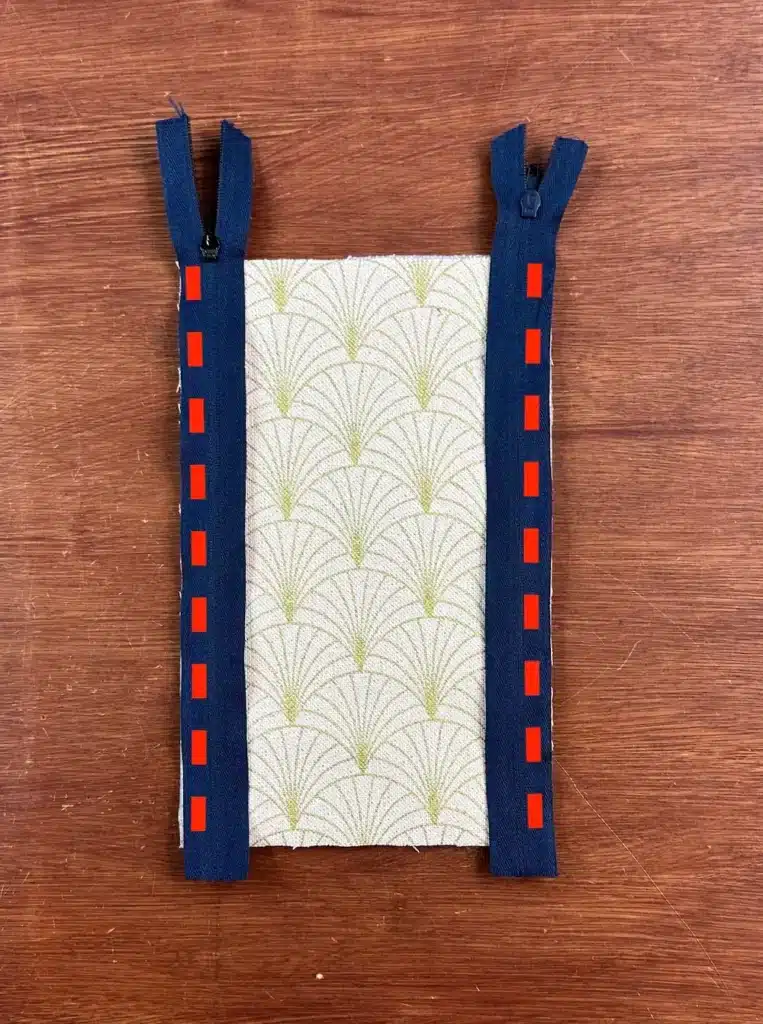
Then, right sides together, we place 2 pocket rectangles. Align one of the long sides with the edge of the zipper, pin the whole length, then machine. We stitch in straight stitch with the zipper presser foot, as close as possible to the zipper teeth.
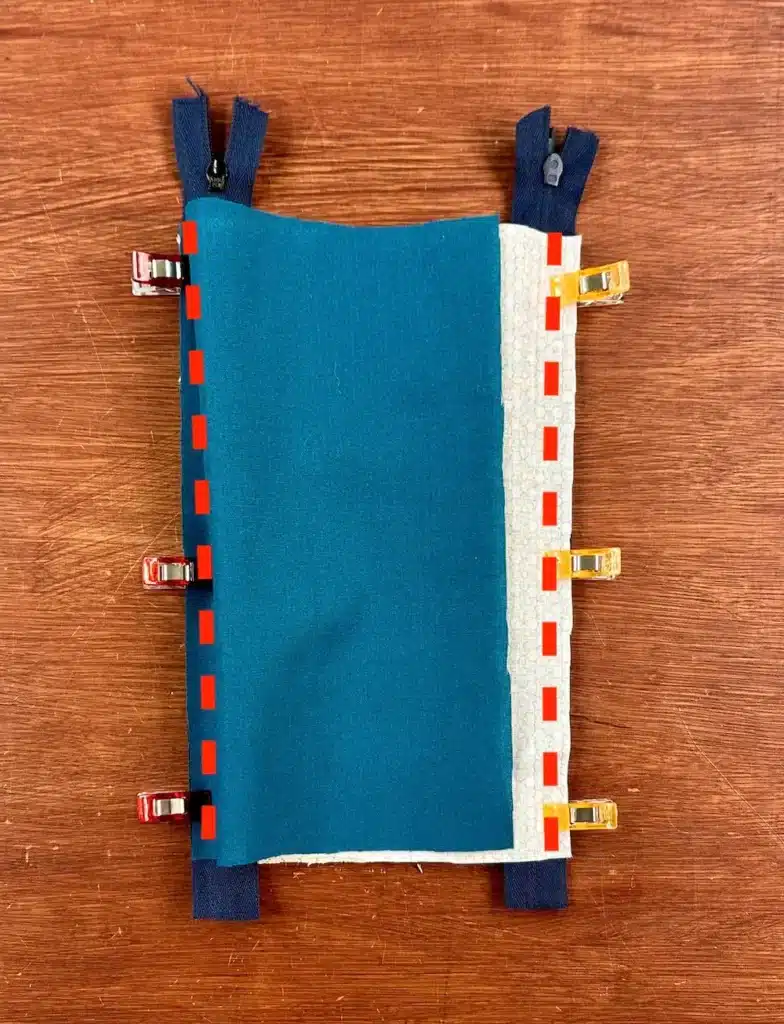
Now we turn the 3 rectangles of fabric inside out. We’ll top-stitch the outer fabric with the pocket fabric.
Be careful at this stage to sew the right pocket rectangle with the outer fabric, for each side. The principle is to stitch the outer fabric and the pocket on each closure, but the pocket rectangles are not sewn on 2 sides.
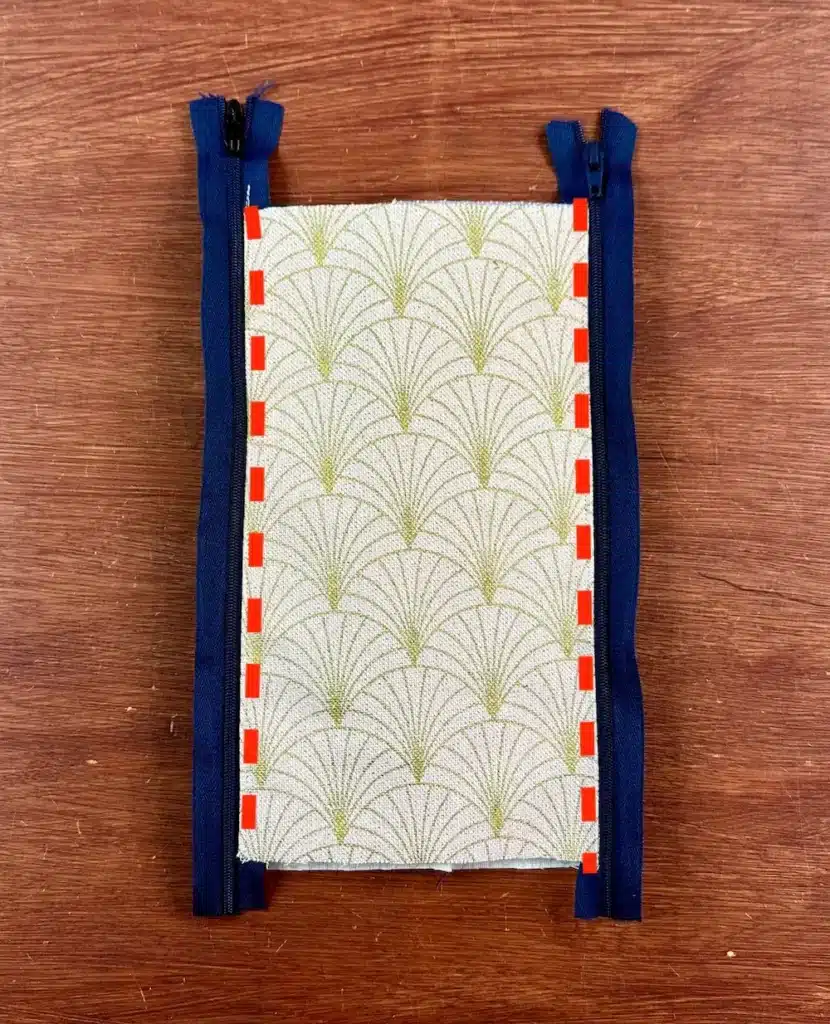
Now position the last rectangle of outer fabric, right sides together. Align the long sides with the outer edges of the zippers.
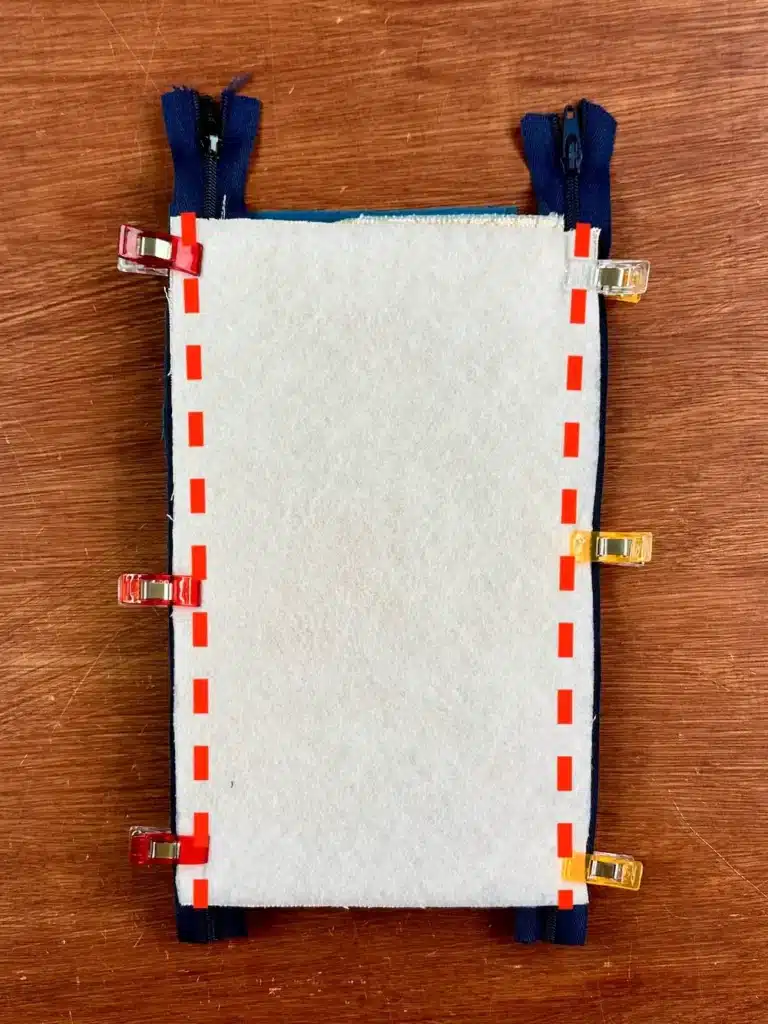
Turn the whole thing over, and place the 2 remaining pocket rectangles right sides together. Again, we’ll stitch each pocket on one side.
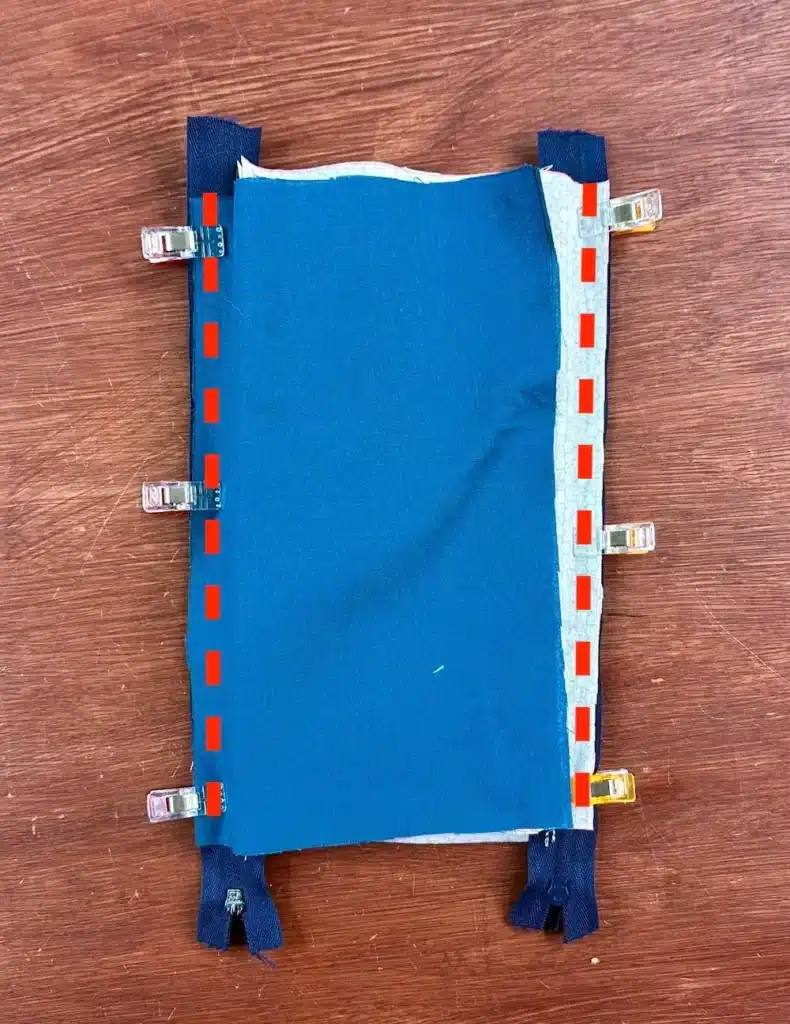
We open the zippers, without pulling out the slider, and turn the pocket right side out. We’ll topstitch the outer fabric and pocket rectangles together, all along the zipper teeth.
Fasteners
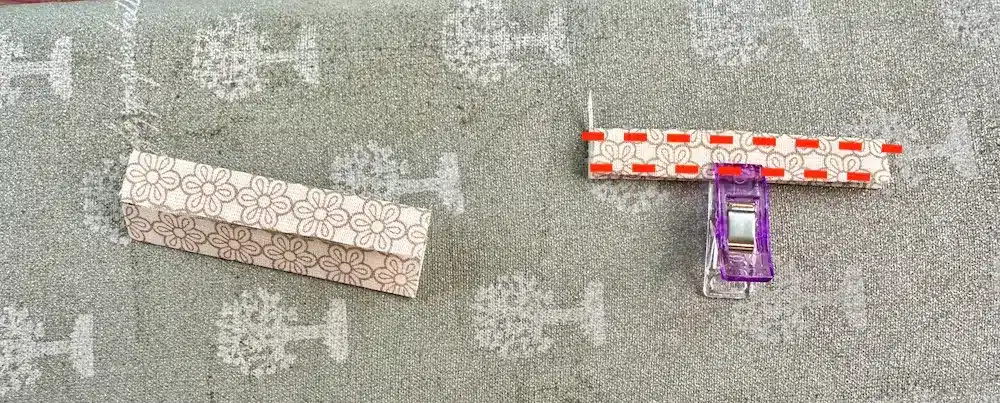
Before we move on to making the pouch, we’ll take care of the fasteners. Place the 2 rectangles face down and fold them lengthwise. Use your iron to mark the center fold. Then re-open the rectangles, and fold the long edges against the center fold. Again, iron to mark the 2 new folds. Finally, fold the strips in the center again, and we’ll make 2 seams on either side.
Formation of the Telephone Pouch
Move the sliders up, but leave them inside the pocket (they should no longer be on the outside as they were at the start of the tutorial). Then position the pouch on its reverse side, so that the pocket rectangles are right sides together. Mechanically, the outer fabric rectangles are also right sides together.
We take this opportunity to place the 2 ties we’ve just prepared. We form a loop each time, joining the short sides of each fastener edge to edge. Then we position each loop 1.5 cm from the zippers, on the top of the pouch. The fasteners are enclosed between the 2 rectangles of outer fabric.
Pin all around to prevent movement. Make sure the teeth of each zipper “go” towards the pockets.
We’ll stitch all around the pouch, leaving a 15 cm opening in one of the pockets.
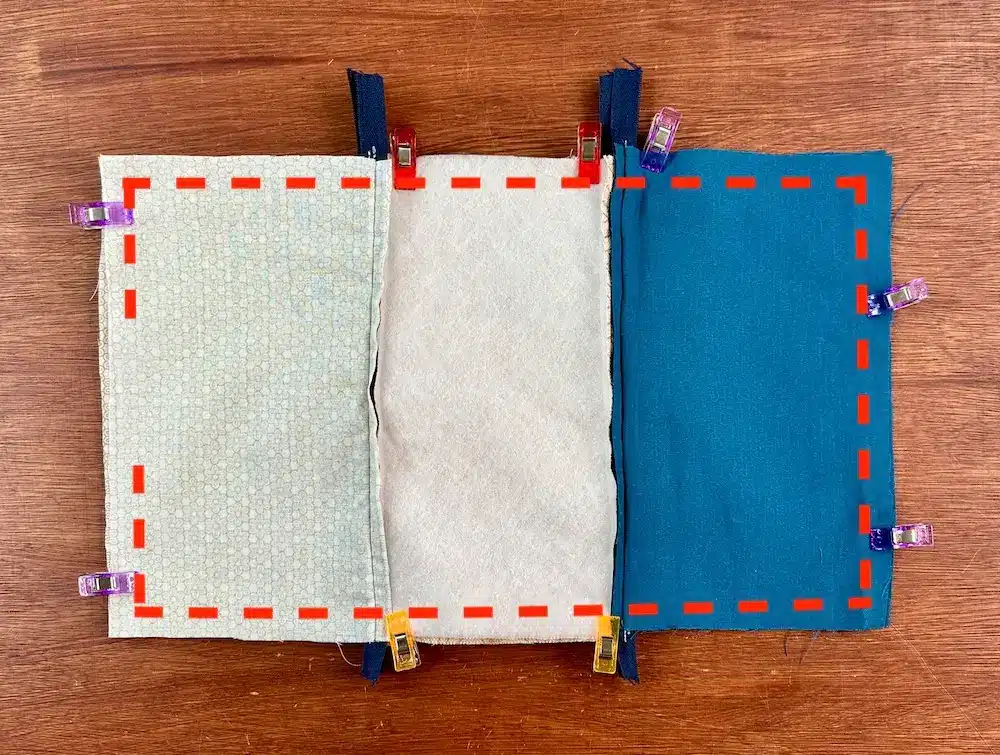
We strip the corners. That is, we cut at 45° each of the 4 corners of the pocket, without cutting the thread we’ve just sewn.
Then, through the opening you’ve left in one of the pockets, turn the phone pouch right side out. Give it a nice shape by pushing back the corners, sides and fastenings.
Then we tuck in the seam allowances of the opening we’ve left in one of the pockets, and stitch as close to the edge as possible with a straight stitch to close neatly.
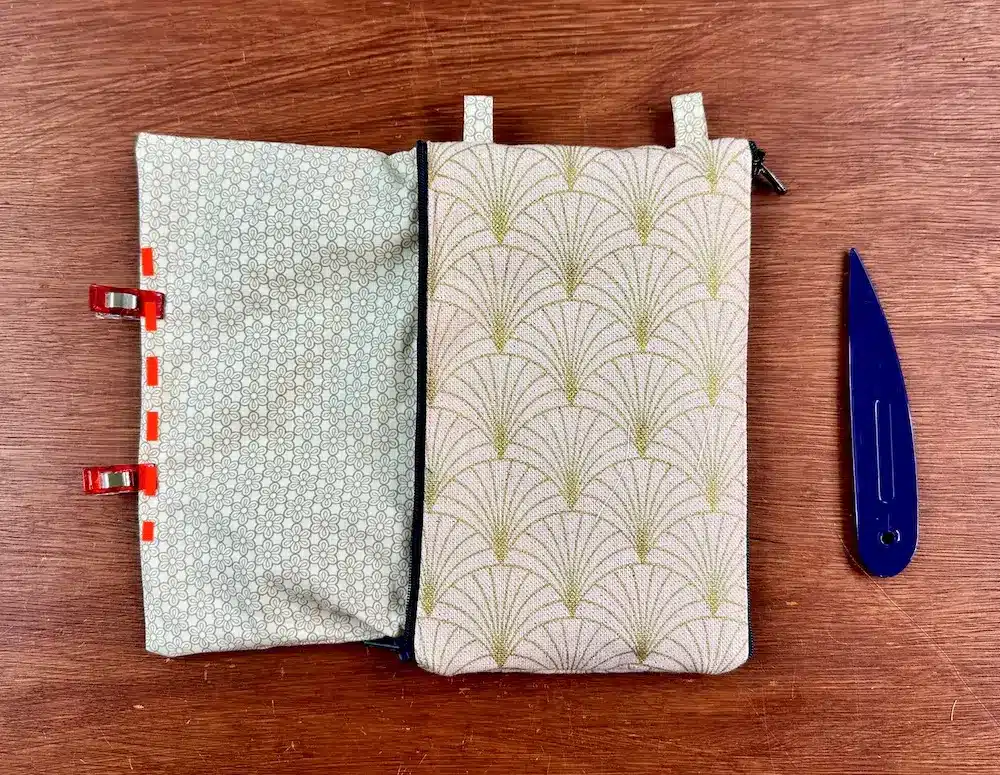
You tuck the pocket inside the pouch, then attach the chain to the fasteners, and the phone pouch is finished! Well done!
