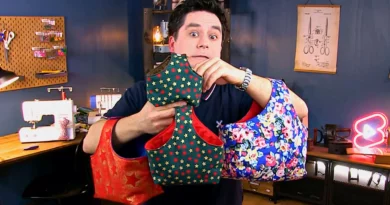
The Halloween Citr’Ouille!
Halloween is the perfect occasion to add some original decorations to your home, and what could be better than a little handmade pumpkin?
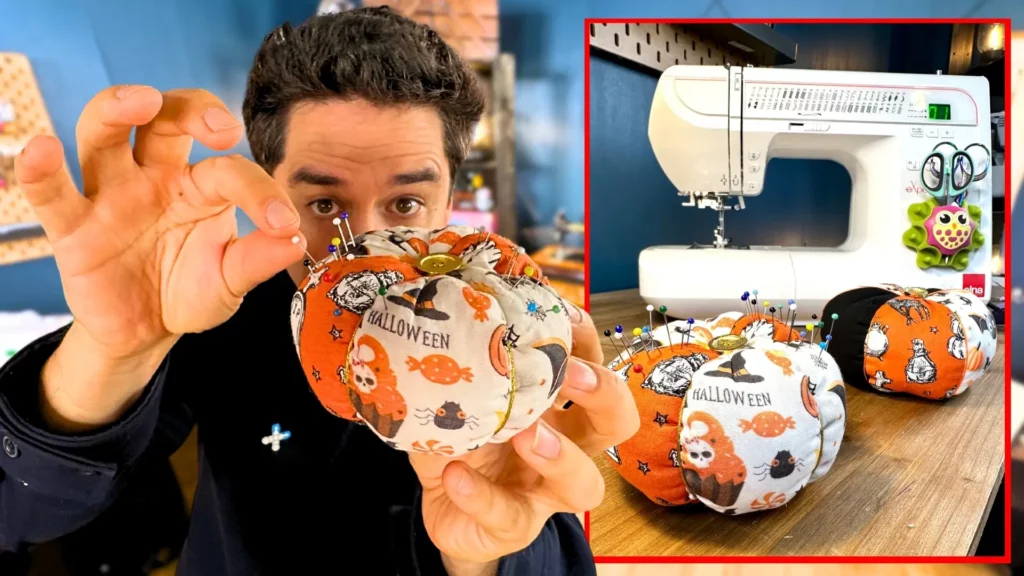
In this tutorial, I’ll show you how to sew this “Citr’Ouille”, a pumpkin that not only adds a festive touch to your decor, but can also be used as an original and practical pin holder for your sewing room!
Quick and easy to sew, this project is as fun as it is useful. Follow the guide and create a dual-purpose accessory, ideal for parties and sewing sessions!
To sew this Citr’Ouille, you will need the PDF pattern to download directly by clicking here, or on the CoutureEnfant Facebook group, in the “Files” tab.
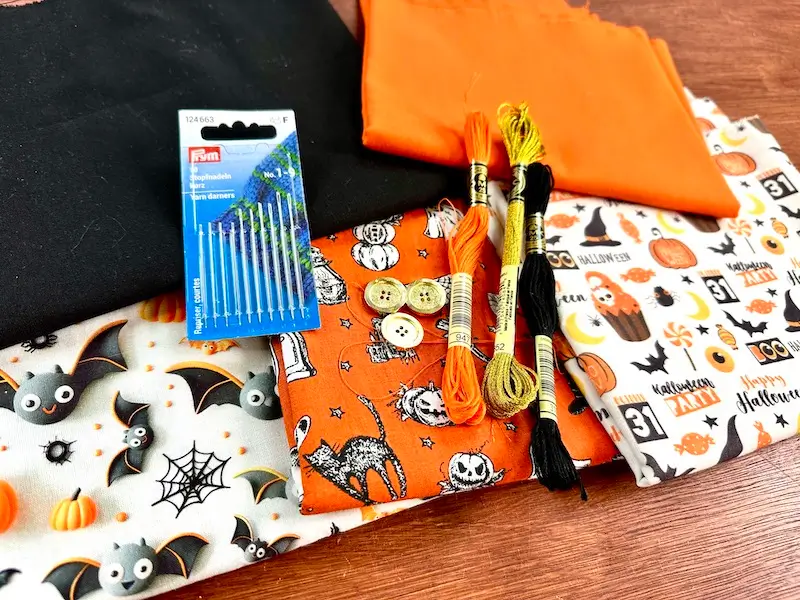
Sewing equipment
This Halloween Pumpkin can be sewn entirely from fabric scraps. You won’t need a lot of fabric, and it’s possible to replace the stuffing with fabric confetis.
- For each pumpkin quarter (and there are 6), you’ll need a rectangle measuring (H) 17 cm x (W) 8 cm. In the tutorial, I use different cotton coupons in the Halloween theme.
- To stuff the pumpkin, you’ll need … stuffing! About 50 grams if you pack well!
- A small amount of embroidery thread in a color to match your fabric(s)
- A button
And your usual sewing equipment, of course 😉
To watch the video tutorial, click below!
Pumpkin step-by-step guide!
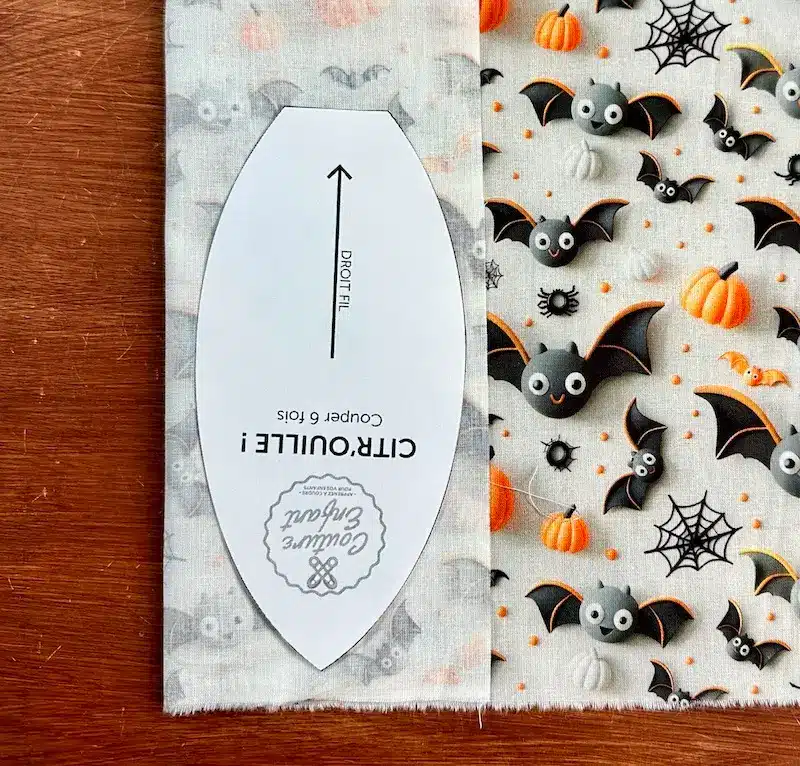
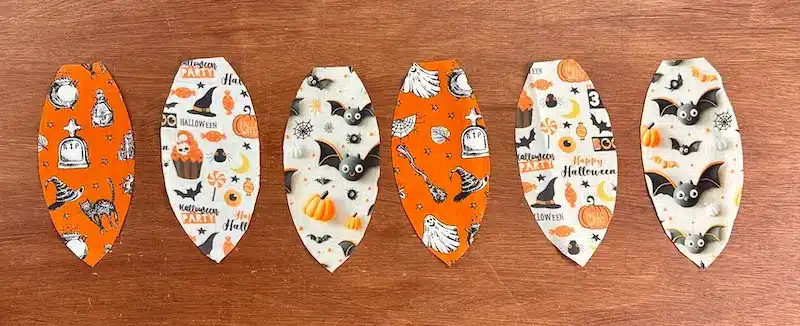
Fabric cutting
We’ll start by cutting out our 6 pumpkin quarters, which we’ll need to sew. In the tutorial, I cut the quarters 2 by 2, folding my fabric over itself, and place my pattern piece in the middle of the fabric, pinning it and cutting around it. This way, in a single cut, I have 2 quarters.
Pay attention to the direction of your fabric: the tip of the pattern piece is the bottom. And the little flat part is the top.
You can also perfectly cut out your 6 quarters 1 by 1, without folding your fabric. It takes longer, of course, but you’ll end up with a multicolored pumpkin!
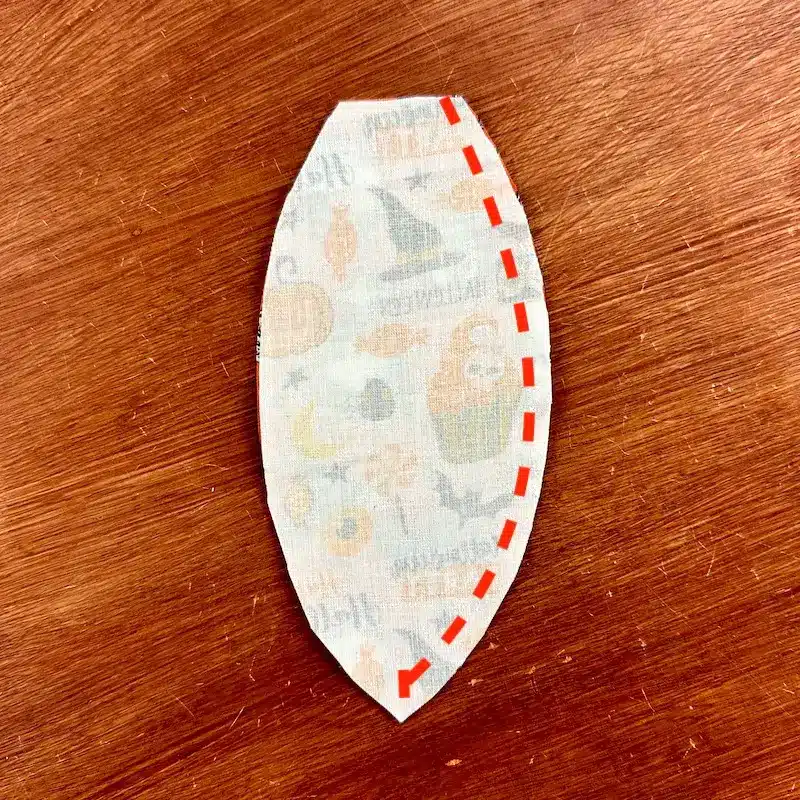
La Couture
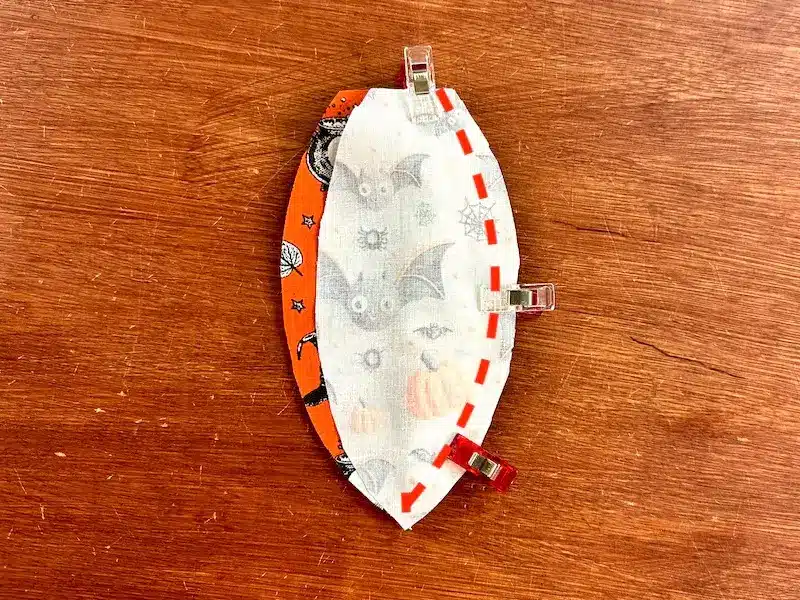
Start by placing 2 pumpkin quarters right sides together, and we’ll straight-stitch one on each side. Pay attention to the point at the bottom of the pumpkin: stop sewing at the point.
The seam is opened with an iron (i.e. the seam margins are spread apart and ironed to lock them on either side of the seam), and the previous operation is repeated with a new pumpkin wedge.
And so on, until all 6 quarters have been sewn together.
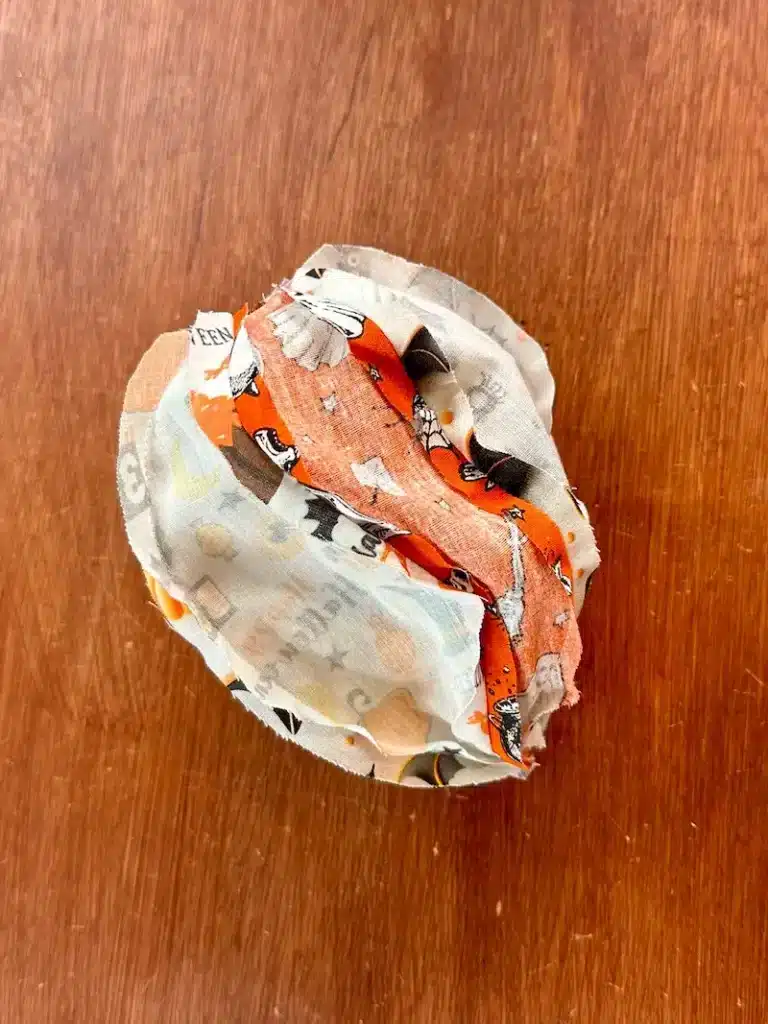
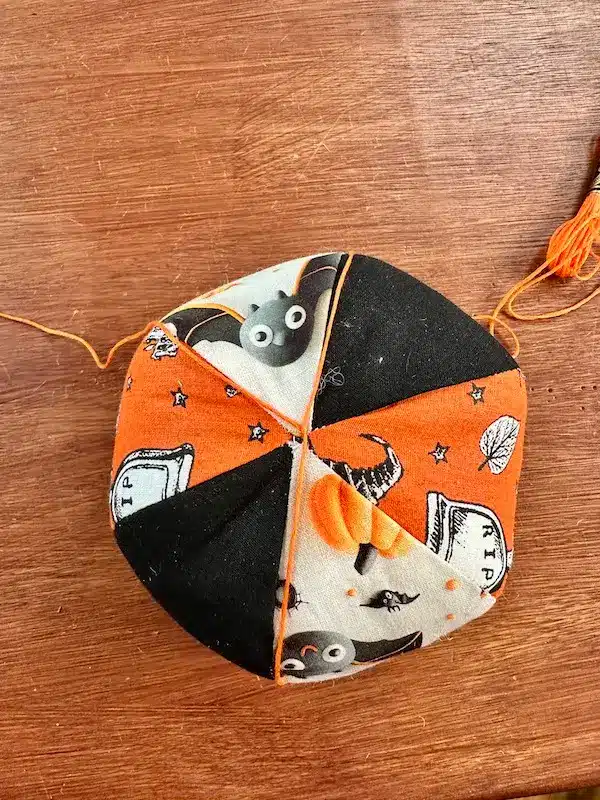
Turn the pumpkin right side up.

Then fill it with stuffing, or fabric scraps cut into small pieces.

We now close the opening on the top of the pumpkin, with a basic hand-stitch. Don’t worry about this step, as this part will be hidden later.
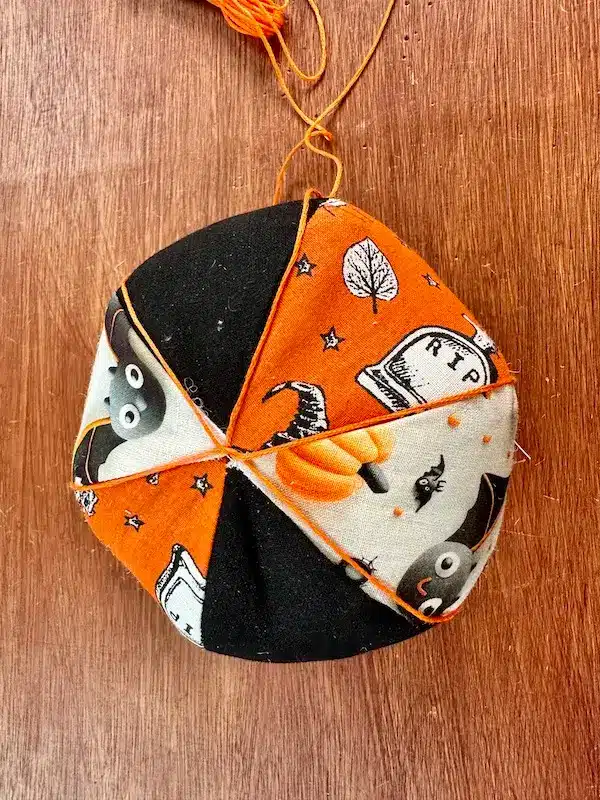
Now it’s time to get your milled thread and a hand-held needle!

You start by threading the yarn through the inside of the pumpkin, bringing it out from underneath, right in the center.
Now it’s time to work your way around the pumpkin with your thread, and when you’ve gone all the way around each seam, you iron the thread inside the pumpkin, through the bottom, and out onto the top, again in the center.
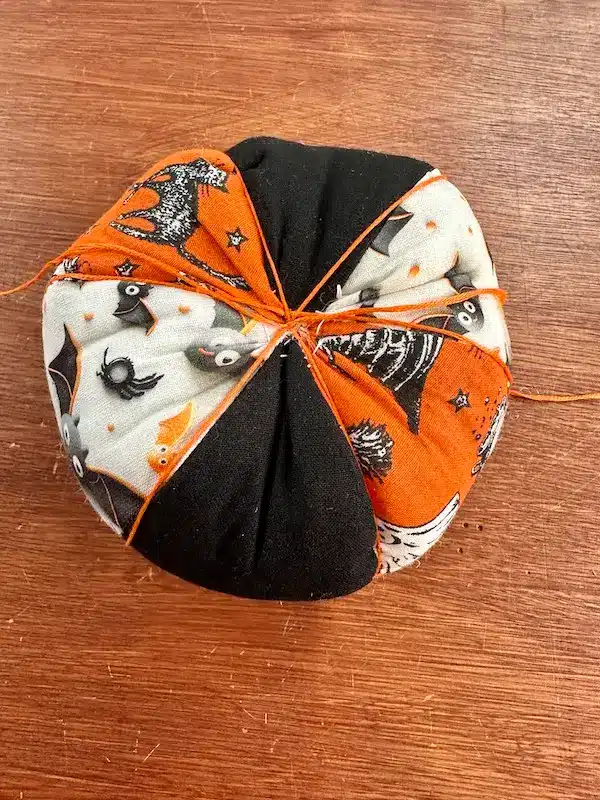
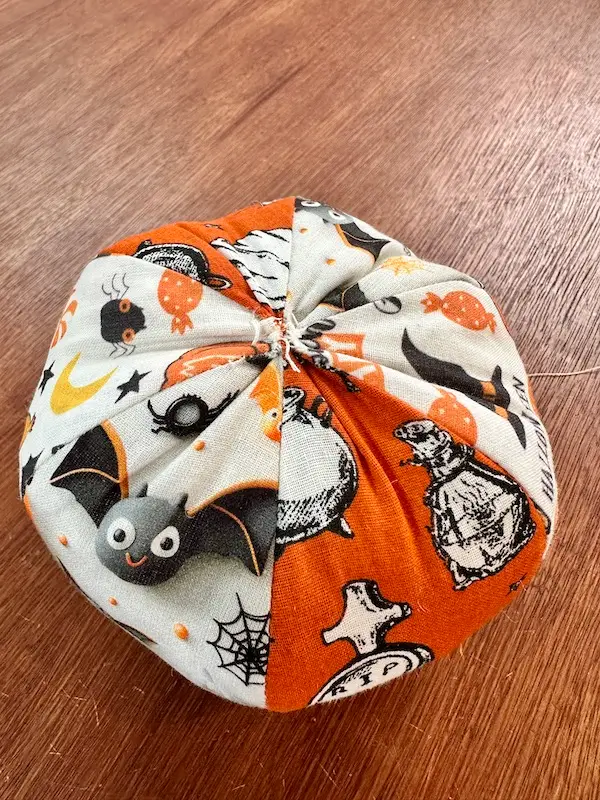
Now tie a knot and pull it tight to give the pumpkin its shape. Then we add the button on top, which will hide the knots and the seam of the pumpkin opening.
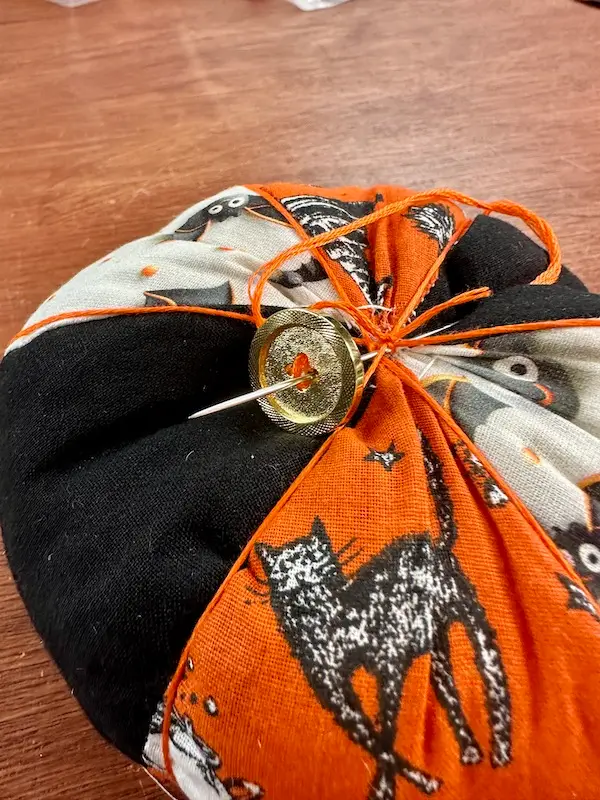
And your Citr’Ouille Pin Holder is finished, congratulations to you!