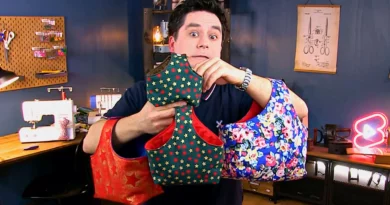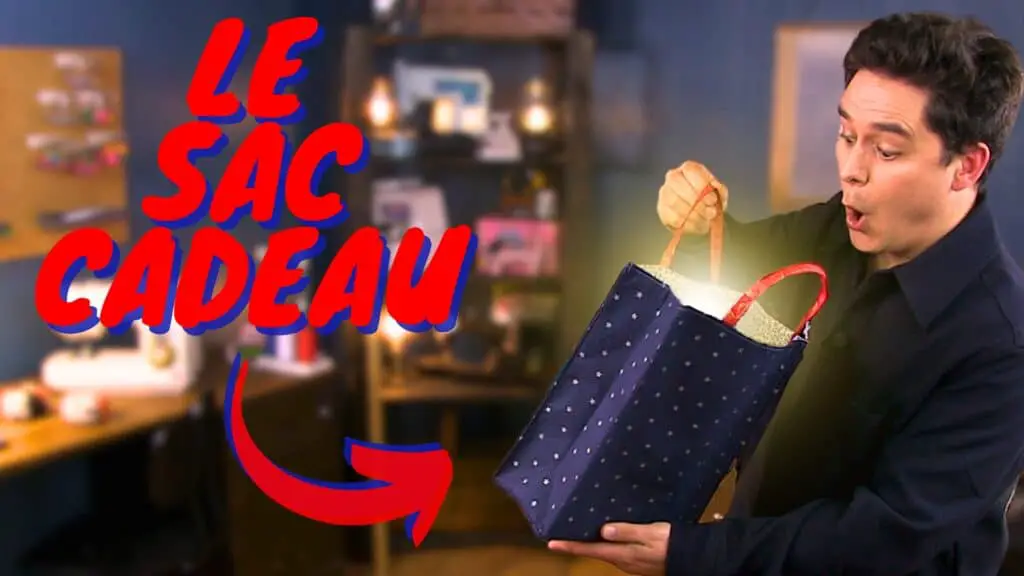
The Gift Bag
Christmas is fast approaching, and with it the search for the perfect gift-wrapping ideas. This year, why not opt for an original, eco-friendly alternative and make your own DIY gift bag?
Inspired by traditional paper bags, this homemade tote bag is not only chic and reusable, but also a creative way to personalize your gifts.
In this tutorial, I’ll show you step-by-step, through detailed photos and an explanatory video, how to easily make a Christmas gift bag.
Grab your scissors, your best fabrics and follow the guide!
Sewing equipment
To sew this gift bag, you will need :
- 2 rectangles measuring (H) 40 cm X (W) 28 cm for the two outer sides of the bag. I use a simple cotonade, but a thicker fabric will also do (jacquard, tarpaulin, denim…).
- 2 rectangles measuring (H) 34 cm X (W) 14 cm for the two outer sides of the bag. I use the same fabric as for the 2 sides, but you can choose a fabric in the same fabric, but in a different shade.
- For the lining, 2 squares of 40 cm sides. I chose a poplin, and I recommend you do the same! In other words, a non-elastic cotton fabric.
- For the handles, I use 2 rectangles of (H) 28 cm X (W) 5 cm in a poplin.
In H250 fusible web:
- 2 rectangles measuring (H) 40 cm X (W) 28 cm for the two outer sides of the bag.
- 2 rectangles measuring (H) 34 cm X (W) 14 cm for the two outer sides of the bag.
- 2 rectangles of (H) 28 cm X (W) 5 cm for the handles.
And you’ll need your usual sewing equipment.
The video tutorial is at the bottom of the page.
The step-by-step tutorial
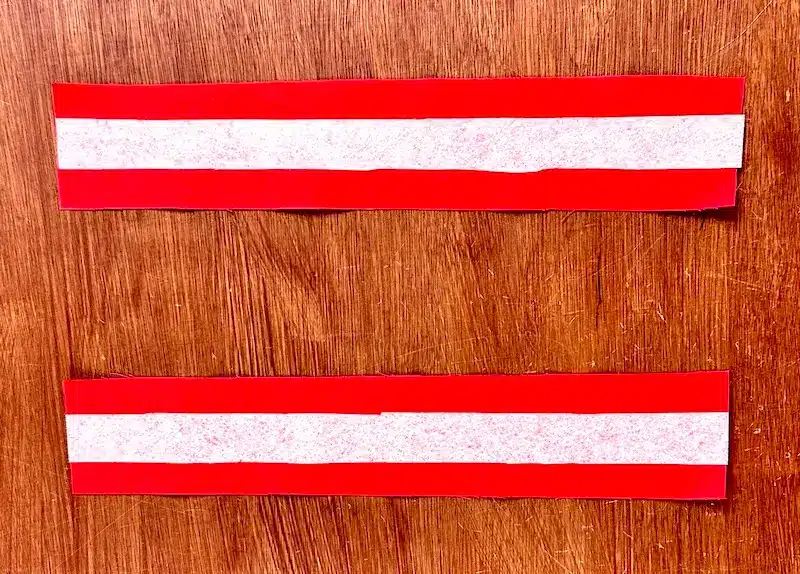
Thermobonding
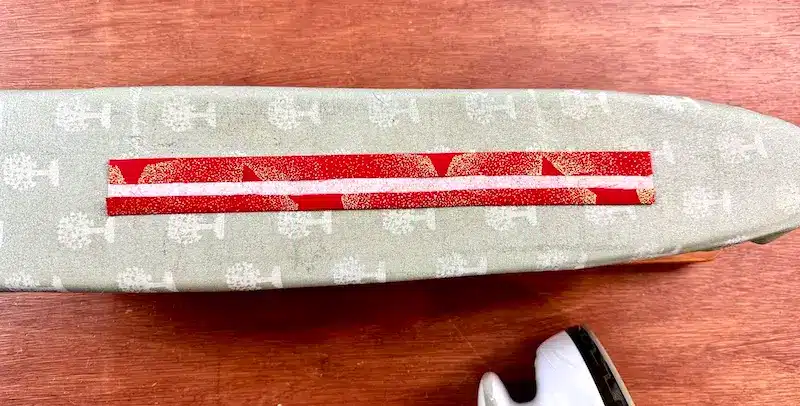
To ensure that your bag won’t sag under its own weight, you’ll need to heat-seal the 2 rectangles on the outside, the 2 rectangles on the sides, and the 2 rectangles on the handles.
The rectangles on the faces and sides are exactly the same size as the thermo, but for the handles, the fusible web is thinner. Place the fusible web in the center, and iron to adhere the thermo.
Les Anses
We start by taking care of the bag’s ANSES. Place them face down, and fold one of the long sides so that the edge of the fabric is against the edge of the fusible web (bottom long side in photo). And the other long side is folded over so that the fold is on the edge of the fusible web.
Then fold the loop over itself, so as to place the 2 folds we’ve just formed against each other. We pin and straight-stitch all the way through.

Now it’s time to place the handles on the outside of the bag. The handle strips are therefore placed 7 centimetres from the edge of the rectangles, towards the inside, taking care that the strips do not twist!
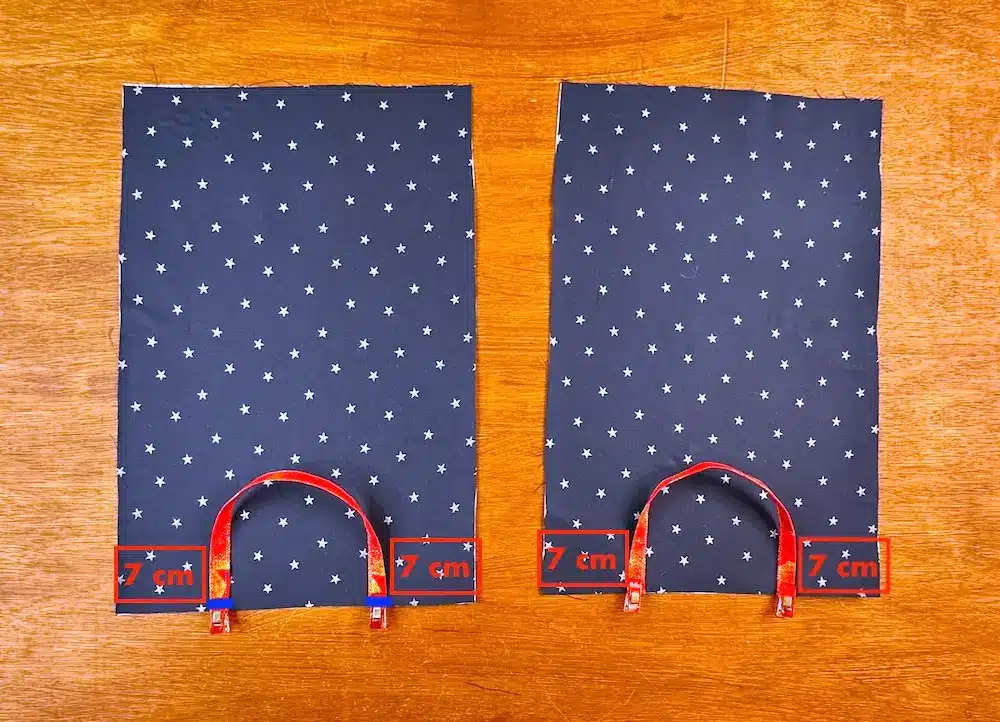
On the sewing machine, we’ll stitch the handles 0.5 cm from the edge, to hold them in place temporarily before the final stitching.
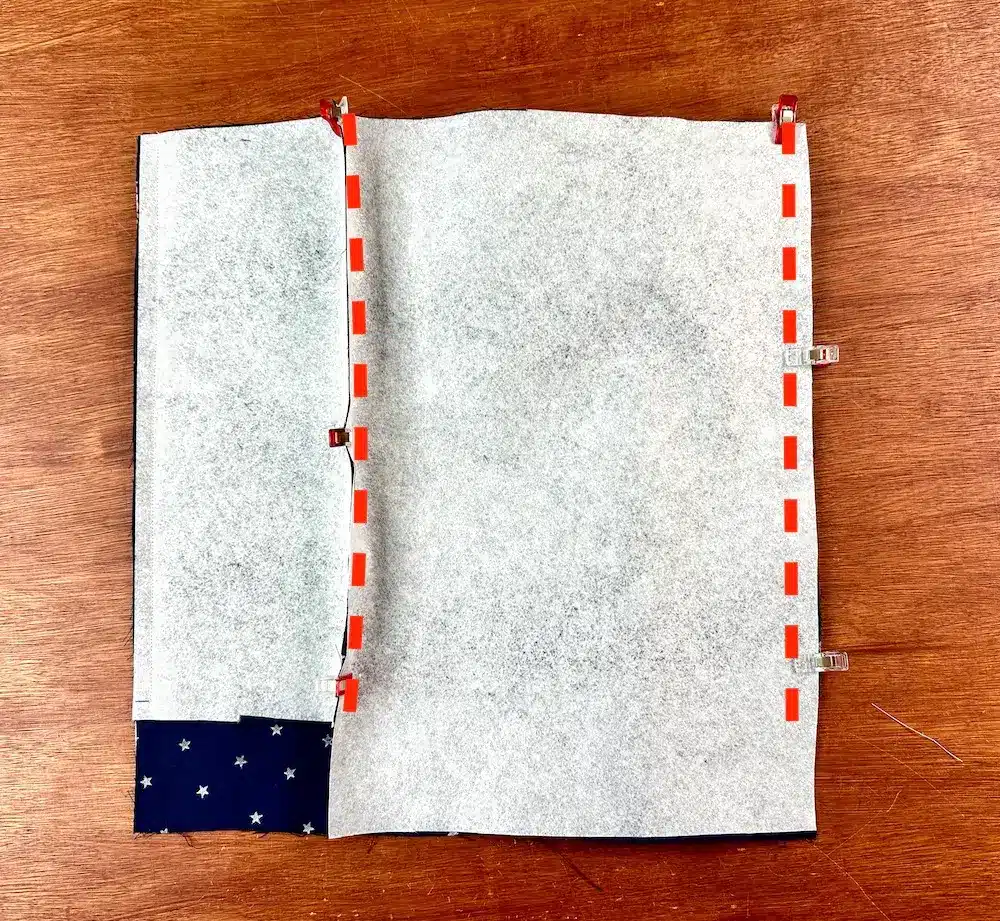
Outer seams of gift bag
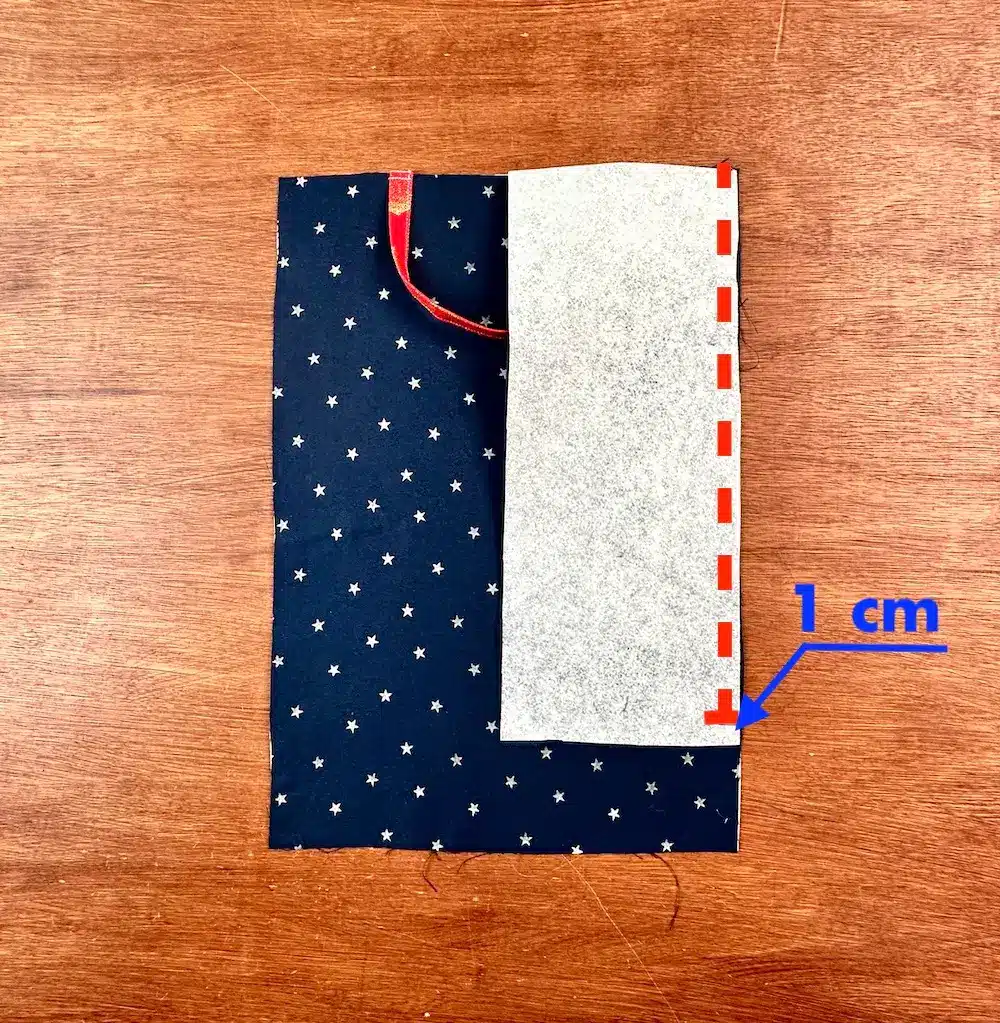
Now it’s time to assemble the sides and the outside of the bag. Place one side right-side-up, facing you, and on top, right-side-up, place one of the sides in the outer fabric. We make the top and one of the long sides of the face and side coincide. And we’ll stitch all the way through, BUT stopping 1 cm from the bottom edge of the side piece.
The second side is sewn in the same way.
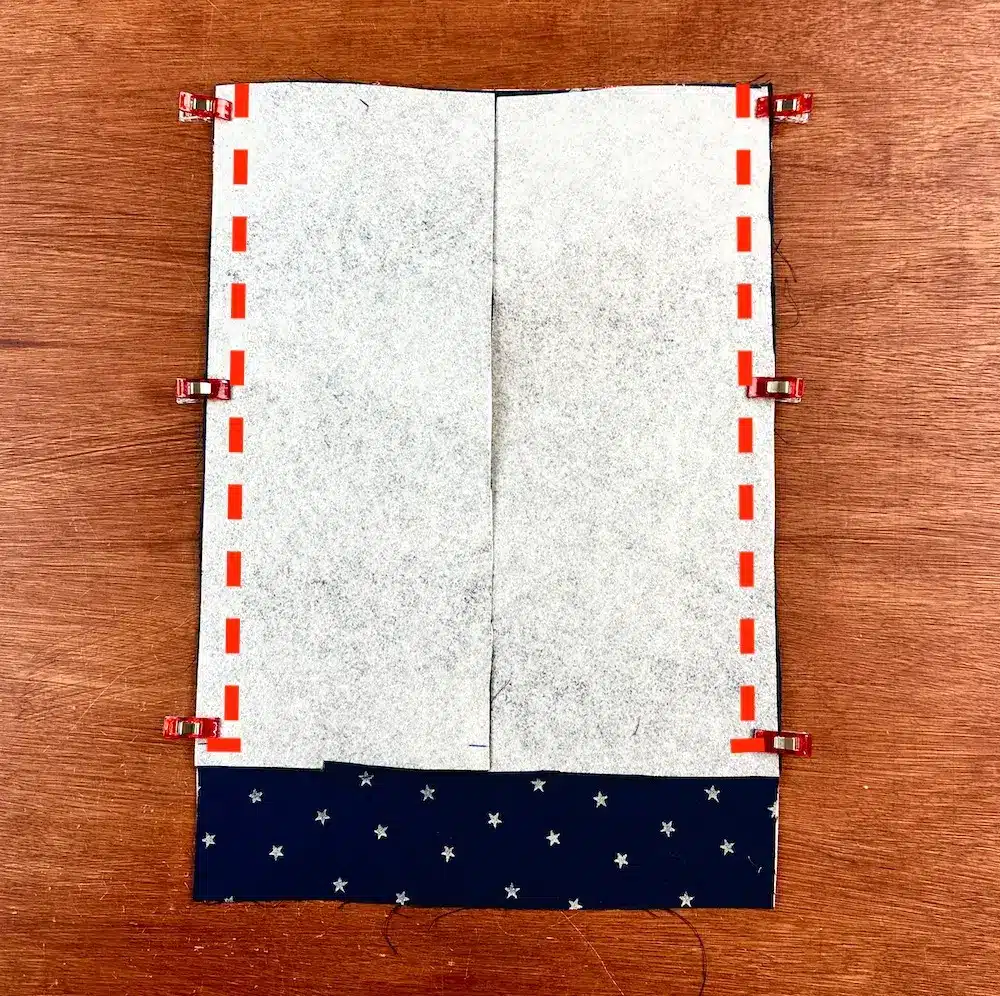
Then, in exactly the same way, we’ll sew the second side of the bag to the 2 sides.
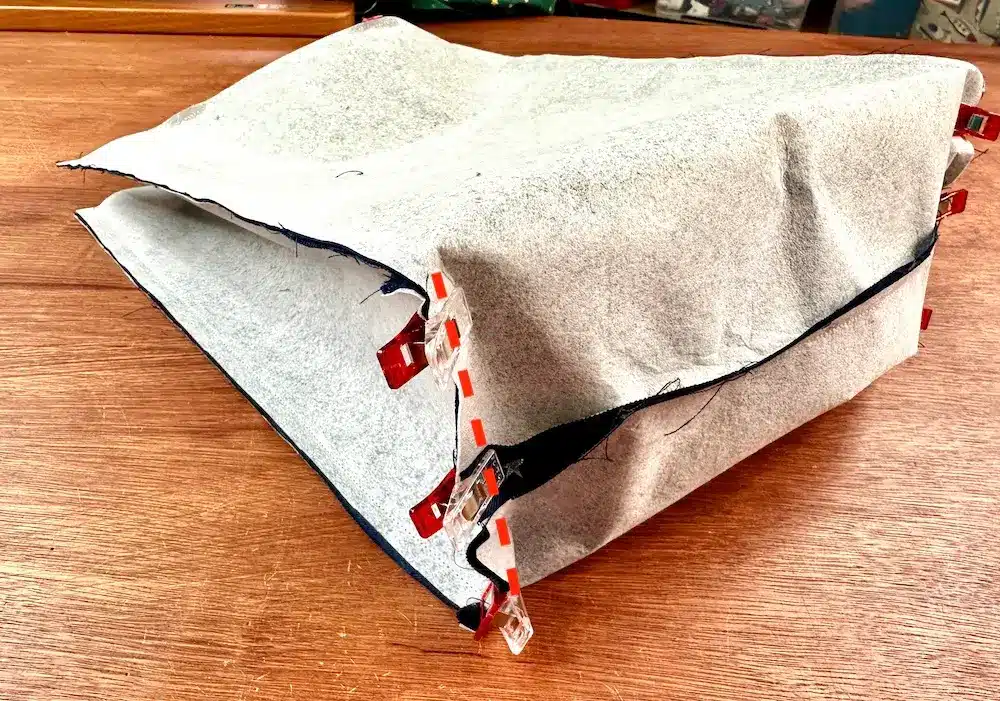
Then we place the 2 sides of the bag facing each other, and sew the base.
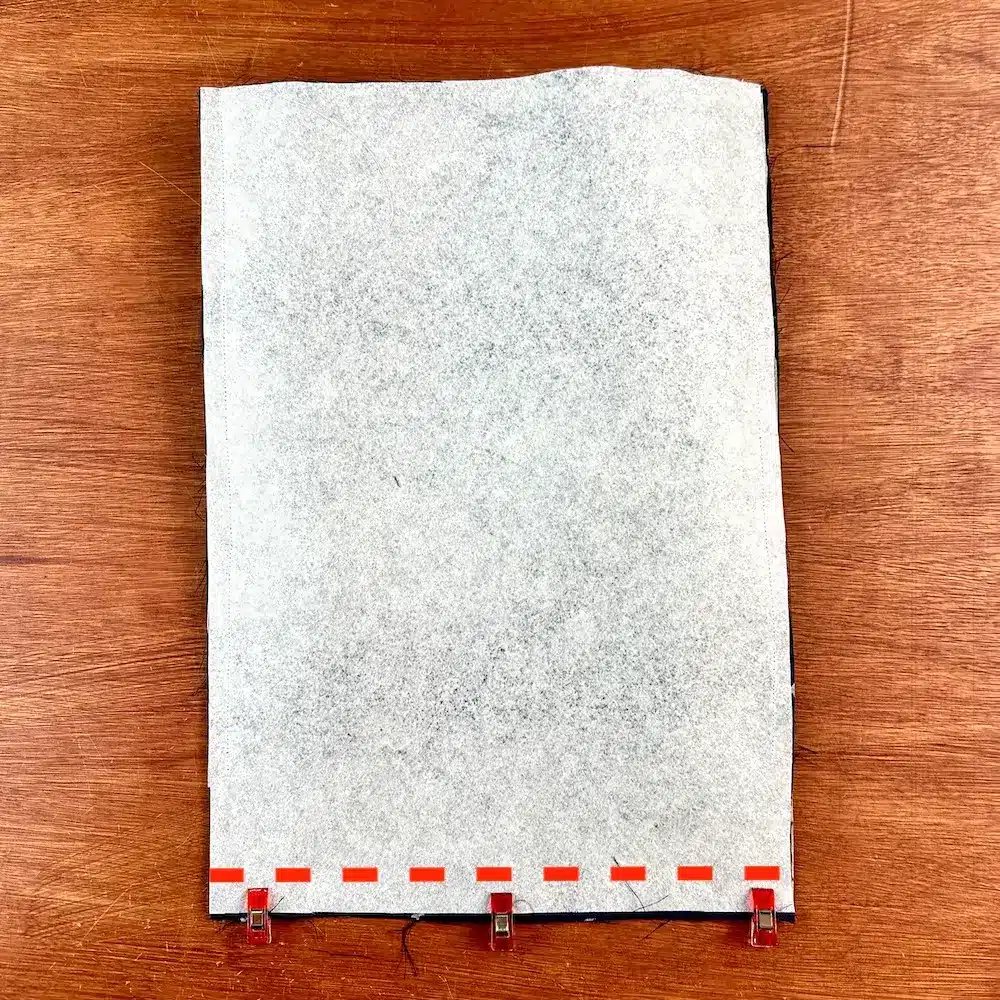
Finally, let’s add some volume to this gift bag. To do this, pull slightly at the bottom of the sides, so that the side matches the bottom of the bag. This closes the opening left on the sides, forming a tote-like bag.
The lining
We place the 2 40 cm squares right sides together, and stitch 3 sides, BUT we absolutely must leave an opening on the bottom of the gift bag. This 20 cm opening will be used to turn the bag right side out.
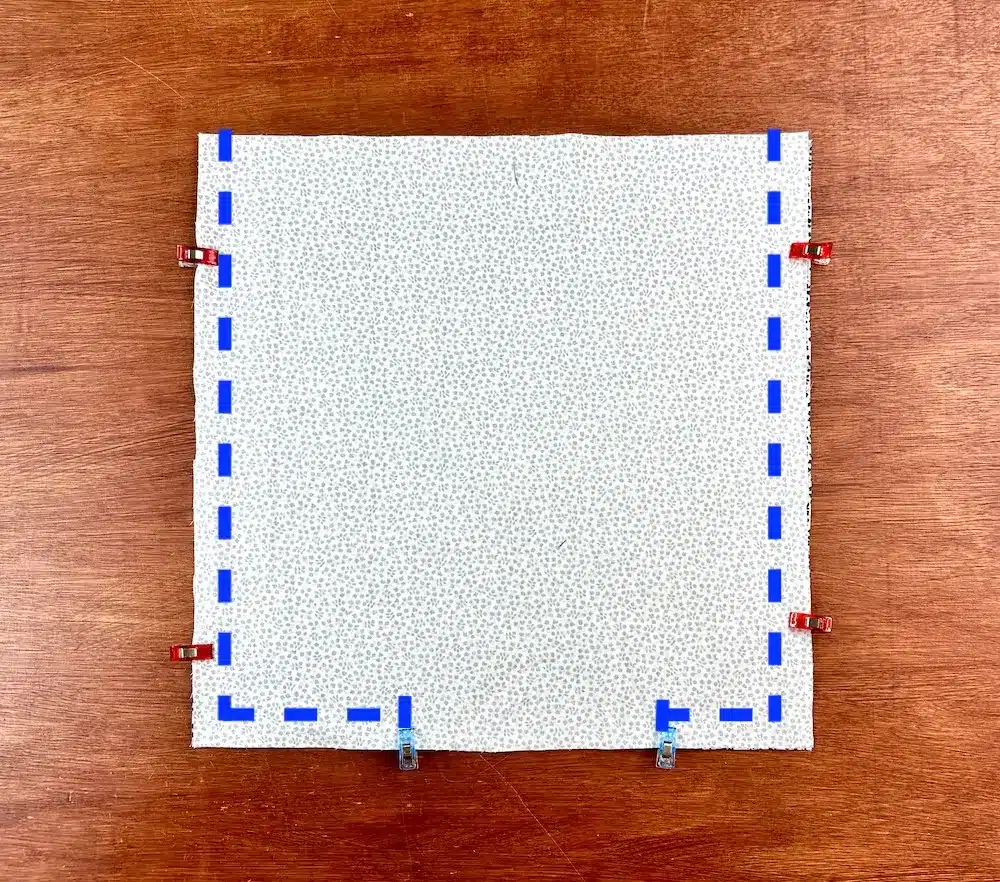
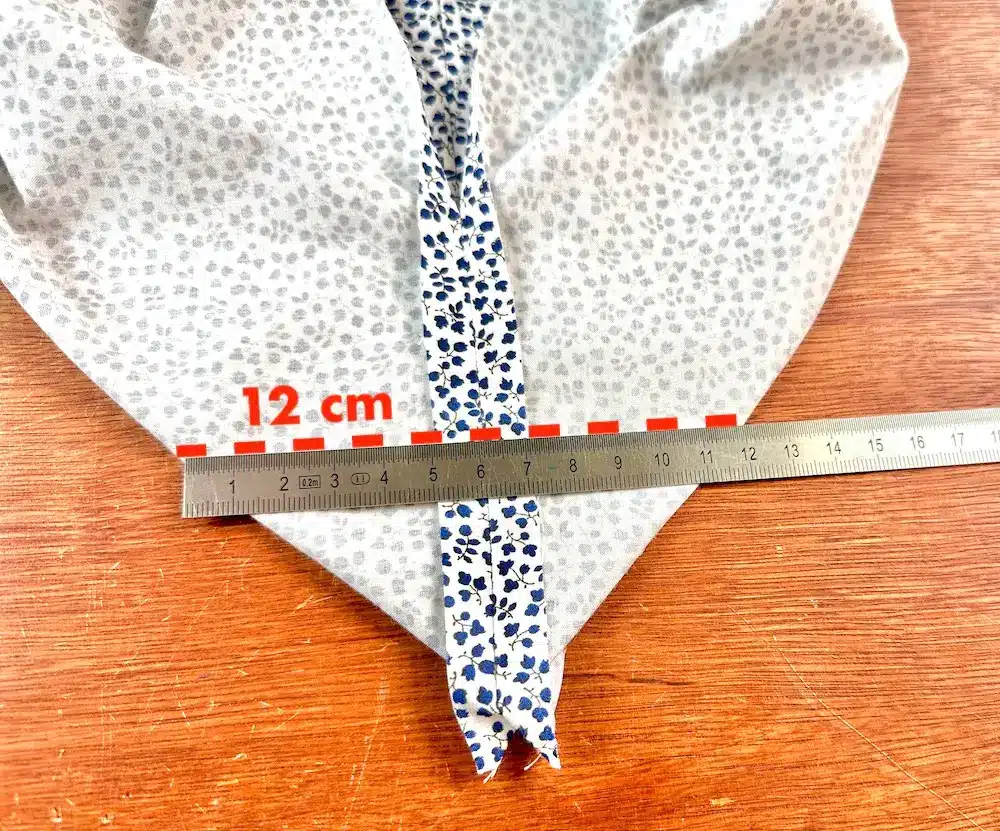
Next, we’ll add volume to the lining by aligning the bottom seam with the side seams. Using a ruler, measure 12 cm perpendicular to the seam. Trace and stitch directly on the line. Then remove the excess fabric at the seam edge.
Turn the lining right side out.
Assembling the gift bag
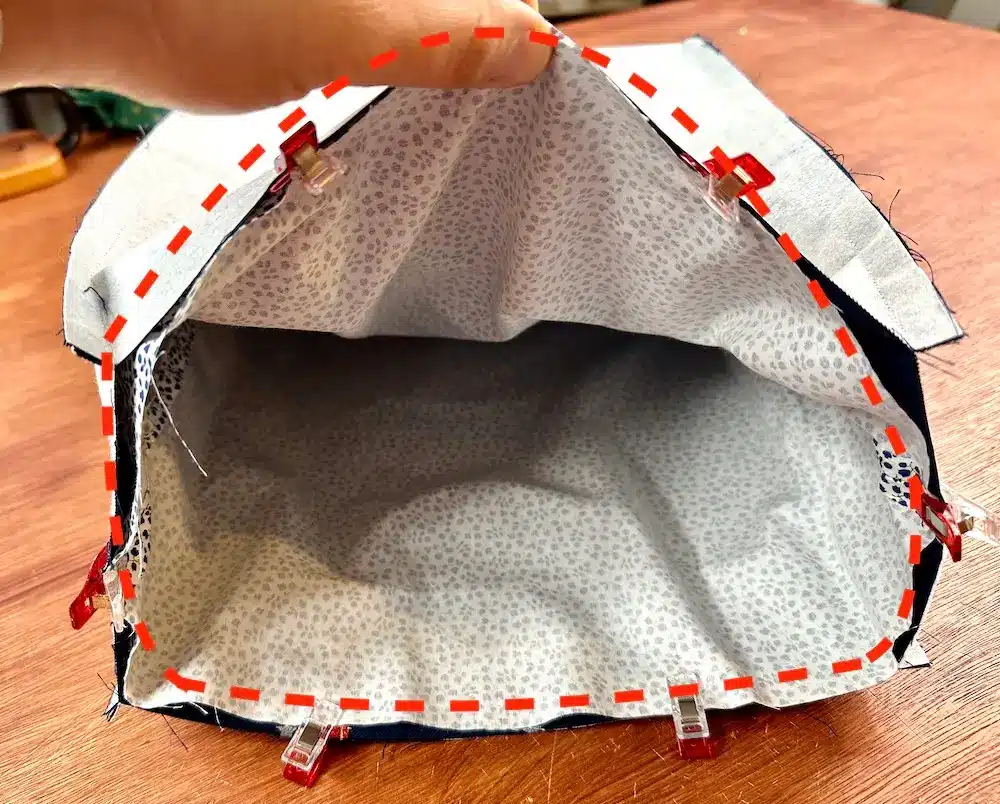
The lining we’ve just prepared on the inside of the bag is inserted into the outer fabric. The 2 parts are normally right sides together. Match the seam on the lining side with the middle of the bag side in the outer fabric. Use small clips or pins all around the opening at the top of the bag, and stitch with a straight stitch.
We now bring out the lining, and through the opening you left at the bottom of the lining, turn the bag right side out. You’ll need to press the corners and seams to give your gift bag a nice shape, and we’ll close the opening. We tuck the seam allowances inside and discreetly topstitch along the opening to close it.
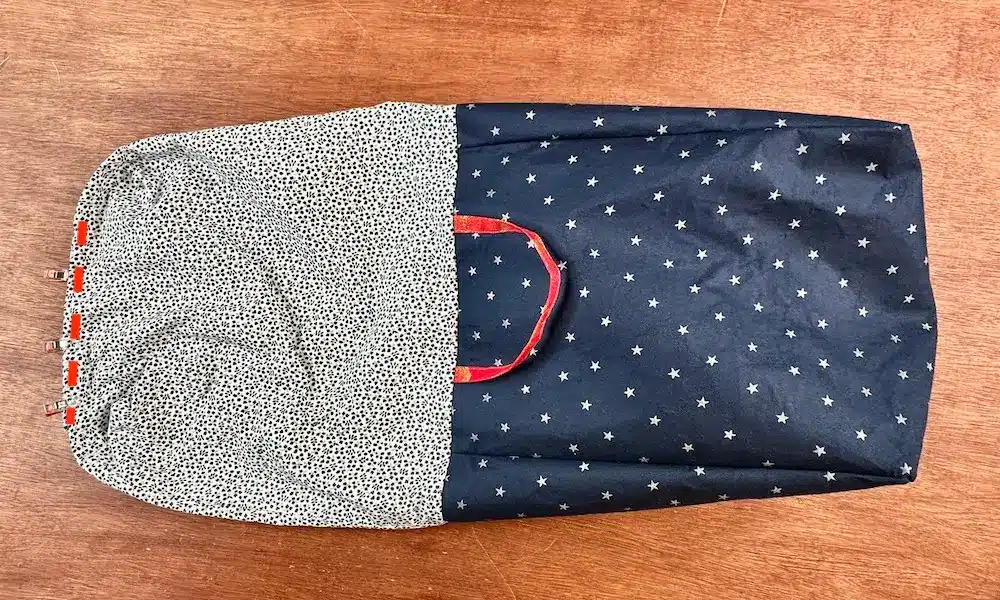
The lining must be put back inside the bag. We’ll topstitch the entire opening at the top of the bag. This topstitching will lock the lining inside the bag, and the outer fabric on the outside.
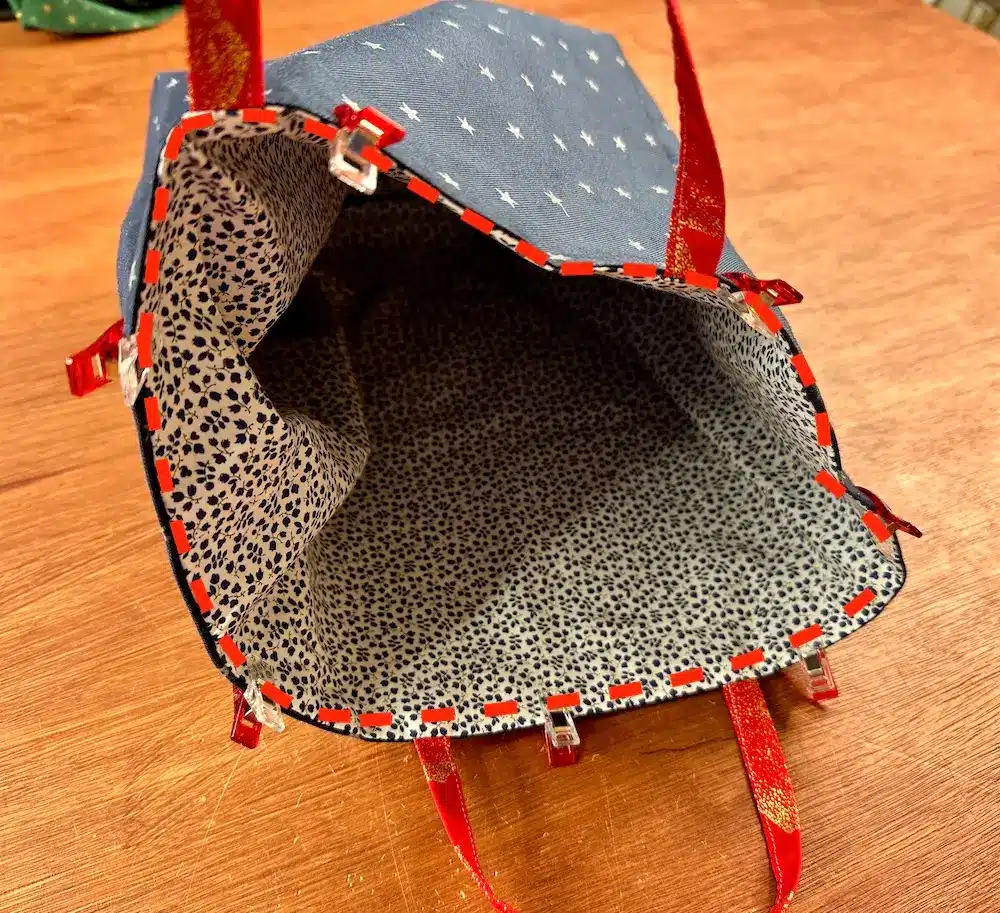
Final seams: we’re going to sew the edges of our gift bag. To do this, we pinch the side seams, taking care to grasp the lining inside the bag as we go. And we’ll stitch all along the edge, using a straight stitch.

And your gift bag is finished! Congratulations!