Snood for baby / child / adult
More practical than a scarf, quick and easy to sew, the snood is the perfect winter accessory! This neck warmer is sewn using 2 rectangles of fabric to form a tube. I’ll show you how.
The haberdashery you need for sewing
To sew this snood, you will need :
- 2 rectangles of 12 x 45 cm for a baby choker
- 2 rectangles of 18 x 55 cm for a child’s choker
- or 2 rectangles of 30 x 70 cm for an adult choker
For the fabric to be used, you can sew your snood with elastic fabrics, or not. But ideally, the 2 rectangles of fabric you use should have the same elasticity.
In my tutorial, I’m using faux fur (not at all elastic), and absorbent cotton (not elastic either). But you can use sweatshirt fabric instead, and jersey for the inside.
To sew your snood, you’ll need a sewing machine and your usual sewing equipment.
Sewing the snood
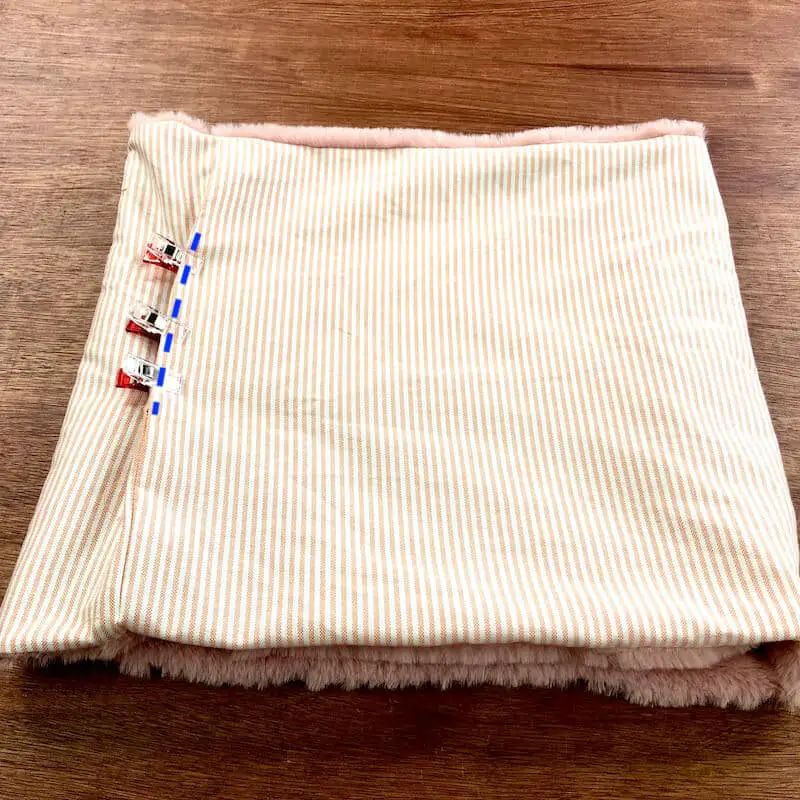
Start by placing one of the fabric rectangles right-side-up. Then place the other fabric rectangle on top, right sides together. Align the edges and pin all around.
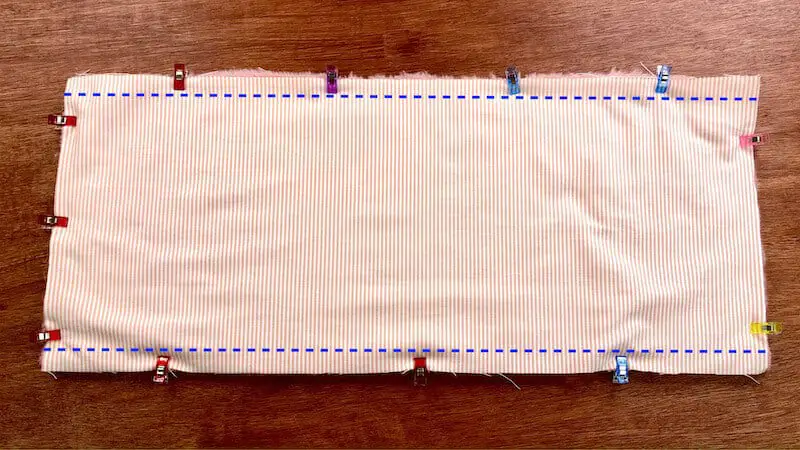
On the sewing machine, we’ll stitch the 2 long sides, 1 cm from the edge, starting and ending with a stop stitch.
We now turn the tube we’ve just sewn right side out. And again, we’ll turn half the tube inside out, so that the unstitched ends face each other, right sides together.
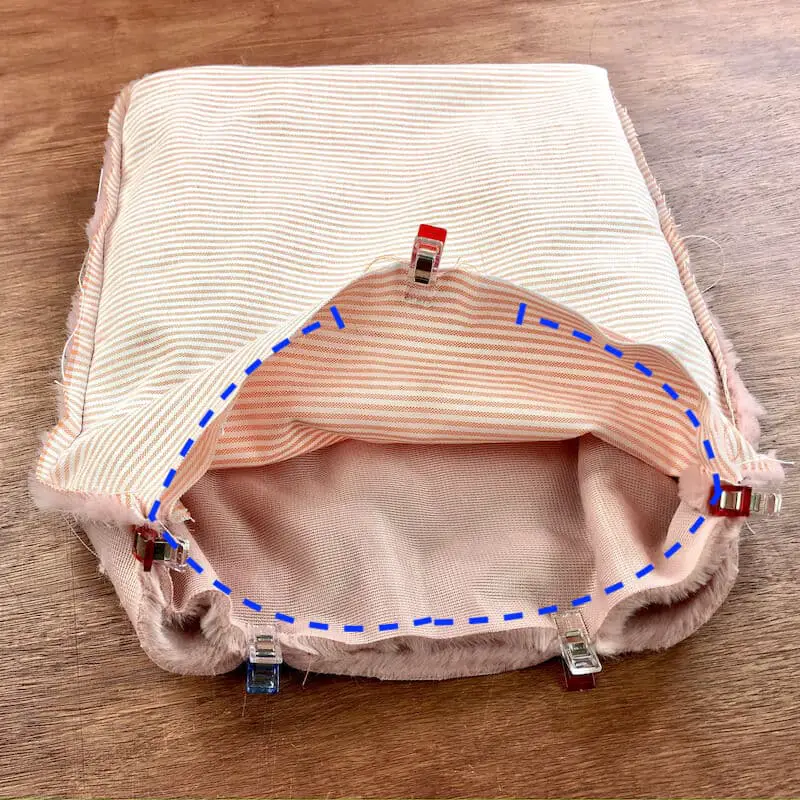
Pin all around, and we’ll sew, leaving a 10-centimeter opening. We stitch in straight stitch, 1 cm from the edge.
Then, turn the snood right side out, and tuck the seam allowances inside. Close the opening with an invisible hand seam, or a discreet topstitch on the sewing machine.