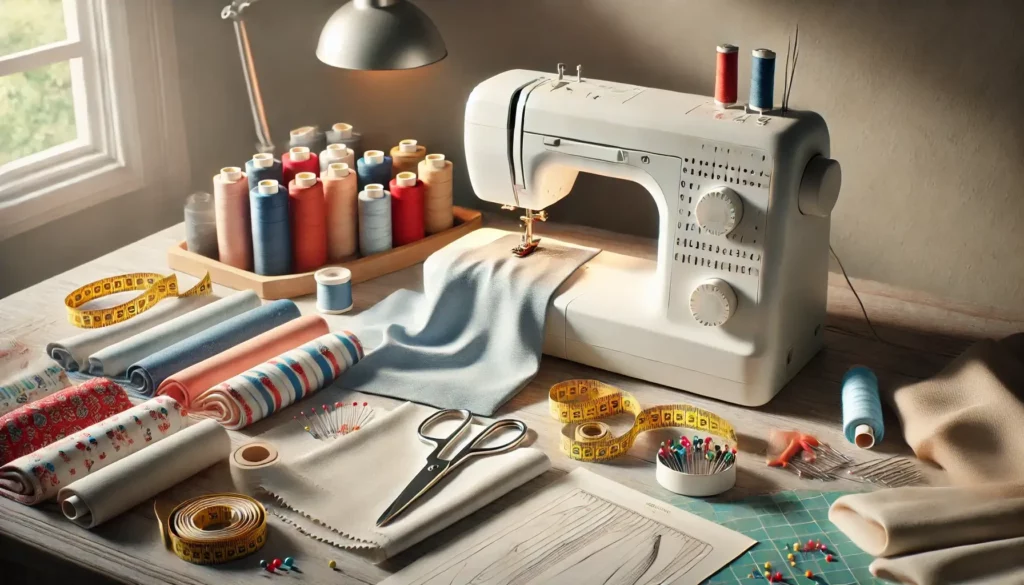
Sewing Your First Clothes: A Beginner’s Guide
Do you dream of designing your own clothes but don’t know where to start? Don’t worry, sewing your first garments is more accessible than it seems, even for beginners.
In this step-by-step guide, we take you through the process of sewing garments with confidence. From pattern selection to finishing touches, follow our advice to make a success of your first creations and enjoy making unique pieces that reflect your personality!
Choosing the right sewing pattern
When you’re new to sewing, using a pattern is an excellent way to get started. A sewing pattern is a pre-established model that guides you step by step through the creation of your garment. It breaks down the process into simple, clear steps, while providing you with the right dimensions and shapes.
For beginners, sewing without a pattern can be confusing and frustrating, as it’s easy to get proportions or techniques wrong.
So it’s essential to start with patterns specially designed for novices. These patterns often have simple cuts, without too many details or complexities such as zippers, buttons or multiple darts. The more technical the details, the greater the difficulty, which can be discouraging for inexperienced sewers.
Patterns suitable for beginners focus on garments such as T-shirts, elasticated skirts or straight dresses – pieces that require few seams and adjustments, but still offer a satisfying result.
It’s also advisable to choose patterns with seam allowances included. This means that the margins needed to assemble the various garment parts are already included in the pattern dimensions. You don’t need to add them manually, which simplifies the work and avoids unpleasant surprises when sewing. The included seam allowances are particularly useful for beginners, as they make cutting faster and more precise, while allowing you to concentrate on the actual assembly and sewing.
Using a simple pattern, you learn the basics of sewing while progressing at your own pace. This type of project will familiarize you with sewing vocabulary, seam allowances and the assembly of fabric pieces, all without overloading you with complex details. By mastering these first steps, you’ll quickly gain the confidence to tackle more ambitious projects later on.
Choosing the right fabric
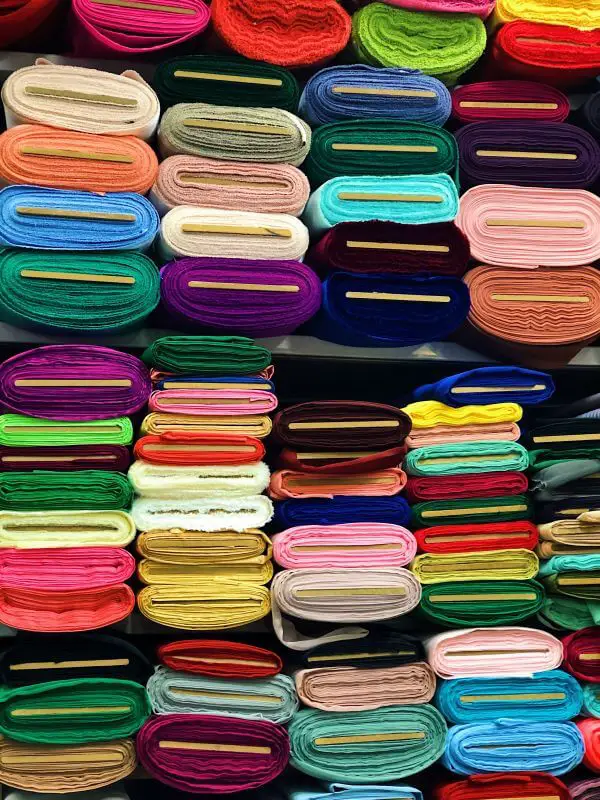
The choice of fabric is a crucial step in the success of your first garments. The wrong fabric can make your project much harder to sew than it needs to be. So it’s essential to start with fabrics that are easy to sew, especially when you’re just starting out. Fabrics that slip, fray or are too thick can quickly become a beginner’s nightmare!
For your first garments, choose stable, easy-to-handle fabrics like cotton or lightweight linen. These materials are ideal for learning, as they are soft but hold well, making cutting and assembly easier. Poplin or cretonne, for example, won’t stretch or slip under the foot of the sewing machine, making them excellent choices for a first project!
Beware of stretchy fabrics such as jersey (the material of T-shirts) or viscose, which require a little more skill. These materials tend to stretch when sewn, making seams more difficult to achieve for a beginner. You can tackle them once you’re more comfortable with simpler fabrics.
Finally, it’s important to carefully read the pattern’s recommendations on the type of fabric to use. Each project requires a specific fabric to ensure a good fit and a wearable finish. Respecting these instructions will help you avoid the disappointment of garments that don’t turn out as expected.
In short, to get off to a good start, opt for basic fabrics like cotton and follow your pattern’s recommendations. You’ll gain in confidence and enjoy seeing your first creations come to life.
Prepare basic materials
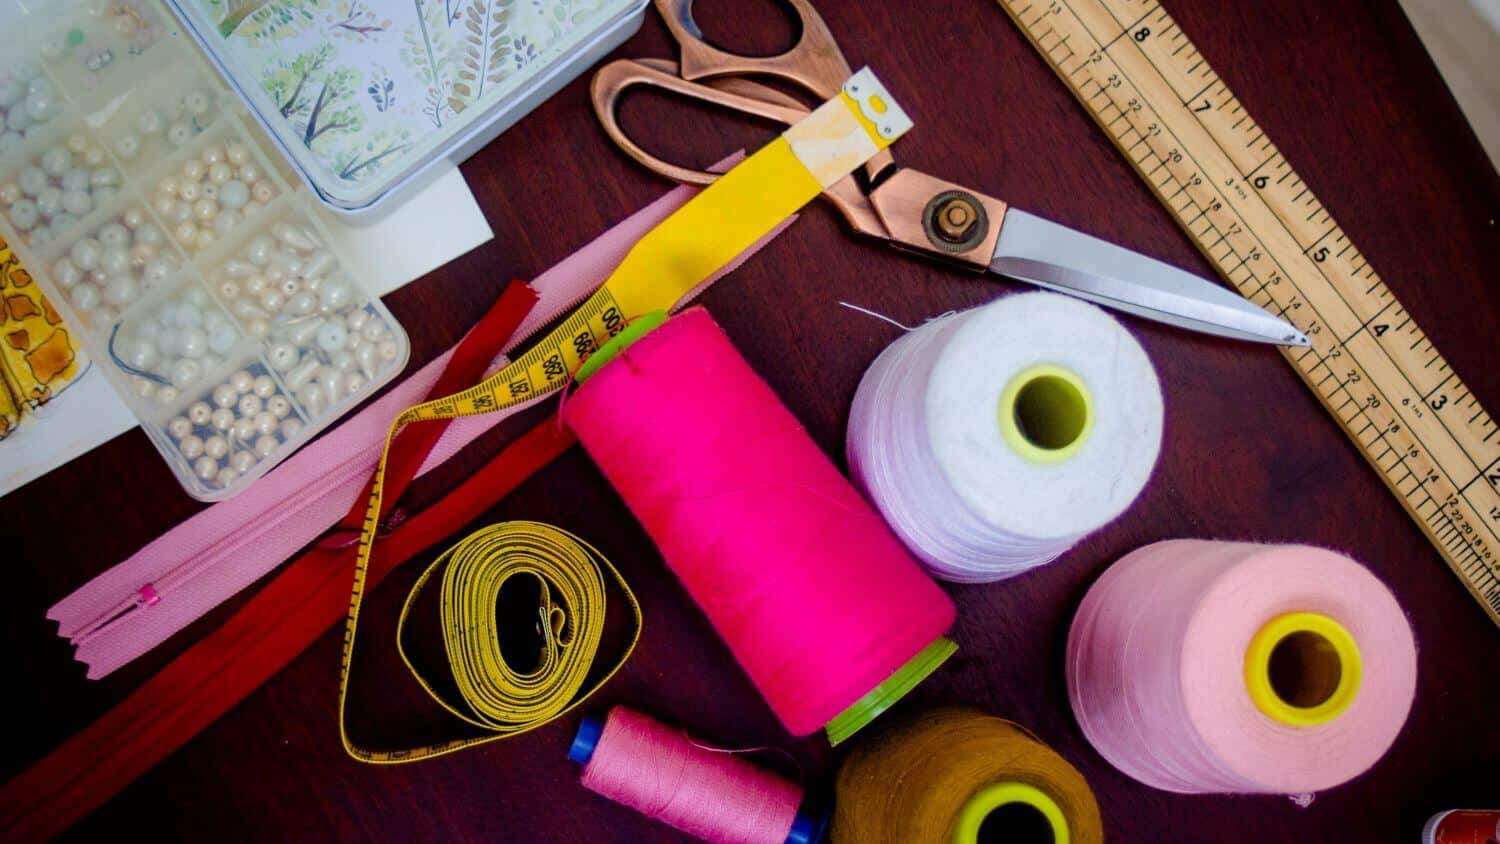
Before you start sewing your first garments, it’s important to have the basic materials at hand. Having the right tools not only enables you to work more efficiently, but also to achieve quality finishes, even as a beginner.
The essentials :
- The sewing machine. A simple machine with a few basic stitches (straight stitch, zigzag stitch) is all you need to get started. There’s no need to invest in a highly sophisticated model from the outset.
- Sewing scissors. A good pair of scissors dedicated solely to cutting fabric is essential. Poorly sharpened scissors or scissors used for anything other than fabric can spoil the precision of your cuts.
- Needles and pins. Choose quality machine and hand needles, adapted to the thickness of your fabric. Long, thin pins are perfect for holding fabric in place.
- Sewing thread. A quality thread, matching the color of your fabric, is essential for strong, unobtrusive seams (see how to choose it here).
- A quick cutter. This tool will probably be your best ally in the beginning. If you make a mistake, you can cut quickly without damaging the fabric.
- Tape measure and ruler. To take your measurements and draw straight lines when cutting.
I’ve listed the supplies I use in this article.
Do I need a serger right from the start?
A serger is a fantastic tool for achieving professional finishes and sewing stretch fabrics, but it’s not essential for getting started. You can assemble and finish your first garments with a simple sewing machine.
The serger will come later, when you want to improve your finishing and work faster on certain projects.
The little accessories that make all the difference:
Other tools can make life easier, such as tailor’s chalk to mark your marks, an iron to open your seams properly, or fabric clips to replace pins when working with delicate materials.
With these basic tools, you’ll be ready to tackle your first projects without a hitch. Simple but effective equipment is all you need to enjoy sewing and achieve beautiful results.
Understanding and cutting the pattern
Once you’ve chosen your fabric and prepared your materials, it’s time to move on to an essential step: cutting out the pattern. This step may seem intimidating for beginners, but with a little practice, it will quickly become a reflex.
Reading a pattern: symbols you need to know
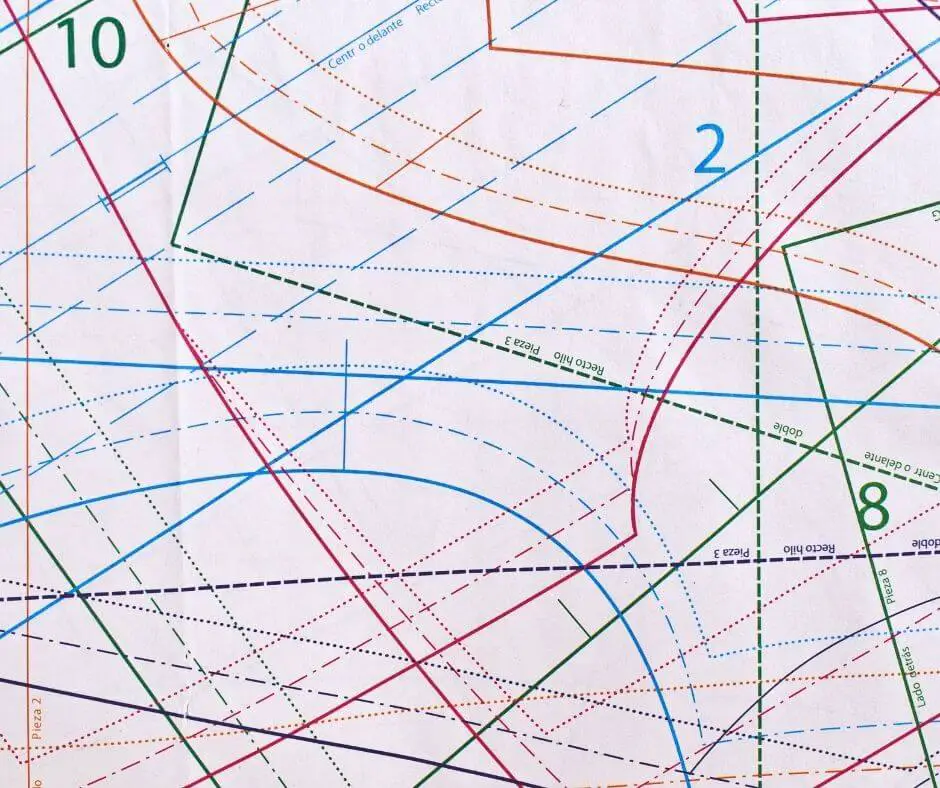
A sewing pattern is made up of different symbols and lines that may seem complex and incomprehensible at first. Don’t worry, once you understand what each symbol means, everything becomes simpler. The main things you need to know are :
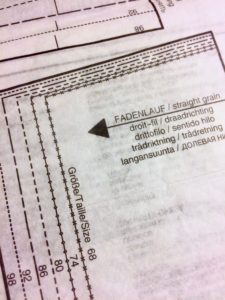
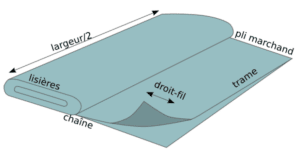
- The right thread. This is a line that tells you how to place the pattern on the fabric so that it falls correctly. Make sure this line is parallel to the fabric edge.
- Seam allowances. As mentioned above, it’s best to choose a pattern with seam allowances included, so you don’t have to add them manually.
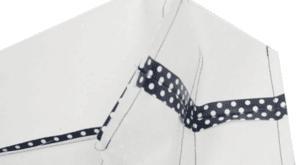
- Notches. These are small triangles or marks on the edge of the pattern to help align the parts when assembling.
- Darts and pleats. These elements give shape to the garment. They are often marked with solid or dotted lines.
Take the time to observe and understand each piece before cutting. This will help you avoid mistakes that can be difficult to correct once the fabric is cut.
How to place and cut the fabric
Once you’ve understood your pattern, it’s time to transfer it to your fabric. Here are a few tips for clean, precise cutting:
- Fold your fabric. Many patterns require you to fold the fabric in half, right sides together, to cut double or symmetrical pieces.
- Position the pattern pieces. Place the pattern pieces on the fabric, respecting the straight edge. Use pins or sewing weights to hold the pieces in place. Try to optimize space to minimize fabric waste.
- Cut carefully. With your sharp pair of sewing scissors, cut slowly around the pattern pieces, following the cut lines. Be precise and take your time, as a clean cut will make assembly much easier.
- Mark the markings. Before removing the pattern pieces, mark any notches, clamps or other markings directly on your fabric with chalk or an erasable pen. These marks will be indispensable during assembly.
This step is crucial to ensure that all parts fit together correctly during sewing. Careful cutting and well-marked markings make the rest of the project infinitely easier.
Sewing your first pieces
Now that you’ve cut your fabric and all the pieces are ready, it’s time for the most exciting part: assembling and sewing your first pieces! Although this step may seem daunting, it’s much simpler when you follow the pattern instructions and take it step by step.
Learn to sew straight
Straight sewing is one of the basic skills you need to master in sewing. To get used to it, take the time to practice on fabric scraps before sewing your main pieces. Here are some tips on how to sew straight from your first projects:
- Use the machine’s markers. Sewing machines usually have graduated lines on the needle plate to help you keep track of seam allowances. Be sure to keep the edges of your fabrics aligned with these marks to sew straight.
- Sewslowly. It’s not necessary to sew quickly, especially at the beginning. Take your time, because the slower you sew, the more control you have over your fabric and the direction of your seams.
- Maintain light tension on the fabric. Don’t stretch the fabric as you sew, but keep it slightly taut to avoid wrinkles or ripples. Your hand guides the fabric, but never pulls it.
Basic sewing stitches
For your first garments, you will only need a few basic stitches on your sewing machine:
- The straight stitch. This is the stitch you’ll use to assemble most of your pieces. It’s a simple, strong seam that holds fabrics together.
- The back stitch. This stitch allows you to reinforce seams at the beginning and end of the seam line. By holding the “reverse” button on your machine, you can iron over a few stitches to secure the seam.
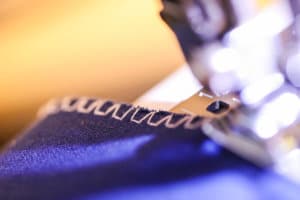
- The zigzag stitch. Used to overcast the edges of fabric to prevent fraying. If you don’t have a serger, the zigzag stitch is a good alternative for clean finishes.
Overthreading
Overcasting garment parts is a crucial step in preventing fabric edges from fraying over time. Before assembling your pieces, we recommend overcasting each edge using the overcasting or zigzag stitch on your sewing machine, or a serger if you have one. This will reinforce the edges and ensure better fabric hold throughout the project. This technique is particularly useful for fabrics that fray easily, such as linen or light cotton, and ensures a cleaner, more professional final finish.
Assembling garment parts
Following the pattern plan, start assembling the various parts of your garment. Generally, the order of assembly is indicated in the instructions, and the pieces are numbered to make the work easier. Here are a few tips to help you succeed at this stage:
- Pin the pieces together. Before sewing, pin your pieces together following the marks you’ve made on the fabric. This will ensure that the pieces line up correctly.
- Sew the main seams. Start with the main seams (sides, shoulders, etc.), then progress to details such as sleeves, necklines and hems.
- Take the time to iron between steps. Good ironing between each seam flattens the seams and gives you a cleaner end result.
As you gradually assemble the pieces, you’ll see your first garment take shape. Don’t worry if you don’t get it right the first time. The important thing is to progress and understand the basics, so you can start again!
Finishes and adjustments
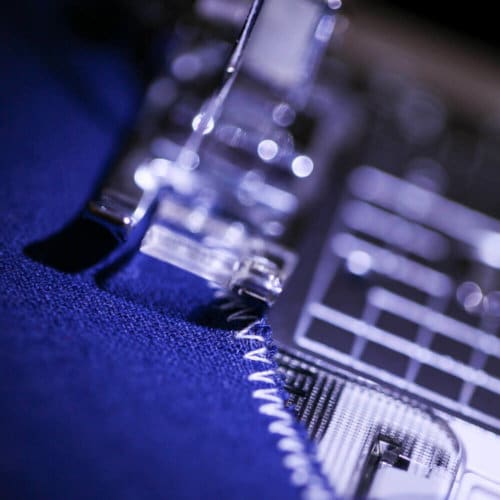
Once the main assembly is complete, there’s one more important step before you can wear your creation: finishing. This is what will give your garment a professional, long-lasting appearance. Finishing enhances comfort and aesthetics, while ensuring that the garment will stand up to repeated use and washing.
Making hems correctly
Hemming is essential for a beautiful finish, whether for a skirt, pants, or the sleeves of a t-shirt. Here are a few tips for successful hemming:
- Iron the hem before sewing. Before sewing your hem, fold the fabric to the desired height and iron it carefully. This will create a clean line and make sewing easier.
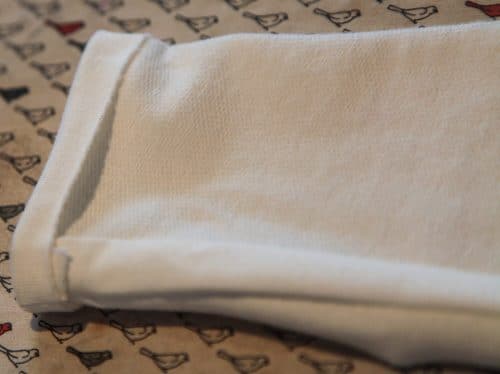
- Double fold. For a stronger, cleaner hem, fold the fabric twice inwards before sewing, trapping the raw edge. This is particularly useful for garments such as skirts or sleeves.
- Straight or zigzag stitch. Use a straight stitch for stable fabrics like cotton, or a zigzag stitch if you’re working with stretch fabrics like jersey.
For finishing on stretch fabrics such as jersey, the twin needle is ideal for sewing a clean, elastic hem. It creates two parallel seams on the right side of the garment, while creating a zigzag finish on the wrong side, allowing the hem to remain stretchy – perfect for sleeves or the bottom of a t-shirt. This professional technique is easy to perform and gives a neat, long-lasting finish.
A well-crafted hem immediately gives your garment a more polished, professional look.
Adjusting the garment after sewing
Once the finishing touches have been made, it’s time to try on your garment to see if it fits perfectly. It’s quite normal for adjustments to be necessary, especially for the first garments you make. Here’s how to make basic adjustments:
- Adjust size. If the garment is too big, you can take up the seams on the sides to adjust it to your measurements. Experiment by sewing slightly further inwards and adjusting gradually.
- Adjust length. If the garment is too long or too short, adjust the sleeve or hem length before finalizing the seams. It’s best to leave a little margin in the initial cut for easier adjustment.
These small alterations give your garments a better fit and adapt them to your specific measurements.
Final ironing
Good ironing is the final touch that brings out the quality of your work. Every seam, hem and finish will benefit from a stroke of the iron to flatten the seams and give the garment a clean, professional look.
Common mistakes to avoid
When you start sewing, it’s normal to make a few mistakes along the way. Fortunately, most of them are easy to avoid or correct if you’re aware of them. Here are some of the most common mistakes made by beginners and how to avoid them for a successful end result!
1. Do not read pattern carefully
One of the most common mistakes is not taking the time to read and understand the pattern instructions before you start. Each pattern has specific steps and markings to follow. Skipping this reading can lead to poorly assembled pieces or cutting errors. Take the time to read all the instructions before cutting your fabric.
2. Use the wrong type of fabric
Choosing the wrong fabric for the project can make sewing more difficult (if not impossible) and result in a disappointing final finish. For example, attempting to sew a project intended for cotton with a stretch fabric such as jersey will complicate assembly and finishing. Always follow the fabric recommendations indicated on the pattern to guarantee good results.
3. Do not respect seam allowances
Seam allowances are the spaces left between the edge of the fabric and the seam itself. If they are not respected, your garment may be too small. Check that you are following the margins indicated on the pattern (often 1 cm), and if these are included, make sure you cut the fabric precisely accordingly.
4. Do not pin parts correctly
Failure to pin your fabric pieces correctly can result in shifting during assembly. Take the time to pin each piece accurately, making sure the edges are aligned. This will help you avoid crooked seams or imprecise fits.
5. Skip ironing between steps
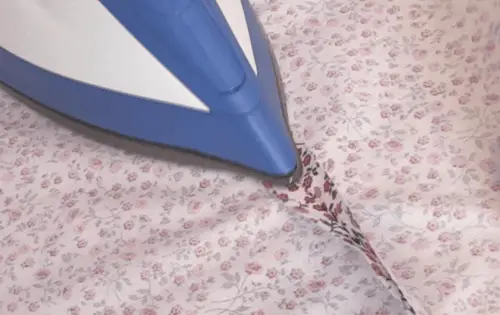
Good ironing is essential for neat seams and a clean end result. It’s tempting to skip this step, but it affects the quality of your garment. Ironing each seam after assembly flattens the seams and makes it easier to carry out subsequent steps, such as hemming and finishing.
6. Ignore stitch length and width
Each fabric requires specific settings to achieve even, aesthetically pleasing seams. Using the wrong stitch length or width can result in seams that are too tight or too loose. For example, too short a stitch on a thick fabric can create puckers, while too long a stitch on a light fabric can give a flimsy result.
Before you start sewing, always test a scrap of fabric to adjust thread length, width and tension to the needs of the project. This will prevent irregular seams and assembly problems!
Sewing your first garments may seem like a challenge, but with the right tools, techniques and a little patience, you’ll soon be creating unique, handmade pieces.
By following this step-by-step guide, you’ll learn how to choose the right patterns, prepare your materials correctly and assemble your garments with precision. Remember, every project is an opportunity to learn and progress.
So jump in with confidence and have fun creating clothes that reflect your own style!

