Sew a trouser hem to perfection
Whether you sew your own pants or need to shorten (or even lengthen) a commercially purchased trouser hem, when it comes to quilting, the technique is the same.
In this article, we’ll show you how to hem your clothes to perfection!
How to sew a classic hem?
Hemming is a technique that involves folding the edge of your fabric over itself twice and stitching it to hold it in place. This way, the edge of your pants will be clean, no more fraying. This type of hemming is visible on both the right and wrong sides, thanks to the stitching you’ll be doing.
In this example, we’ll look at how to hem a pair of pants whose leg length is already good (you’ll find information on shortening and lengthening further down the article).
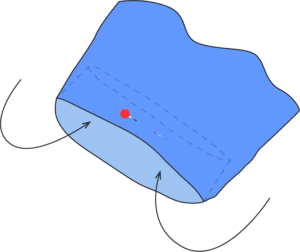
First, locate the seam allowance for the hem. You then have the choice of making an even or uneven hem. Let’s take a 3 cm seam allowance as an example: for an even hem, you’ll fold twice at 1.5 cm; for an uneven hem, the first fold will be 1 cm and the second 2 cm.
Once you’ve decided on the type of hem and identified the margin, you can use the iron to fold your fabric the width of the first fold (1.5 cm or 1 cm, if we take our example). Then make the second fold the width of the second fold (1.5 cm or 2 cm).
Finally, stitch your hem with a straight stitch, as close as possible to the fold, to hold it in place.
How to sew an invisible hem?
This type of hem can be used on suit pants, but also on all garment bottoms where a more polished finish is desired. Invisible hemming is also a good solution for thick fabrics and coat bottoms. These fabrics are the easiest to hem, and are a good place to start practicing.
In fact, the term hem is misused here, since it’s more a question of filling. The former implies two folds, while the latter requires only one.
With this technique, you only need to fold once to avoid thickness. However, the fraying edge of the fabric won’t be hidden inside, which can be a problem when you’re looking for a neat finish.
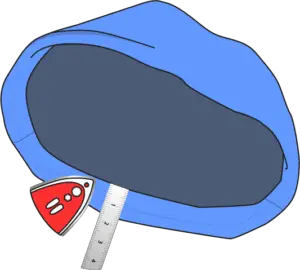
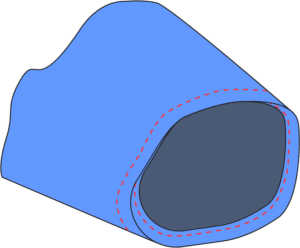
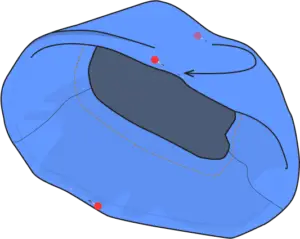
This means overlocking the entire edge of the fabric before folding it with an iron to the total value of the hem (3 cm in the example). To sew this hem, you don’t need an extra machine: all you need is thread and a needle.
You start by stitching at the crotch seam, which will allow you to hide your knot. Then, to make the hem invisible, you need to take a single thread from the fabric, once in the leg, then once in the hem value. Repeat around the leg, sewing from right to left. Throughout, don’t pull too hard on the thread, and make sure that the seam is not visible on the outside of the leg.
How to shorten pants
If you want to shorten the legs of a pair of pants, here’s how to cut off the excess fabric.
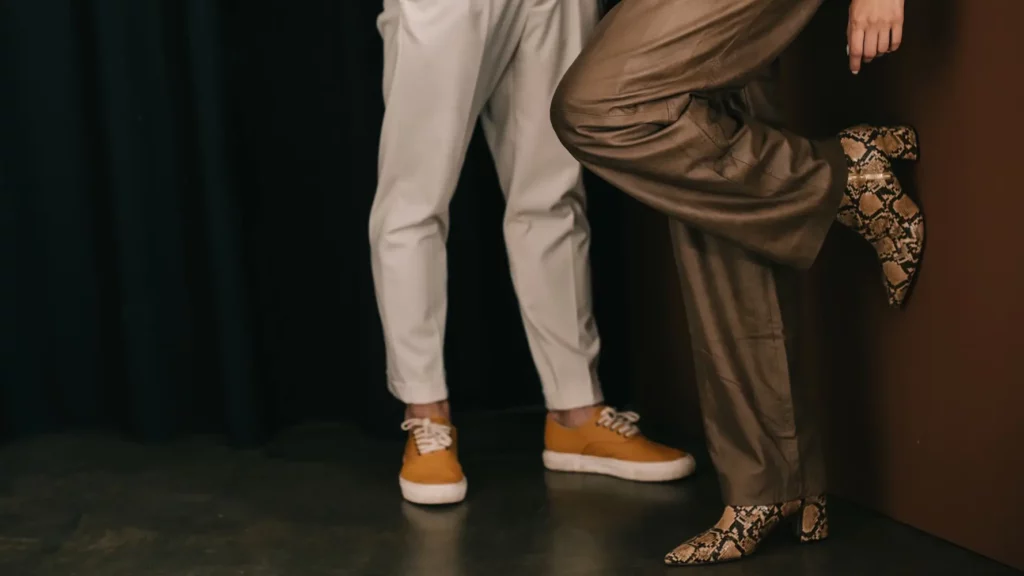
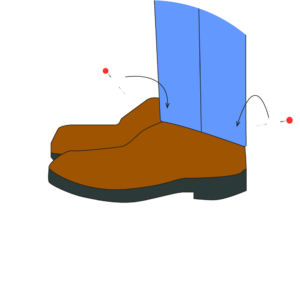
- Try on the shoes you’ll be wearing with the pants. Ideally, you should be assisted by someone who can fold the pants to the right height and place a pin in the back. You can mark both legs, as we’re not perfectly symmetrical and sometimes one is shorter than the other.
- Remove the pants. Carefully remove the pins and thread them through the fold. Unfold the pant leg.
- Lay the fronts of the legs on top of each other, flat on a table. Be sure to align the belts and crotch.
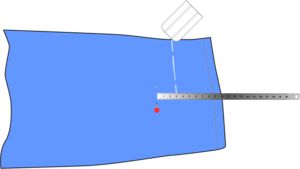
- Draw a mark 3 cm from the pin down the leg. Extend this mark by a parallel line 3 cm from the fold obtained during the fitting.
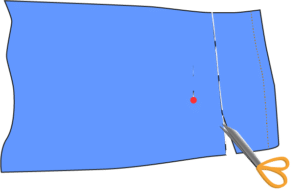
- Check the positioning of the pantsone last time, then cut the top leg at the marked line. Then cut the bottom leg following the first cut.
You can then make your hem.
How to lengthen pants (the false hem)?
Sometimes, a pair of pants is just a little too short. In this case, you can create a false hem that won’t change the look of the pants, but will add a few extra centimeters.
- Trim existing hems with a seam ripper.
- Prepare a bias tape the same length as your lower leg, adding 2 cm for seam allowance.
- Join the ends of the bias (unfolded), right sides together, 1 cm apart, then press this seam open.
- Place the bias right sides together on the lower leg and stitch into the fold closest to the edge of the fabric.
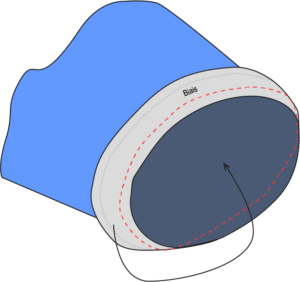
- Fold the bias inwards on itself, then stitch at the edge of the fold.
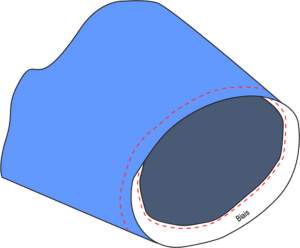
Your pants are now 1 to 2 centimetres longer.
My video tutorials on pants hems:
- The technique for a basic hem: www.youtube.com/watch?v=KVHeLxe96G4
- Sew a magic hem: www.youtube.com/watch?v=gzTiVNHvRzs
- A system D tip for beautiful hems: www.youtube.com/watch?v=7CGK6PN4tkA
- Avoid over-layering a jean hem: www.youtube.com/watch?v=2c–yH-ln2s
Three sewing patterns to put this technique into practice:
Find my free tutorials and patterns on my store to learn how to hem your pants:
- Chambarand pants for children (Jojo’s Papa): coudre.shop/products/patron-pdf-le-pantalon-chambarand-en-11-tailles
- Fauvette adult pants (Instinct Couture): coudre.shop/products/pantalon-short-jupe-fauvette-taille-32-a-52
- An adult Skirt/Shorts dungaree (Vestiaire Éponyme): coudre.shop/products/salopette-jupe-short-honolulu-t34-a-48