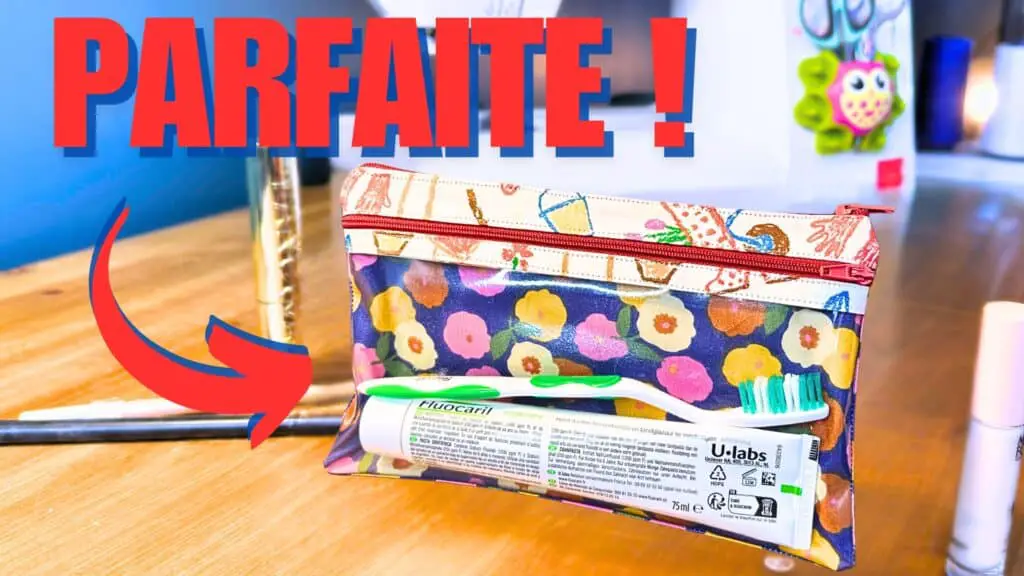
The Toiletry Bag
Learn how to sew a stylish toiletry bag with a practical transparent pocket! Quick and easy tutorial for all sewing levels!
The tutorial video is at the bottom of the article.
The equipment you’ll need
To sew this toiletry bag, you will need :
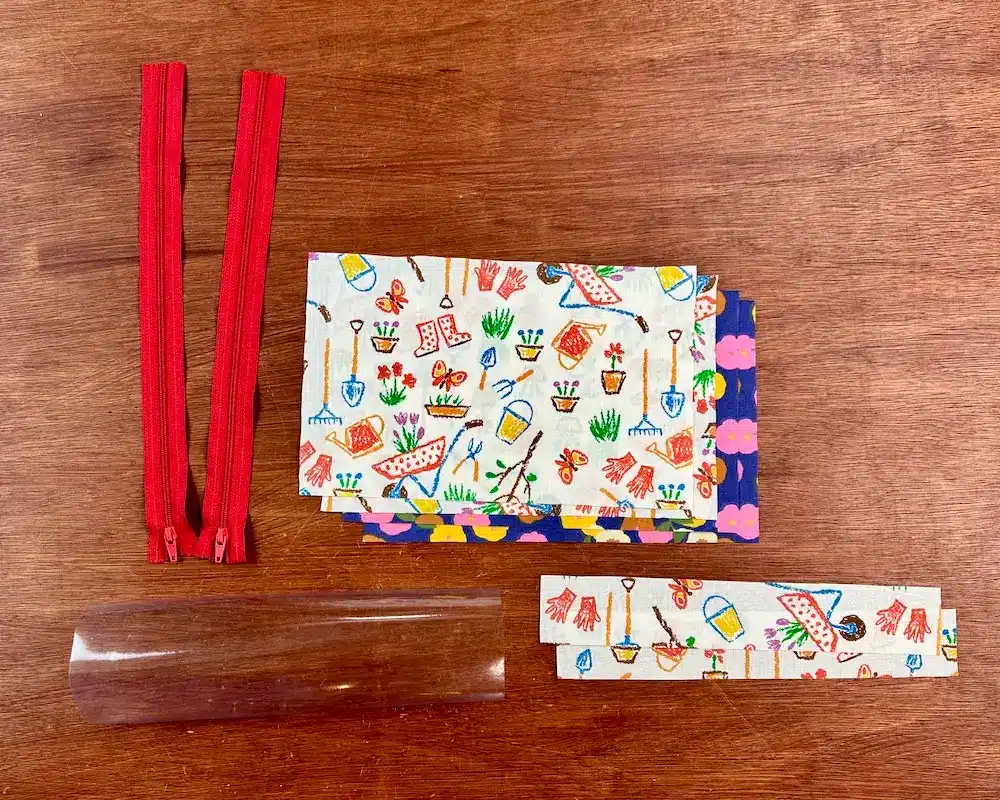
- 4 rectangles of (W) 24 cm X (H) 15 cm for the exterior and lining. I use a coated fabric.
- 1 rectangle (W) 24 cm X (H) 12 cm in transparent plastic film, for the front of the kit
- 2 rectangles measuring (W) 24 cm X (H) 4 cm for the areas between the zippers. In the tutorial, I use the same fabric as for the pencil case lining.
- 2 zippers, 26 cm (or a little more). I use meter fasteners, which are cheaper.
And your usual sewing equipment.
Step by step
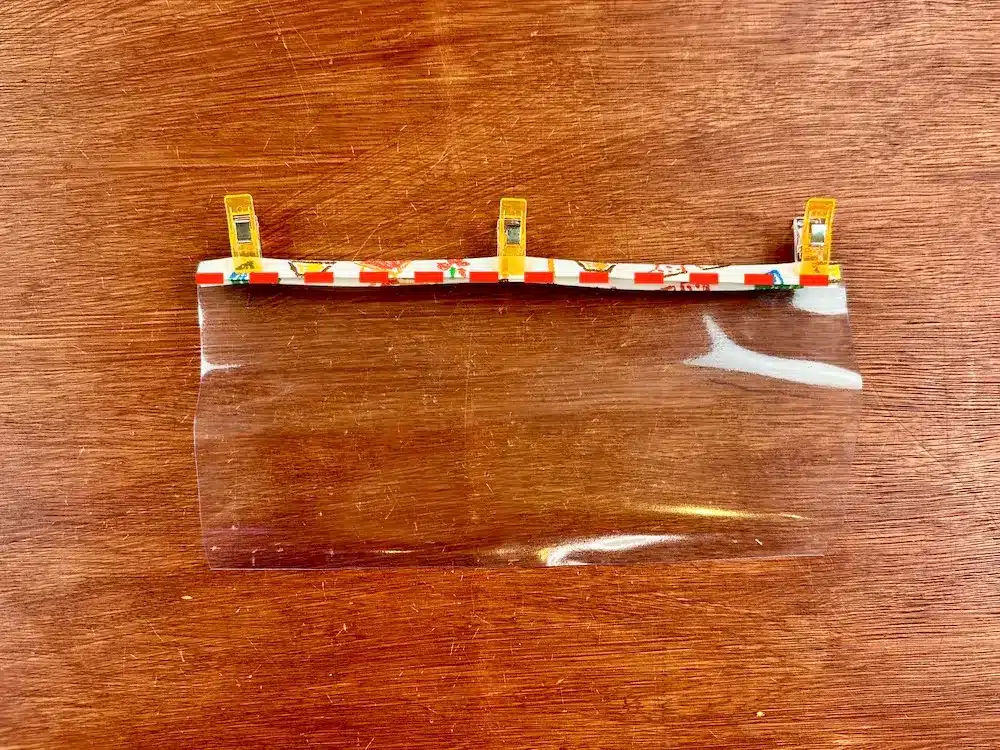
Start by folding one of the small rectangles lengthwise onto itself, then fold the raw edges over the central fold. This forms a kind of bias strip, which is then laid over the clear plastic rectangle.
Pin and stitch all the way through with a straight stitch.
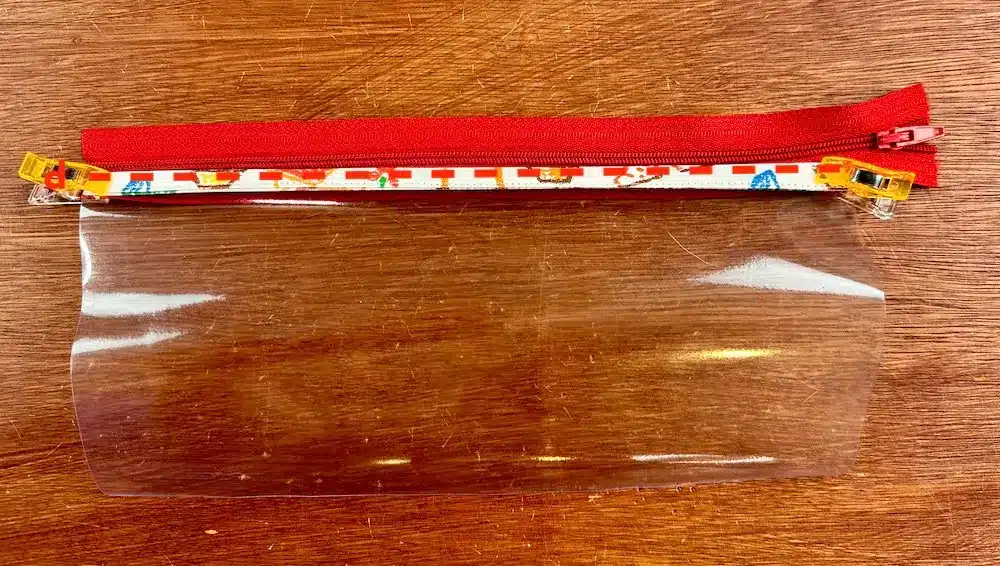
We place one of the zippers right-side-up, and on top of it, the clear plastic rectangle we’ve just prepared. We’ll sew the zipper to the small rectangle of fabric above, using a straight stitch.
Now place one of the outer fabric rectangles right-side-up. Then, on top again, the zipper preparation and the transparent rectangle.
The bottom and sides are made to coincide.
And on top, on the other side of the zipper, place the last small rectangle right sides together. The long side of this rectangle meets the zipper edge to edge. Stitch in a straight stitch as close as possible to the zipper teeth.
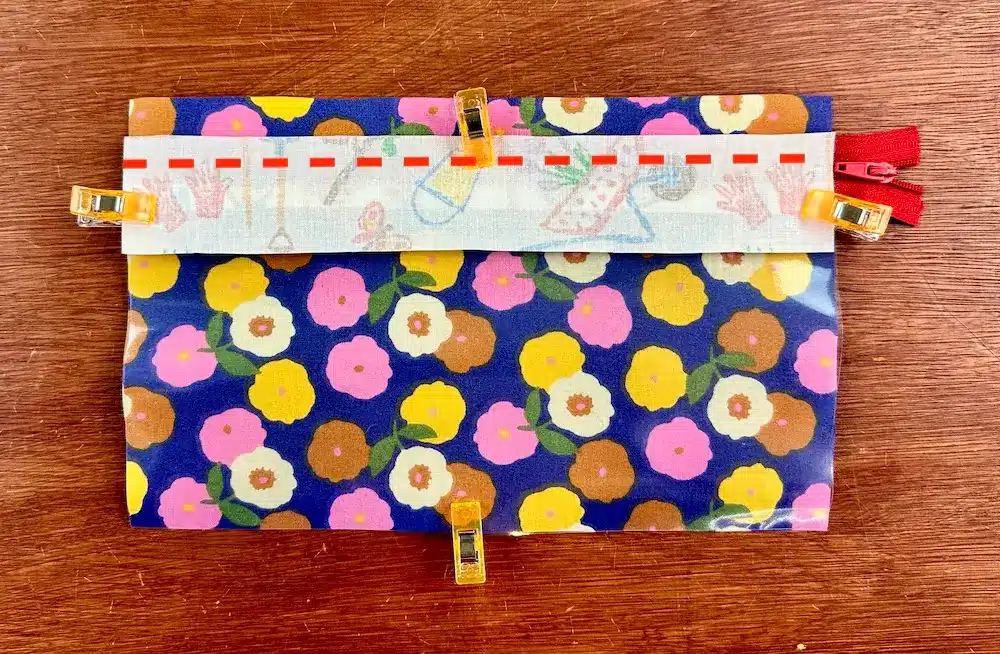
Now fold the small rectangle onto its right side, pull the fabric taut, then topstitch with a straight stitch all along the fastener.
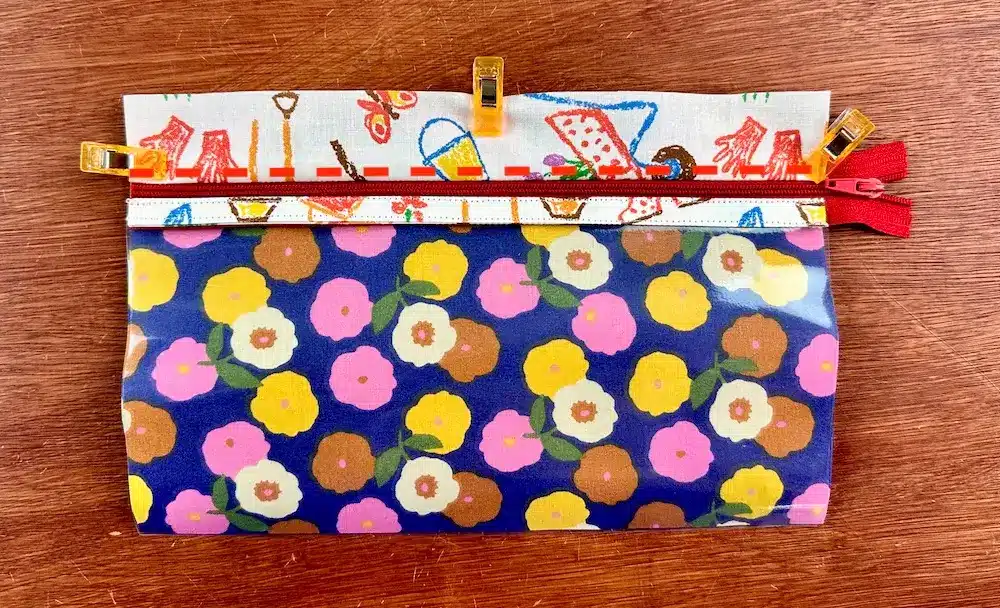
The 2nd zipper
Place the second zipper right sides together. Align the raw edge of the small rectangle with that of the zipper.
ATTENTION to the opening direction of your zip! It’s time to decide whether you want the 2 sliders to open and close in the same direction or not.
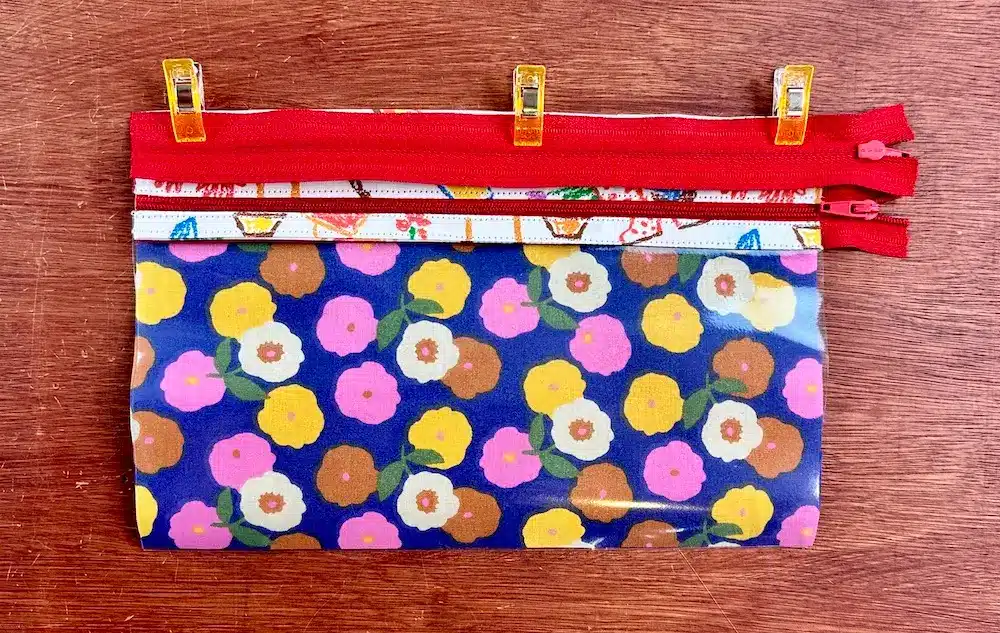
Then, still on top, place one of the inner fabric rectangles, right sides together. Pin, and stitch in a straight stitch as close as possible to the zipper teeth.
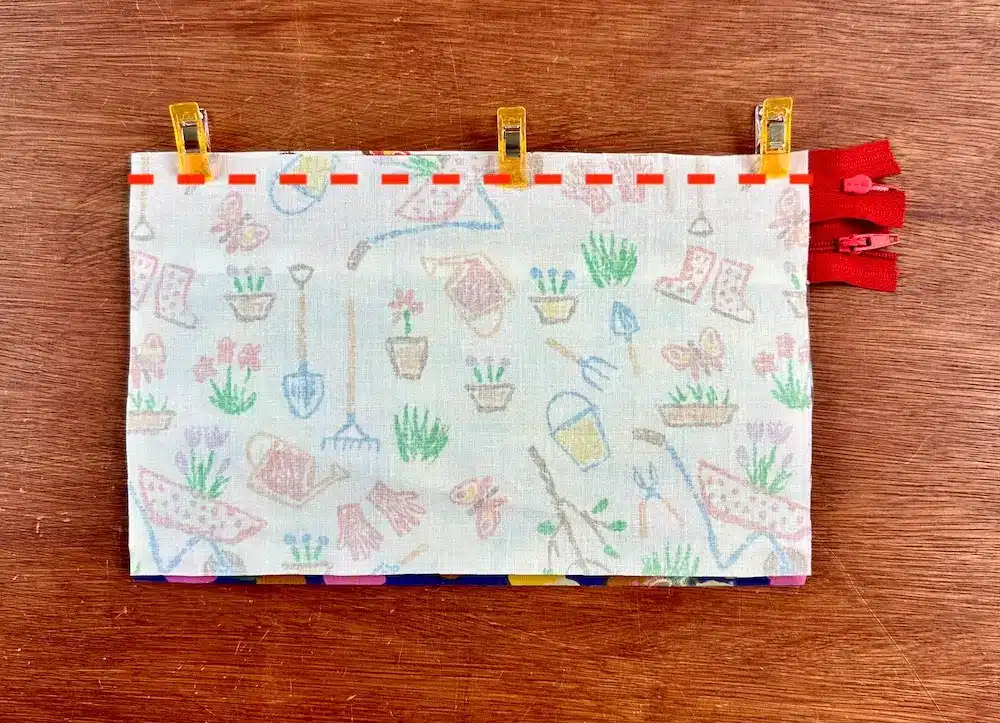
Turn the inner fabric inside out, pull the fabrics taut and topstitch all along the zipper teeth.
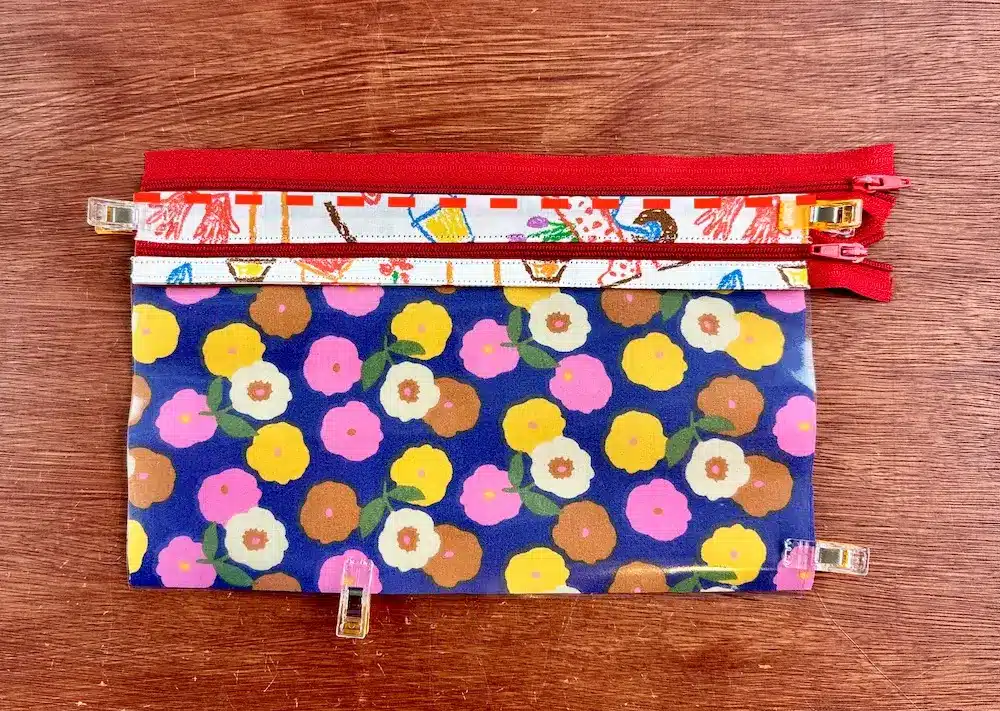
Now, right sides together, place the last rectangle of outer fabric. Align one of the long sides with the edge of the zipper. On the lining side, place the last lining rectangle right sides together. Pin and stitch as close as possible to the teeth.
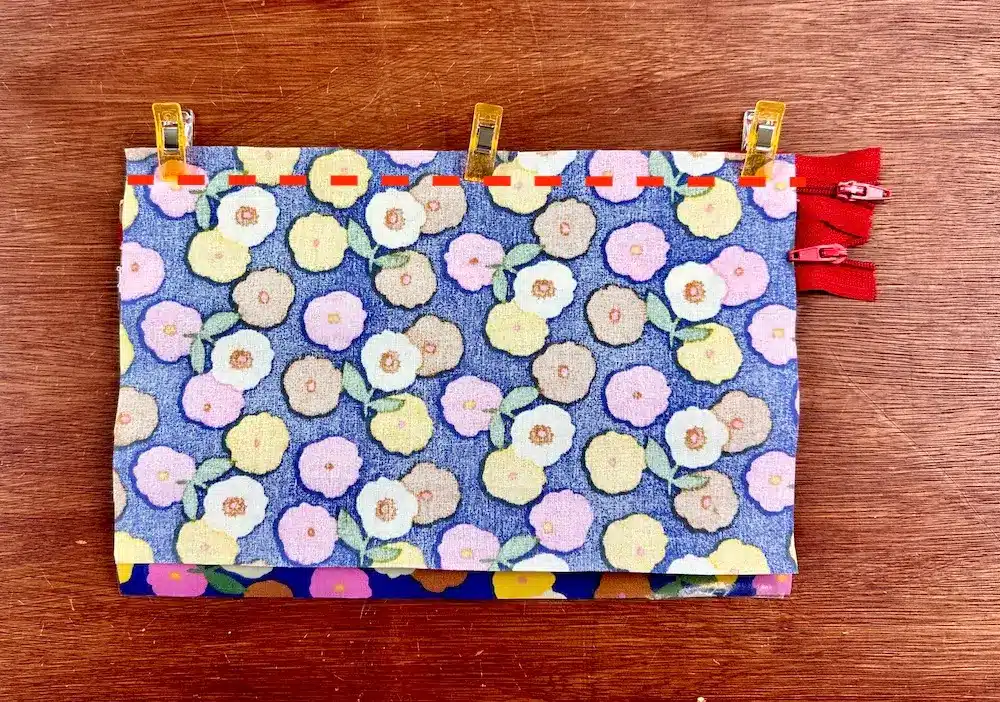
Run the outer and lining fabrics along the same side of the zipper, pulling the 2 fabrics tightly together. Then topstitch along the edge of the zipper.
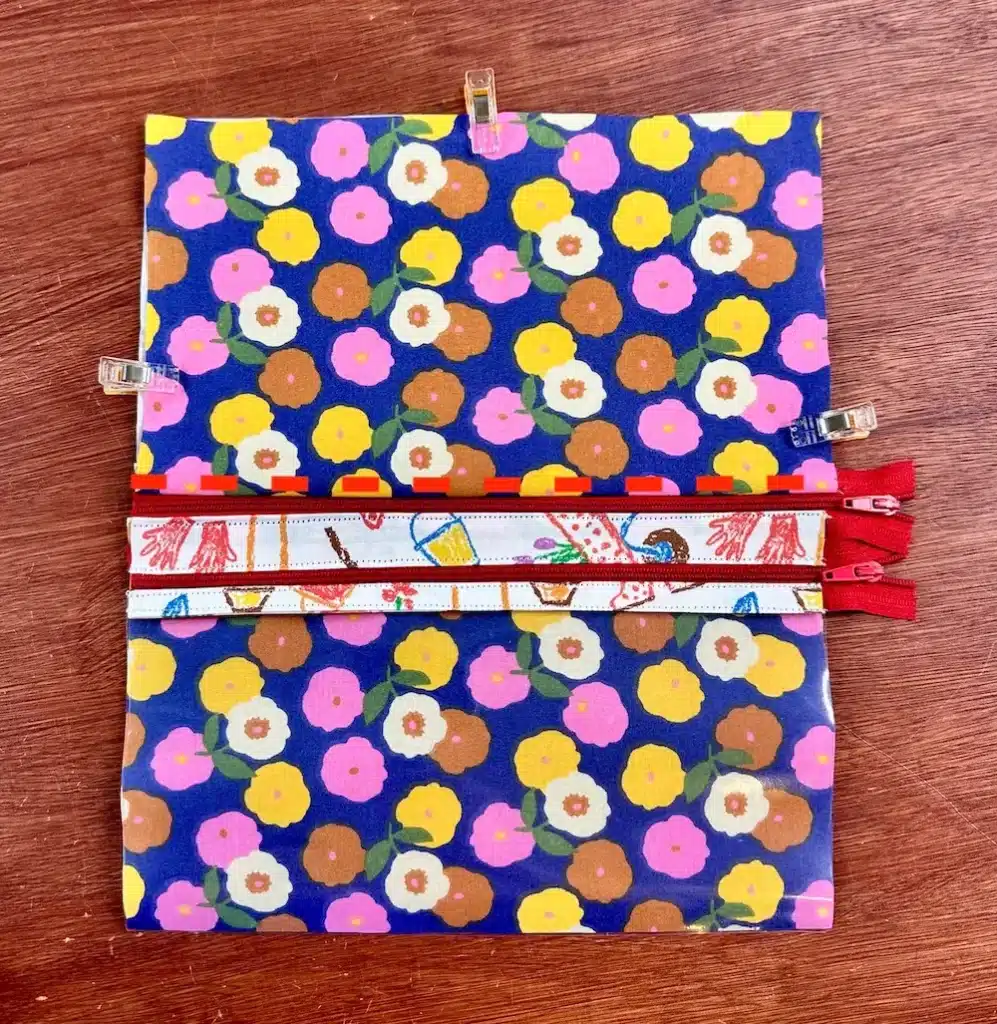
Kit formation
The 2 outer fabrics now need to be pulled together, as do the 2 lining fabrics. The zipper is now enclosed in the center of the kit.
We’ll straight-stitch all the way around, but leave an opening at the bottom of the lining fabric. This opening will be used to turn the kit right side out. Allow about 15 cm for comfort.
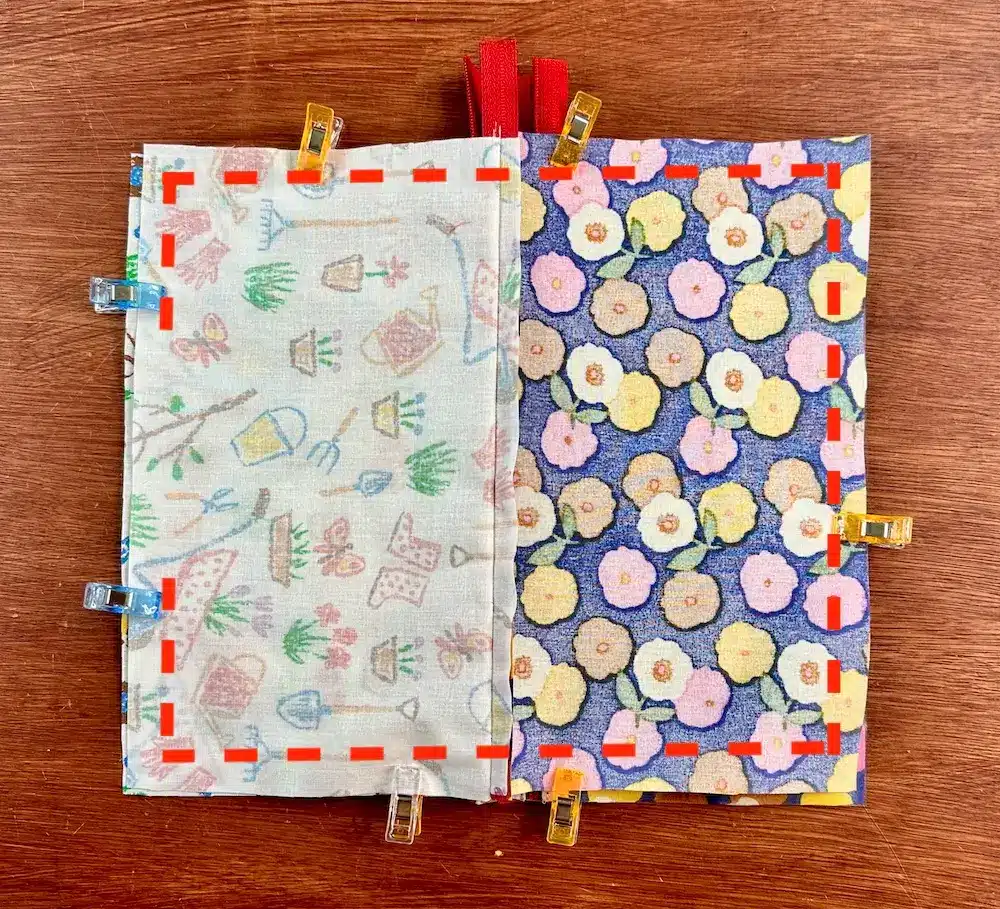
Unfurl the corners and turn the kit right side out. Then press the corners and seams together, closing the opening left in the lining with a straight stitch as close to the edge as possible. Tuck the lining back into the kit, and you’re done!
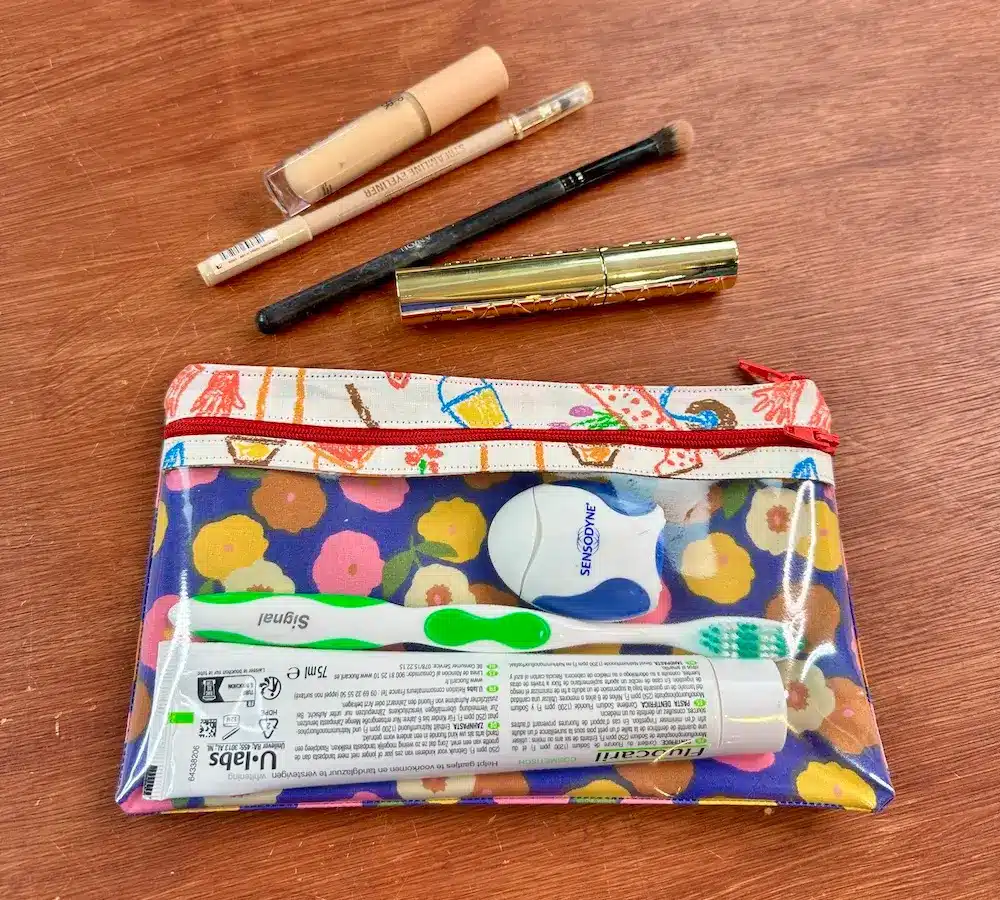
Well done!

