How to sew winter plaids and blankets?
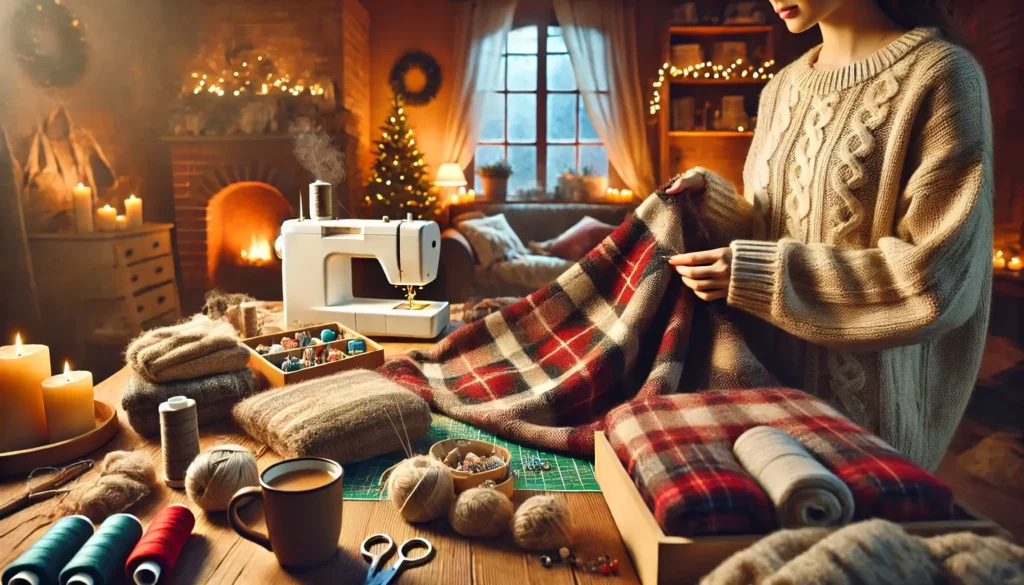
There’s nothing like curling up in a warm plaid to face the winter. If you’re used to buying them in shops, you can also make your own 100% handmade ones to match your living room or bedroom perfectly!
Here are a few ideas and tips for sewing this accessory yourself.
Sewing an upcycling blanket
If you’ve got an unused plaid lying around the house, why not give it a second life as a warm blanket? All you need is cotton to match the color of the plaid, and fleece to make it even cozier.
You can then follow our homemade tutorial on how to assemble these three elements to create a blanket that’s bigger and warmer than the original plaid!
A simple fleece throw
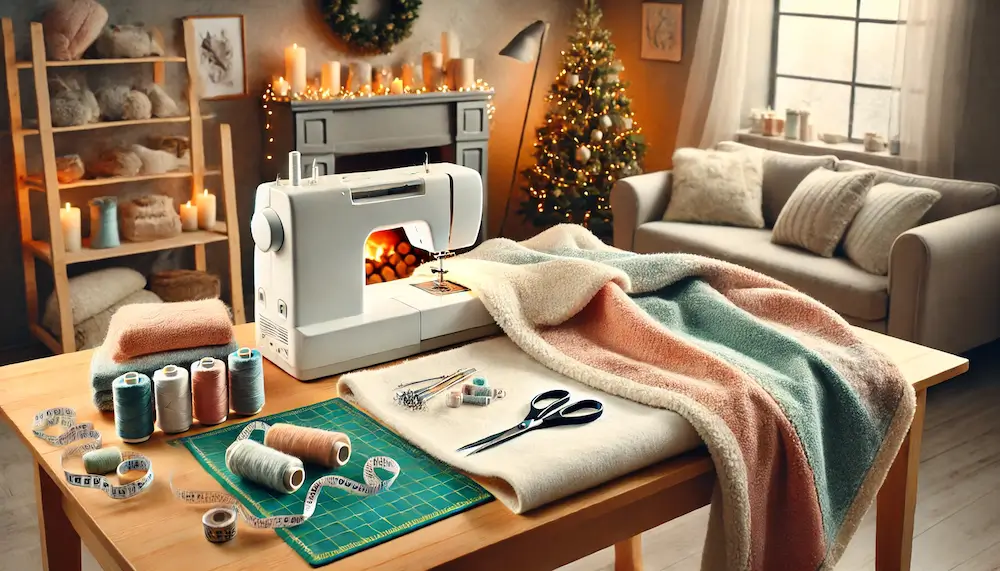
To sew a simple plaid, start by buying a piece of fleece or minky (a very soft fabric often used to make baby blankets). The advantage of sewing a blanket yourself is that you can choose the dimensions that suit you best, so that it fits perfectly on a bed or sofa.
If you need some guidance, a “standard” plaid usually measures around 130 x 150 centimetres.
Once you have your fabric, simply cut it neatly on each side and finish. You can tuck in 1 cm and then another 1 cm and sew along each side carefully, or overcast all around the blanket.
You can also opt for a more original result by adding a tassel braid to match the color of the plaid.
A lined plaid
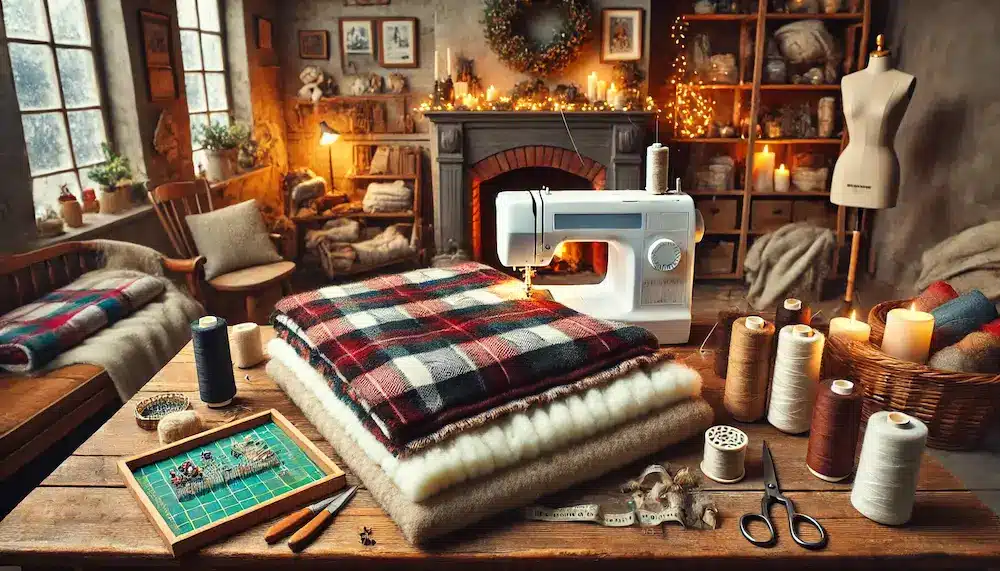
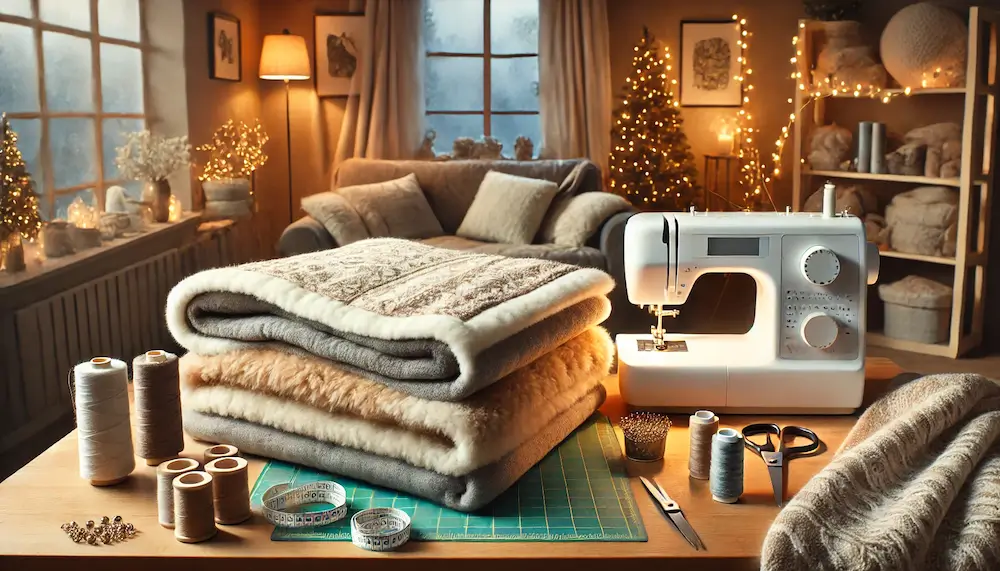
If you want to sew a very warm plaid, simply plan to double it. Different fabric combinations are possible: faux fur as the main fabric and cotton for lining. Or a “sherpa” fabric with a fleece, a jersey fleece lined with a fleece fabric… Let your imagination run wild!
Then cut two pieces of fabric of the same size. Pin them carefully (these fabrics will tend to move when sewn, so don’t be stingy with pins!) right sides together. Stitch 1 cm from the edge, leaving an opening of a few centimetres. Turn over through this hole. Then stitch 1 cm along each side for a neat finish.
A boiled wool plaid
Fleece isn’t the only option for making a warm blanket. Boiled wool, if soft enough, is also very suitable for this project.
As with plaids, the first step is to cut a piece of fabric to the desired size. Wool doesn’t fray, so you don’t need to hem the edges of the plaid. But you can hem the edges if you prefer a cleaner finish.
To personalize this blanket, head for this tutorial from Femme Actuelle. It explains how to sew an appliqué and pompoms on each corner to give it a mountain chalet look.
The appliqué can be made of cotton, imitation leather, felt, in a similar or contrasting color… And in any shape you like.
An upcycled blanket to start quilting
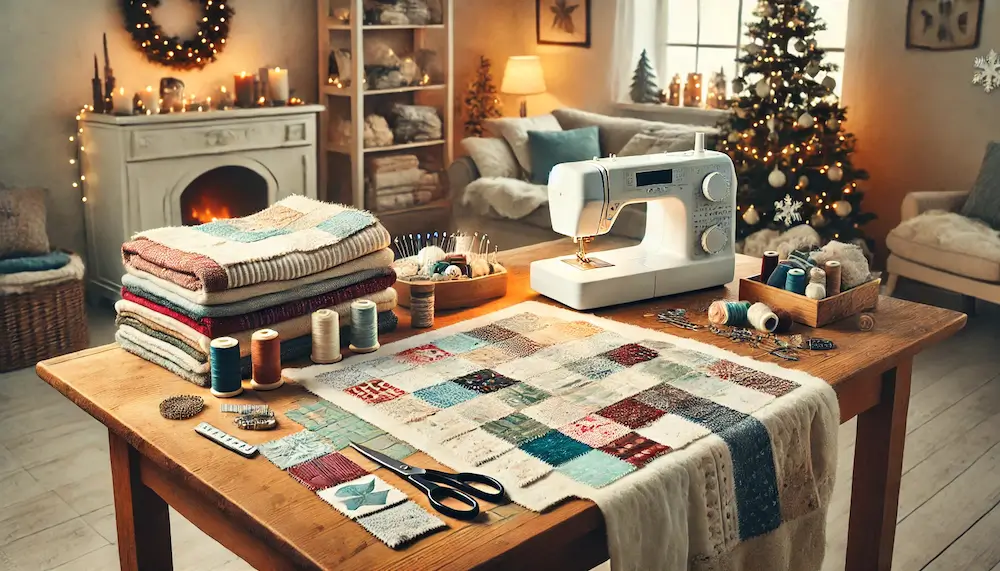
Quilting, or patchwork, is a great way to make use of those little bits of fabric lying around in the closets of all sewing enthusiasts.
For this project, we cut squares of equal size from the various fabrics and assemble them to a satisfactory size. We then cut another piece of fabric (preferably cotton) the size of this first assembly for the back of the blanket. Most patchworks are lined with batting. This can be chosen thick enough for winter, and is sandwiched between the two layers of fabric.
If you’re new to quilting, you can follow Macachou’s tutorial, complete with step-by-step photos explaining how to learn the technique.
What about you? Would you like to sew yourself a plaid or blanket?

