Hooded Scarf
Looking for a quick and useful sewing project? Discover how to create a lined hooded scarf, perfect for winter, in two sizes (child and adult).
Simple, fast and customizable, this tutorial is ideal for beginners and experts alike.
To sew the hood of this scarf, you’ll need the PDF pattern to download [thrive_2step id=’13087′]by clicking here, or [/thrive_2step]on the CoutureEnfant Facebook group, in the “Files” tab.
The step-by-step video is at the bottom of this article.
Sewing equipment
To sew this hooded scarf, you will need :
- 1 large rectangle (W) 140 cm X (H) 25 cm for the outside of the scarf. In the tutorial, I use fleece
- For the Children’s version, another rectangle measuring (W) 120 cm X (H) 20 cm.
- 1 other large rectangle (W) 140 cm X (H) 25 cm for the inside of the scarf. I use a kind of cotton flannel
- For the Children’s version, another rectangle measuring (W) 120 cm X (H) 20 cm.
For the hood:
- 1 rectangle (W) 35 cm X (H) 50 cm for the outside of the hood
- For the Children’s version, another rectangle measuring (W) 30 cm X (H) 40 cm.
- 1 other rectangle (W) 35 cm X (H) 50 cm for the inside of the hood
- For the Children’s version, another rectangle measuring (W) 30 cm X (H) 40 cm.
The hood
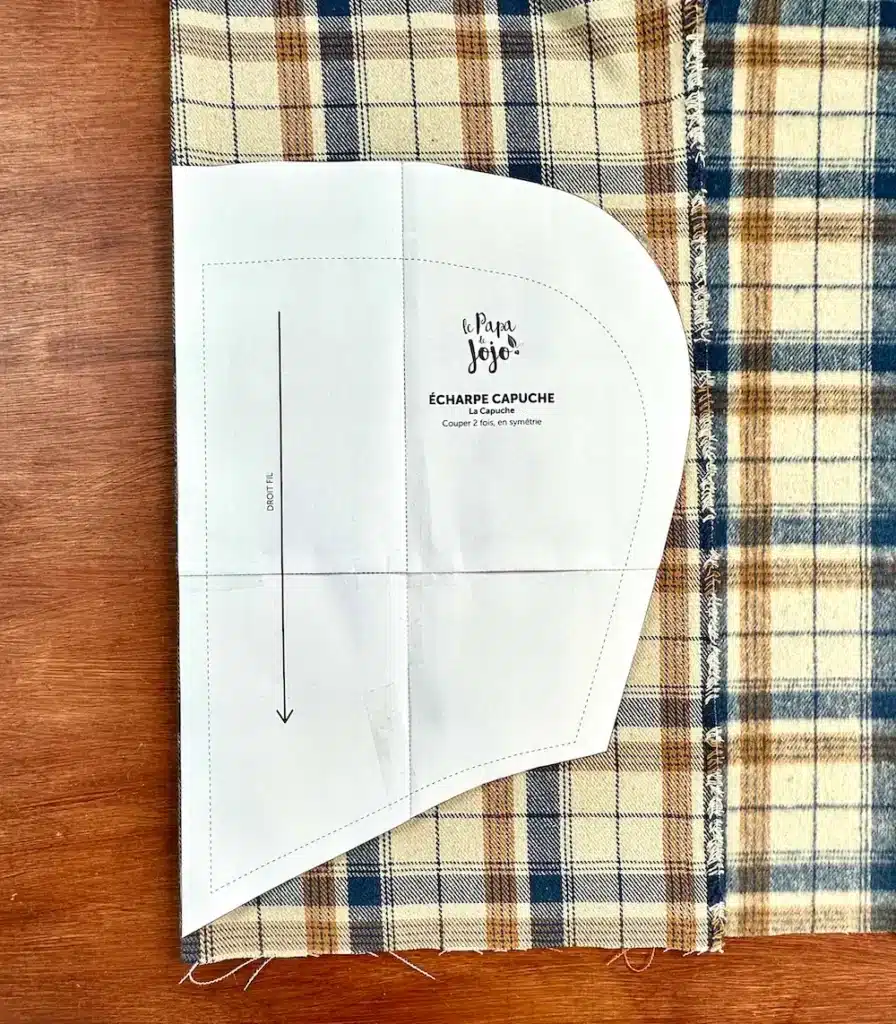
Once we’ve reconstructed the hood pattern, we’ll cut the piece from each fabric, 2 times in symmetry.
To do this, fold the fabric over itself, place the pattern piece and pin it in place. Then cut around it.
We cut the piece twice from the fabric, with one piece on the left and the other on the right.
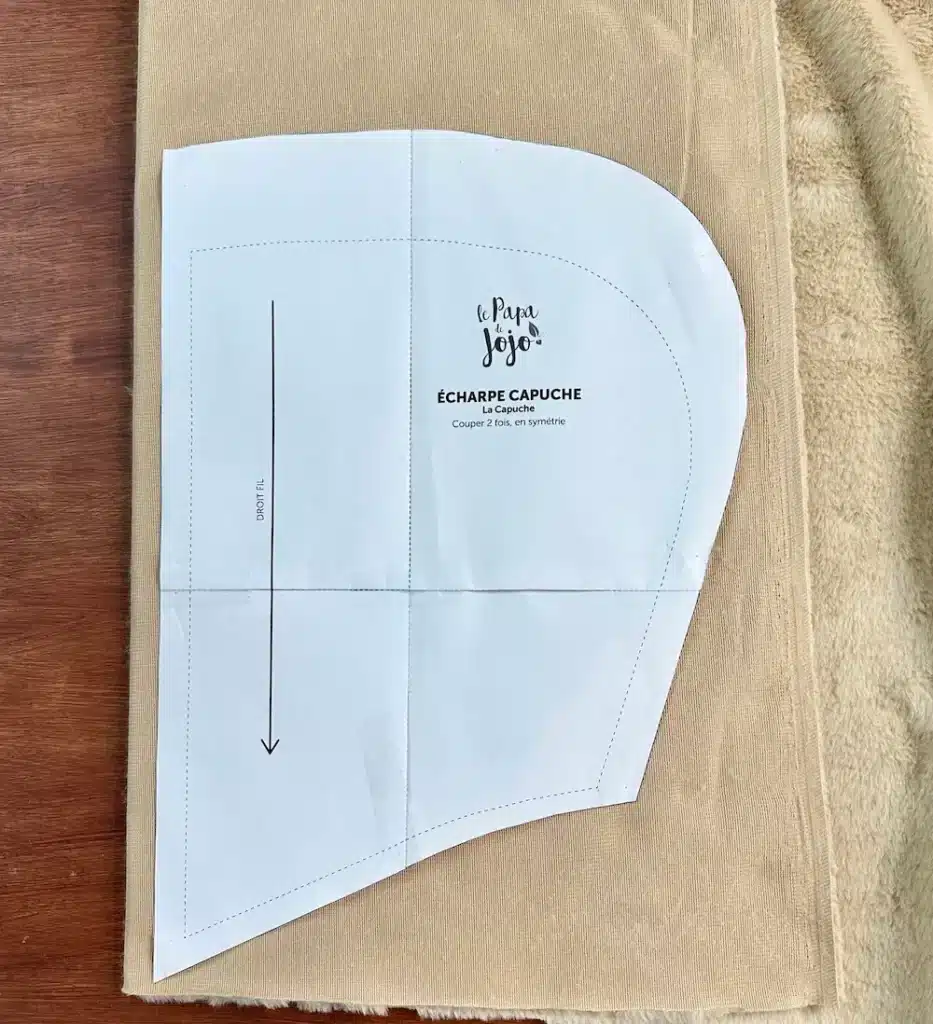
The second fabric is cut in the same way.
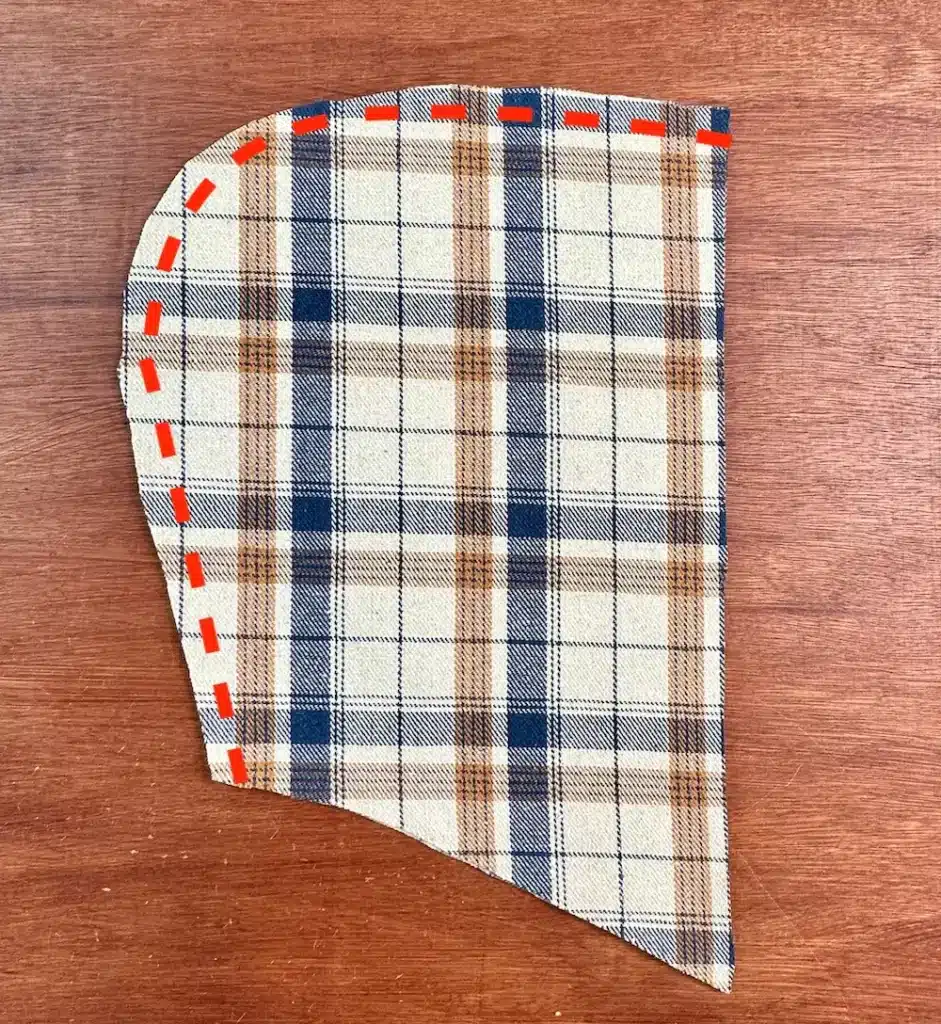
Now place the 2 pieces of the same fabric right sides together. Make sure the edges are aligned, and stitch the entire rounded area with a straight stitch.
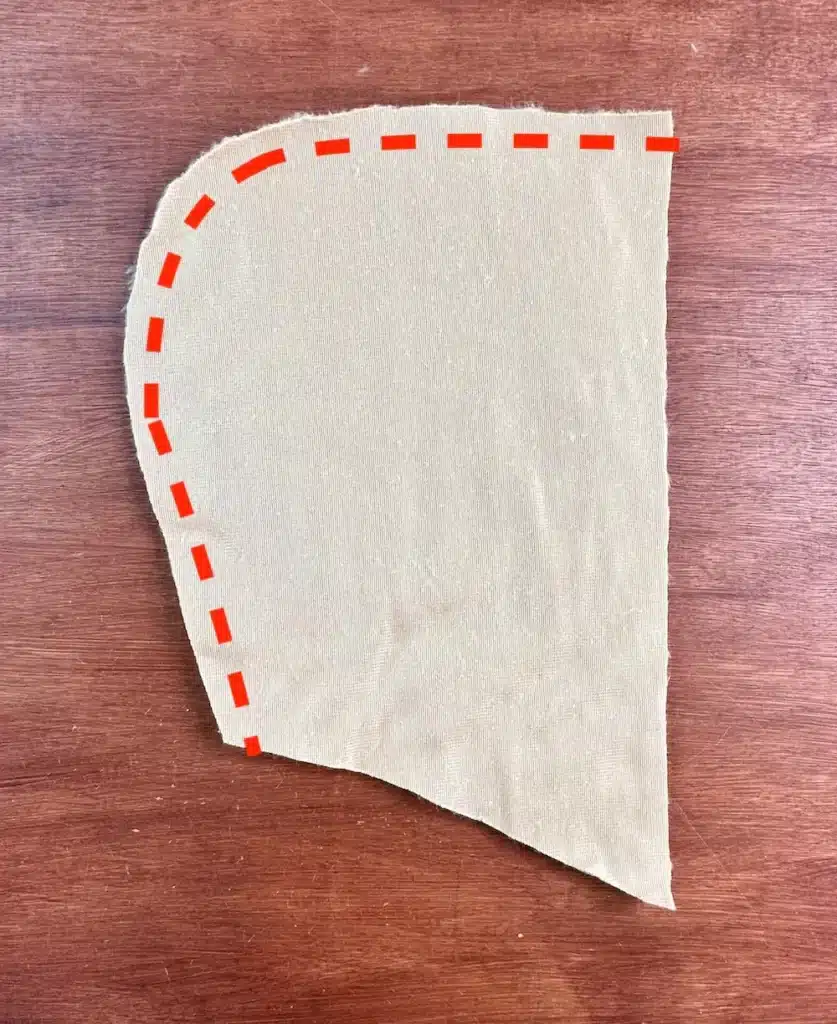
Sew the other part of the hood in the same way, using the other fabric.
Turn one part of the hood right side out, then insert it inside the other. Then place the 2 hood pieces right sides together. Align the center seam, as well as the edges, and pin. Stitch all the way through.
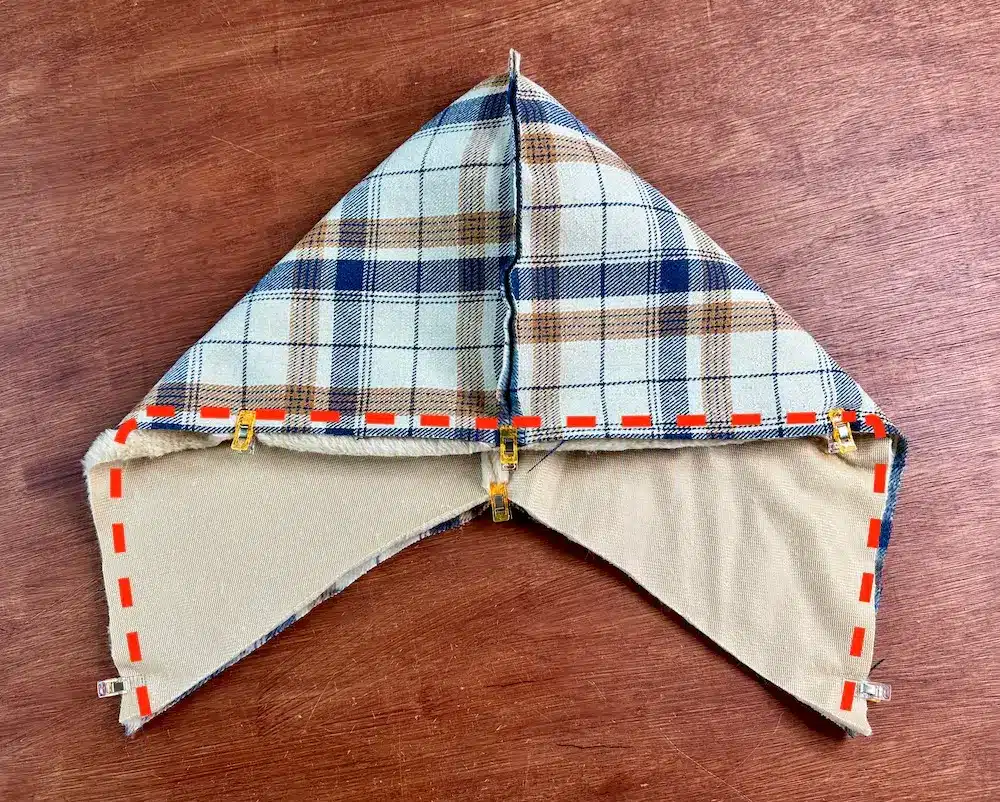
We turn the hood right side out, and leave it aside for now.
Sewing the scarf
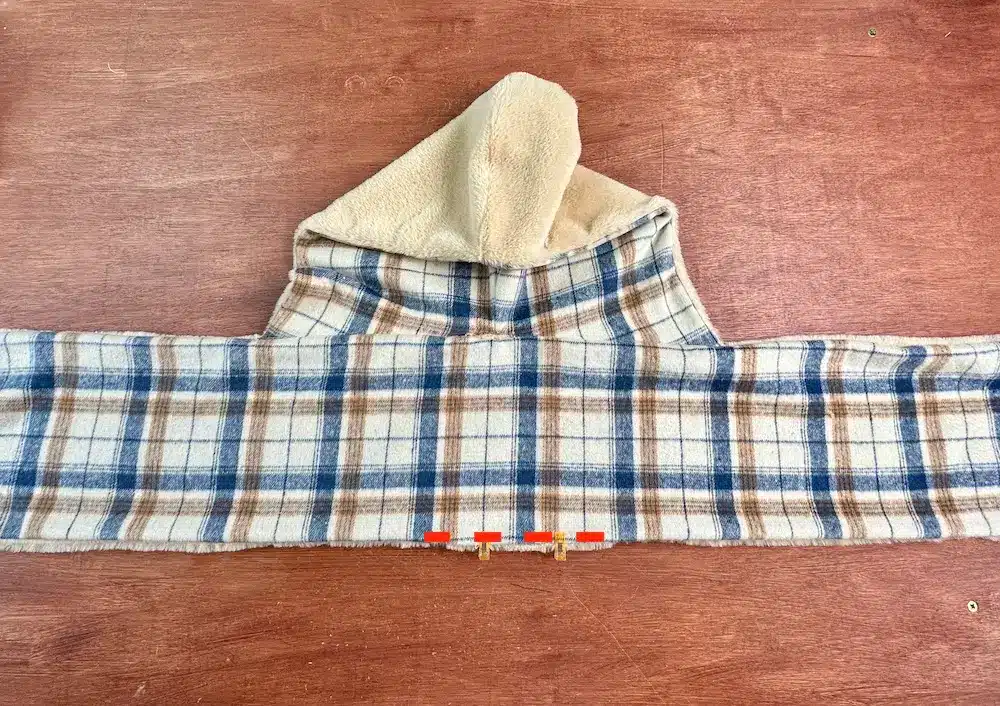
Locate the center of the scarf, either by folding it over on itself or by measuring, then place the center of the hood on it. If, like me, you’re using a fleece or “pile” fabric, pay attention to the direction of the pile! It’s best if the hairs on the hood and scarf point in the same direction!
Pin the hood and stitch 0.5 cm from the edge using a straight stitch.
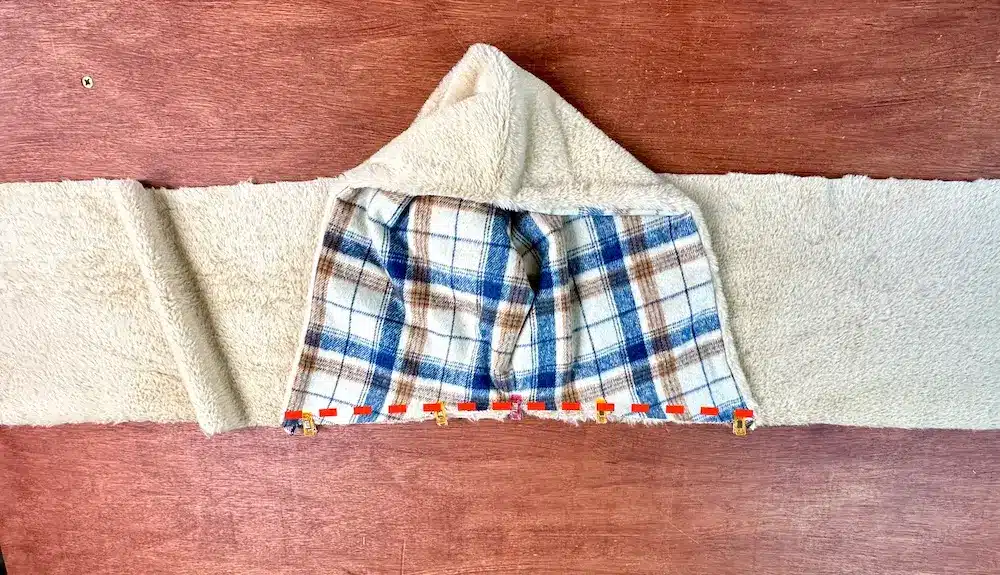
Then “roll” the hood over itself, so that it doesn’t interfere with the next seam.
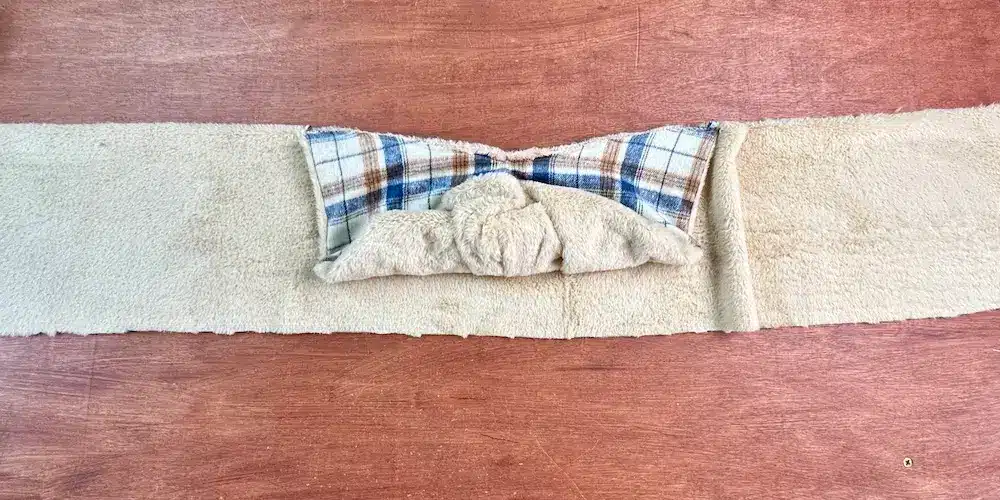
On top, right sides together, we place the last large rectangle of fabric, matching the edges and corners. We’ll stitch all the way around, leaving a 20-centimeter opening on one side.
Through the opening we’ve left, we turn the hooded scarf right side out. Push in the corners and seams. Then tuck the seam allowances of the opening inside the scarf, and close with a discreet topstitch all along the opening, as close to the edge as possible.
And your hooded scarf is finished, congratulations to you!

