The Bandana Bib – Sewing tutorial
It’s a must-have for every newborn baby: the bandana bib.
Unlike a classic bib, the bandana bib is especially useful outside mealtimes. When baby’s teething, it’s always good to have something on hand to wipe his mouth with!
For the best sewing results, you’ll need the PDF pattern available [thrive_2step id=’3322′]directly by clicking here, or [/thrive_2step] on the CoutureEnfant Facebook group, in the “Files” tab.
You’ll be able to do this tutorial for a child from 0 to 9 months, or from 9 months to 18 months.
Sewing equipment:
- A 30 x 30 cm cotton fabric coupon: there‘ s some here.
- A 30 x 30 cm terry cloth coupon: right here, the choice is yours!
- A pair of snaps: I use these.
- The clip for attaching snap fasteners: this is the one.
And the usual sewing equipment: a pair of paper scissors, a pair of fabric scissors, a pair of embroidery scissors, pins and small sewing clips.
The Step-by-Step Video Tutorial is at the bottom of the article.
How to sew the bandana bib?
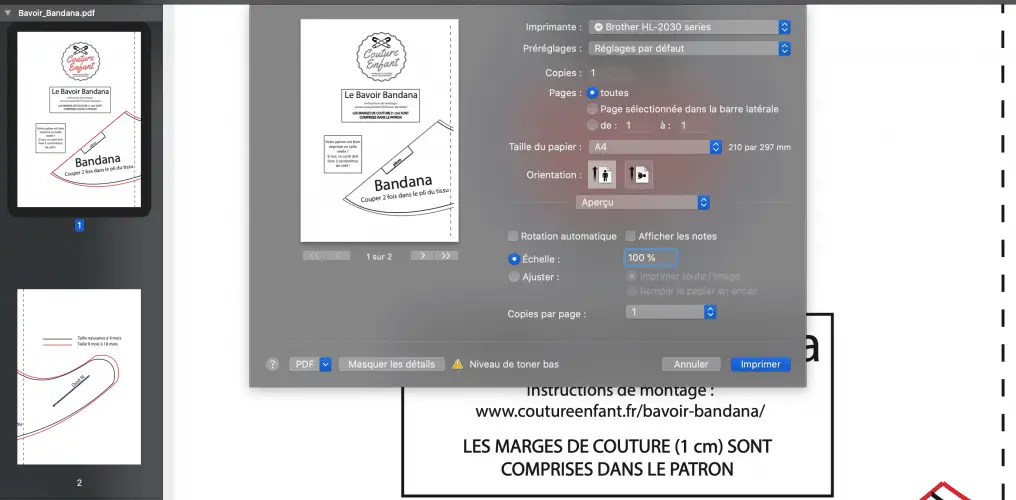
We start by printing the PDF pattern. There are 2 pages, and you need to make sure that your printer software says “full size” or “100% scale”.
Then assemble the 2 sheets. Fold the dotted lines on one of the two sheets, and lay edge-to-edge, aligning the pattern. Apply a piece of scotch tape to hold everything together.
Then cut the pattern to size.
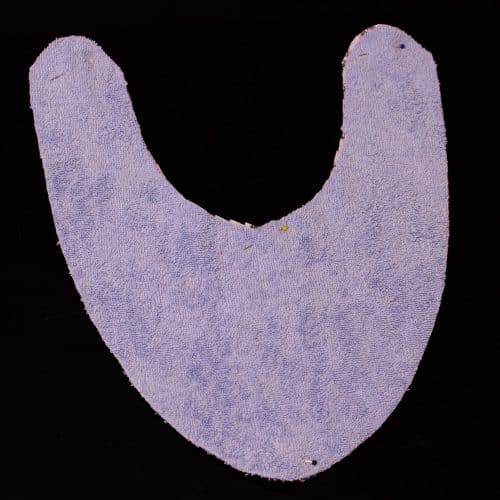
Then it’s time to cut the fabrics
Start by folding the fabric onto itself, paying attention to the straight edge.
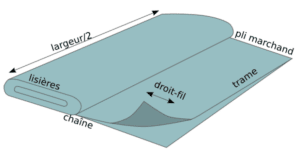
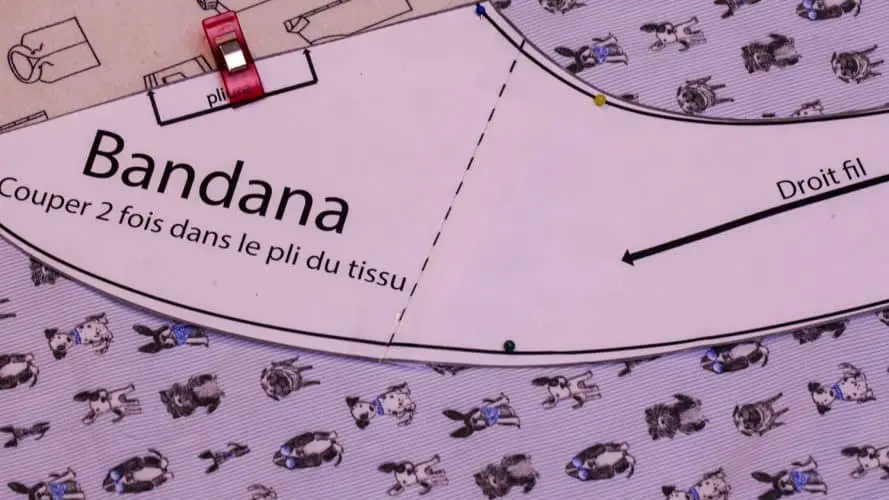
Align the fabric fold with the “fold” mark on the pattern.
Pin on the pattern piece, then cut around it.
We do the same with terry cloth.
Bib sewing
Then position the two pieces of fabric RIGHT AGAINST RIGHT, and pin all around.
We’ll stitch on the sewing machine, taking care to leave a 5 or 6-centimeter opening on one side of the bib. Using the standard presser foot and a straight stitch, 1 cm from the edge, don’t forget to start the seam with a stop stitch.
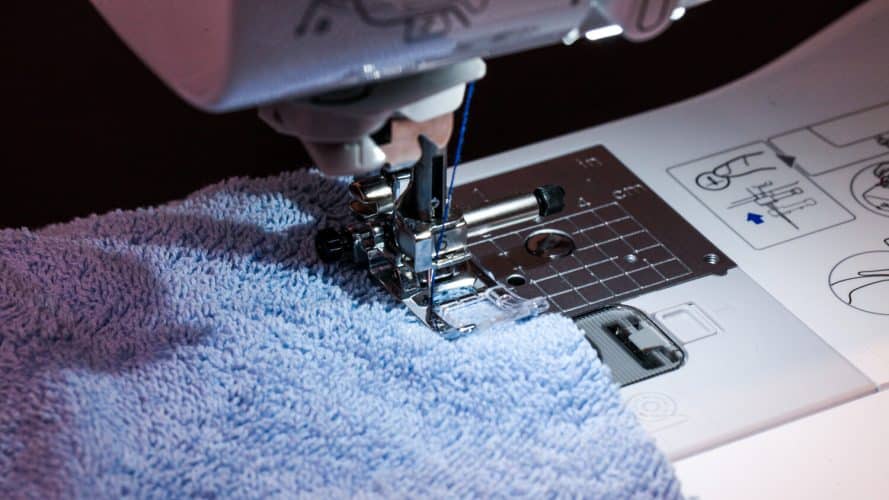
Stitch all the way around the bandana bib, taking your time in the curves that may present a difficulty.
And when you’ve almost gone all the way round, you stop sewing 5 centimetres from the start, make a stop stitch, and cut the little threads that stick out.
Now it’s time to notch the rounded edges around the bib’s “neck”, and trim the seam allowances around the fasteners.
Edge trimming means making small cuts in the seam allowance without ever cutting the seam you’ve just made. This will prevent tension at this point when the bib is turned right side out.
And to clear the seam allowances of the fasteners, you simply trim the excess fabric without ever cutting the seam. That would be silly!
Now it’s time to turn the bib right side out. To do this, we pass the work through the opening we left when sewing.
Using a knitting needle or chopstick (or anything a little sharp, but not too sharp!), push the edges of the bib through the opening.
Next, we’ll close the opening left open. There are two options for this: either invisible hand stitching, or all-around topstitching.
The advantage of the latter solution is that it strengthens the bib and prevents it from rolling over.
It’s the way I personally choose, and not just because sewing by hand is an anxiety for me!
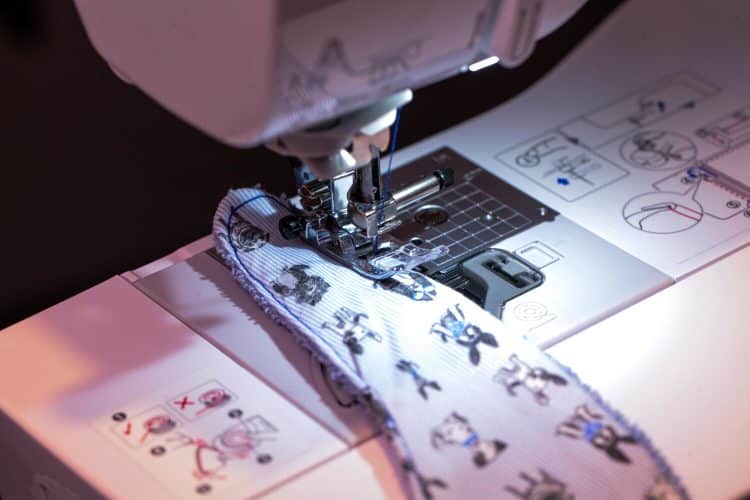
We’ll sew as close to the edge as possible, in straight stitch, using the standard presser foot.
Start sewing with a stop stitch, and finish in the same way. Then cut the remaining threads.
Fitting press studs
Stitch the snap into one of the bib fasteners, then add the other part of the snap.
With a pair of pressure pliers and the right tips, you can squeeze the stem firmly.
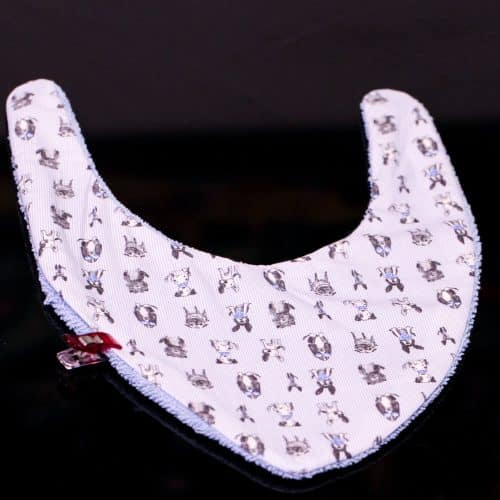
Do the same thing on the other side, and you’re done!
Well done!